
Droplets and Volumes Backups with SnapShooter
Introduction
You’ve done it, you’ve got your application up and running and serving your happy customers. All is running fine for now but you want to make sure if the unthinkable happens you can restore your system from a previous backup. This is where SnapShooter comes in. SnapShooter was recently acquired by DigitalOcean to better enable startups and SMBs to protect their cloud data across files, apps, and databases. In this tutorial, you will learn how to use SnapShooter to backup a Droplet and its attached Volume on a regular basis to ensure piece of mind.
Prerequisites
- A DigitalOcean Account (Haven’t got one? Start your free trial now and grab $200 in credits.)
- A SnapShooter Account
- Droplet and Volume to backup
Connecting you DigitalOcean Account
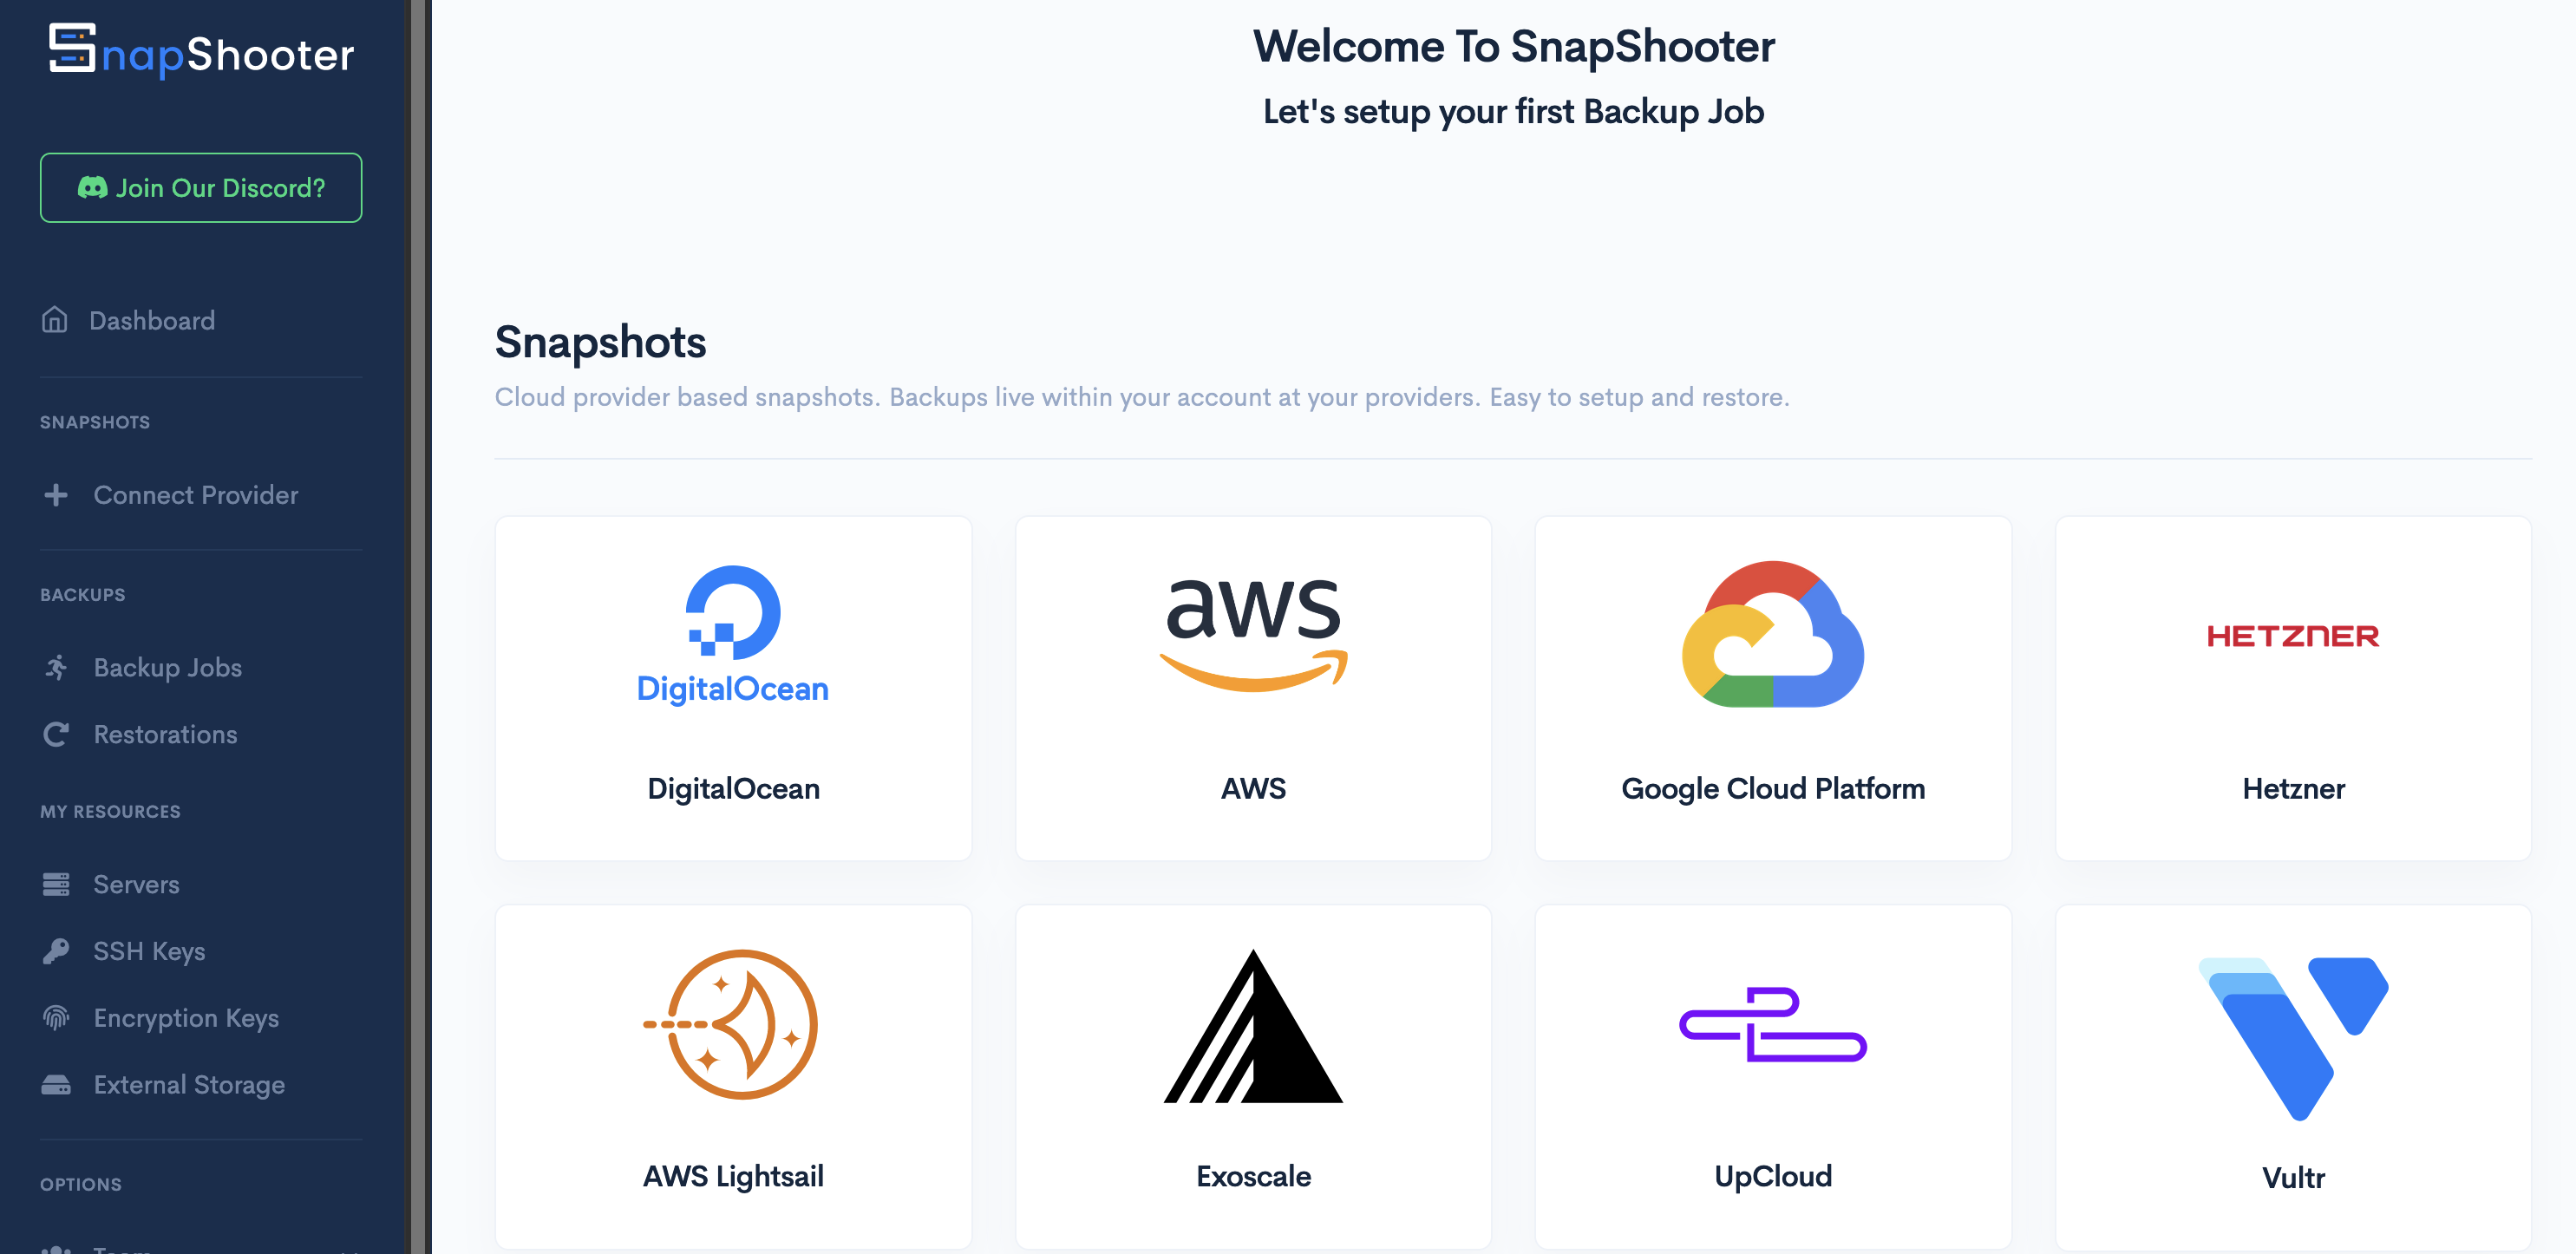
To start off you’ll need to connect your DigitalOcean Account with SnapShooter. This can be easily done by selecting Connect Provider in the left menu and clicking on the DigitalOcean provider. This will take you to the setup page where you can specify the Profile name for your DigitalOcean account you will be connecting to, in the example below we’ve left the profile name to the default option.
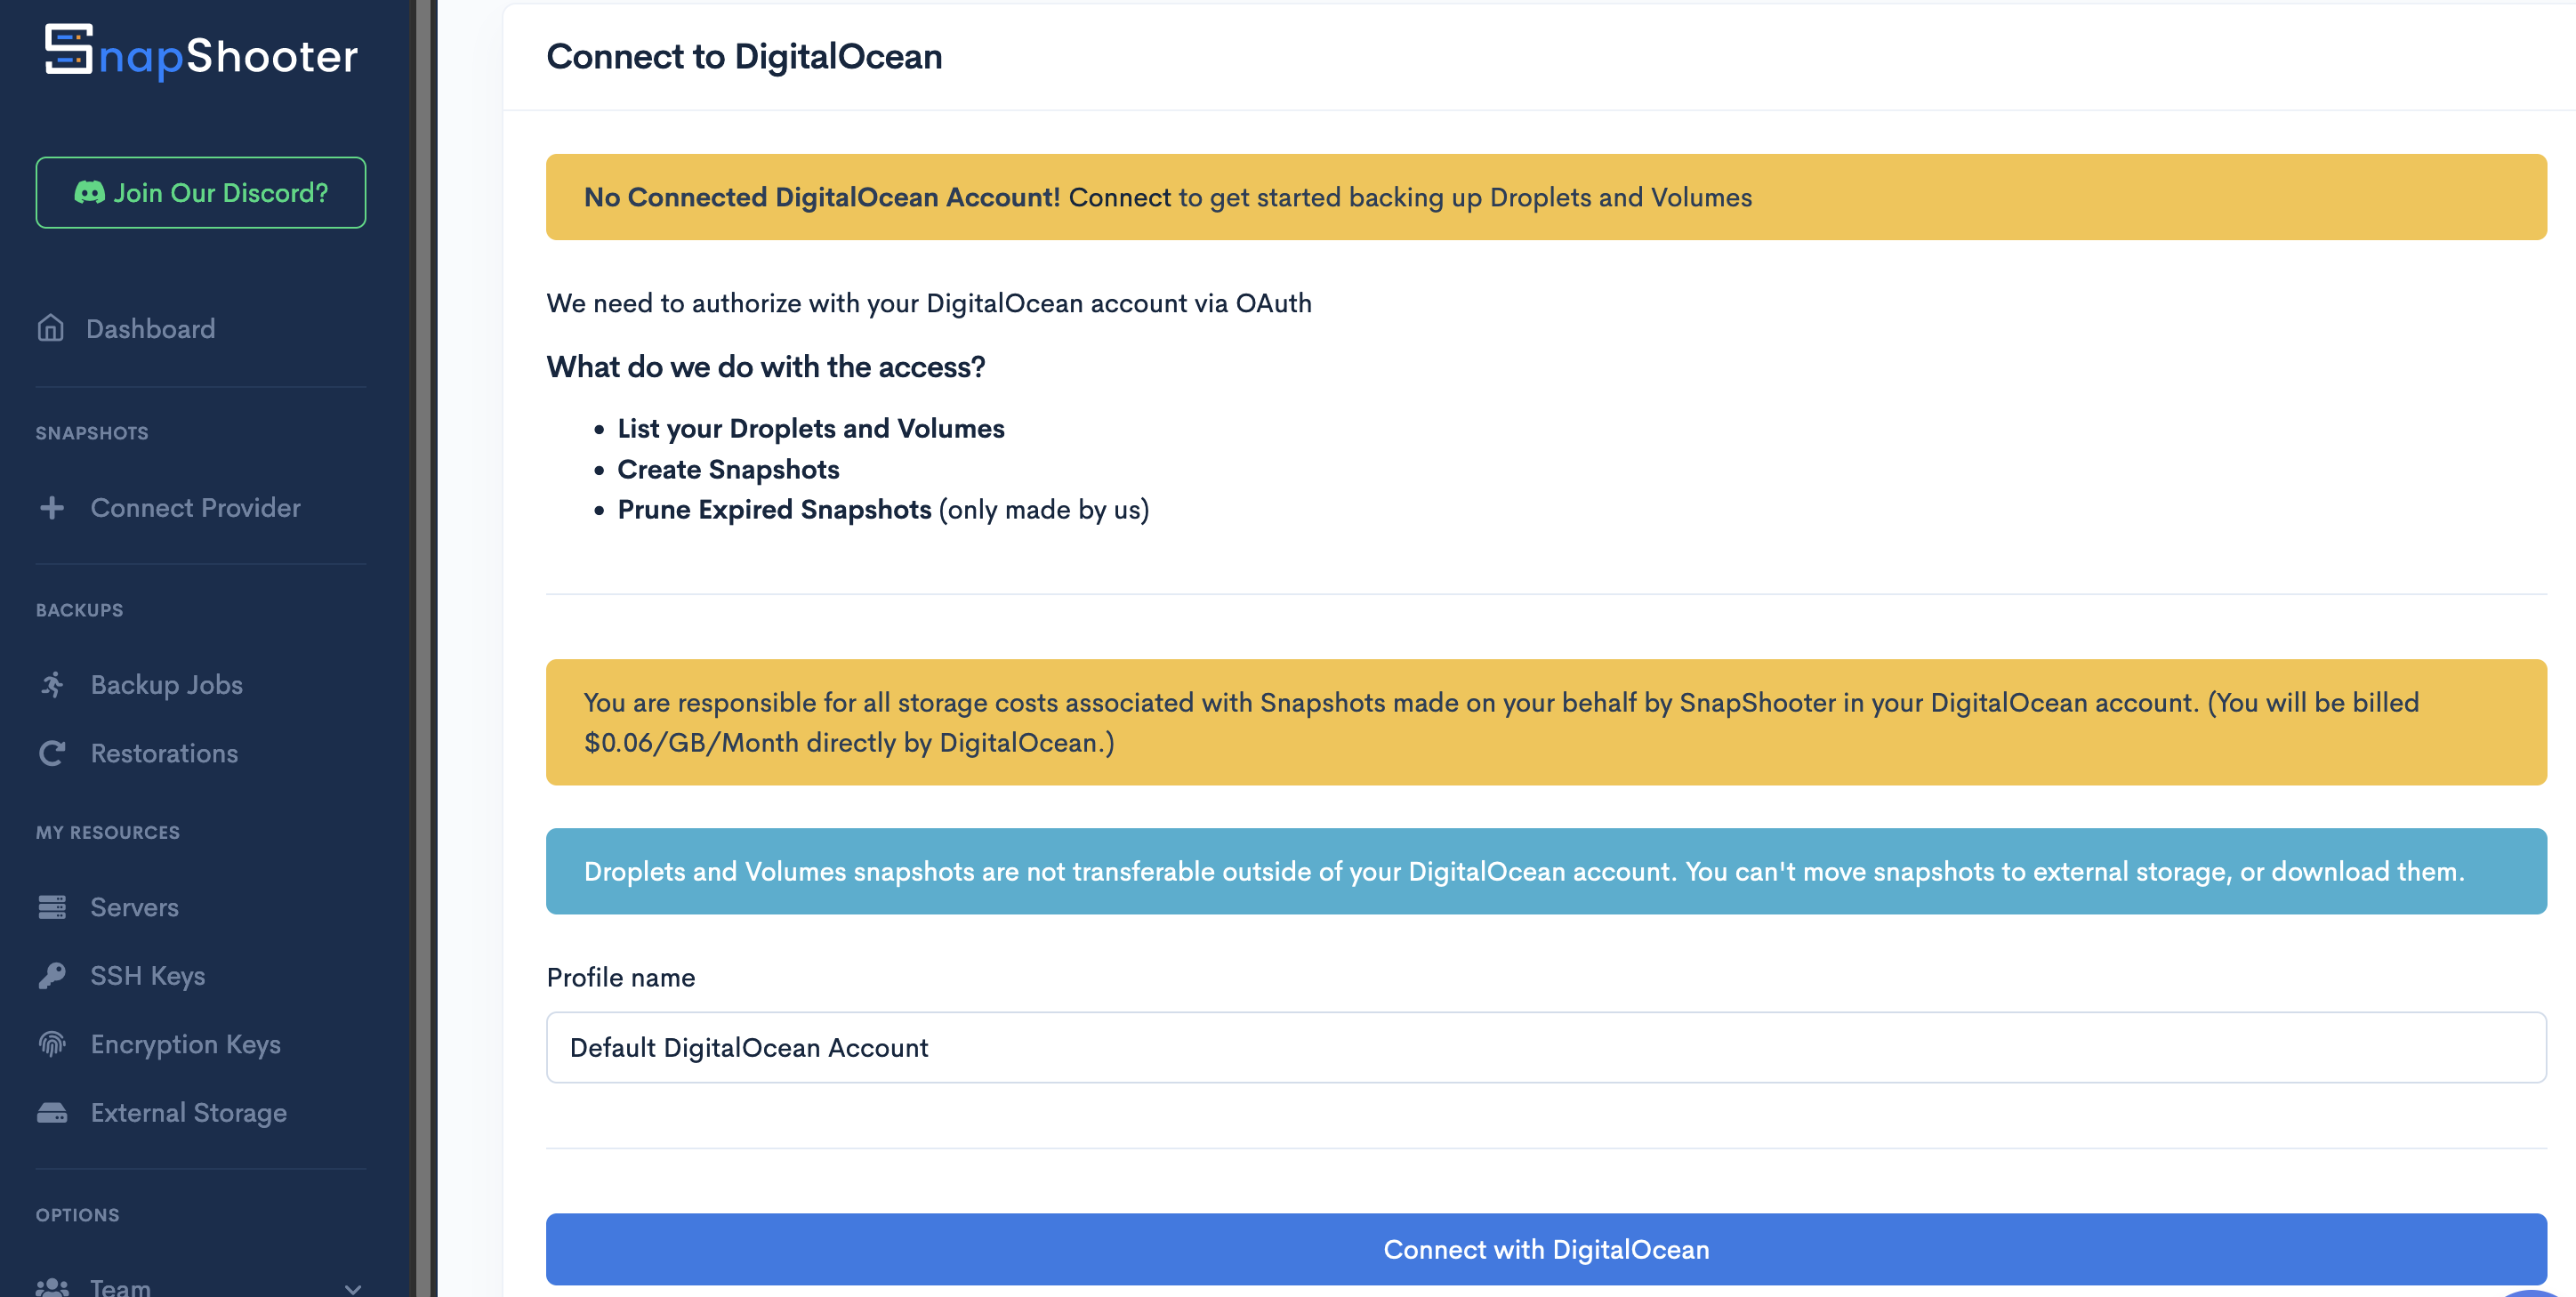
Clicking on the Connect with DigitalOcean button will take you your DigitalOcean Account where you will have to login to your account if you’re not logged in already and authorise both read and write access to your account.
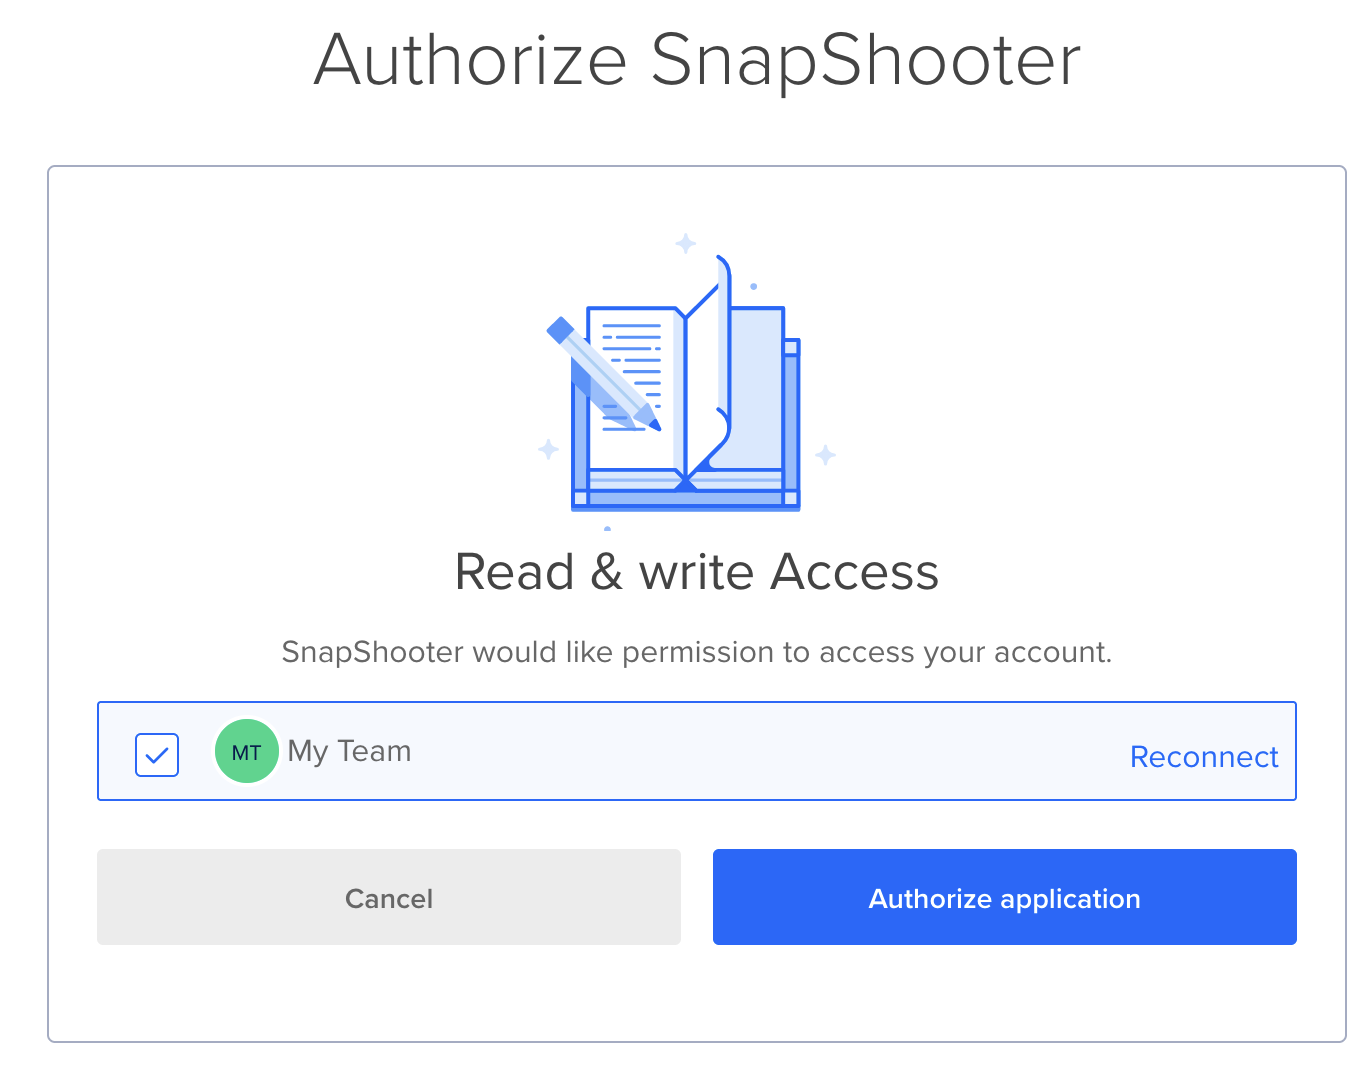
Once you click on the Authorize application button you’re all set and can start backing up your droplets and volumes. SnapShooter will scan your Account for any available Droplets, Volumes and Managed Databases you currently have running.
Backing Up Droplets
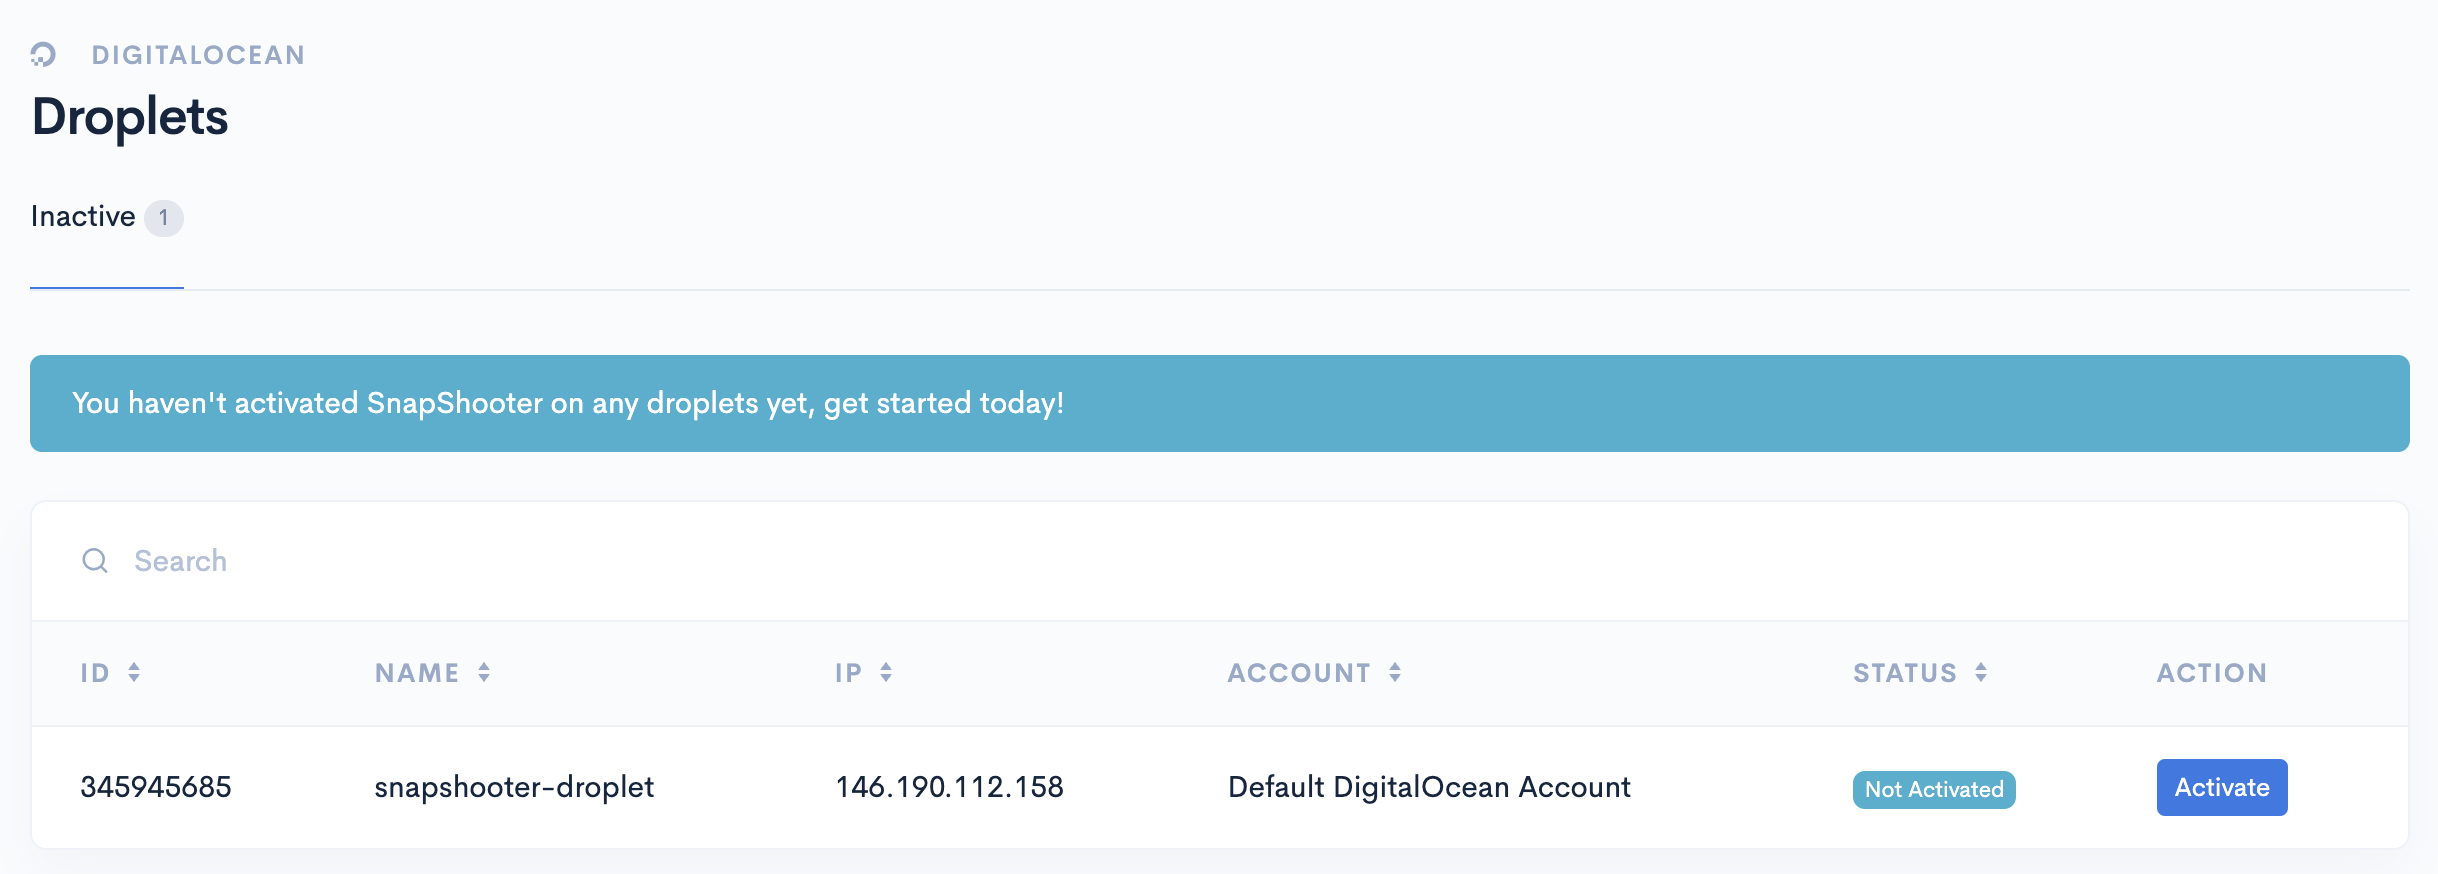
To backup a Droplet all that you need to do is select the Droplets option under the DigitalOcean tab in the left menu. This will show you a list of all the Droplets currently running in your account. From here choose the droplet you want to backup and click on Activate.
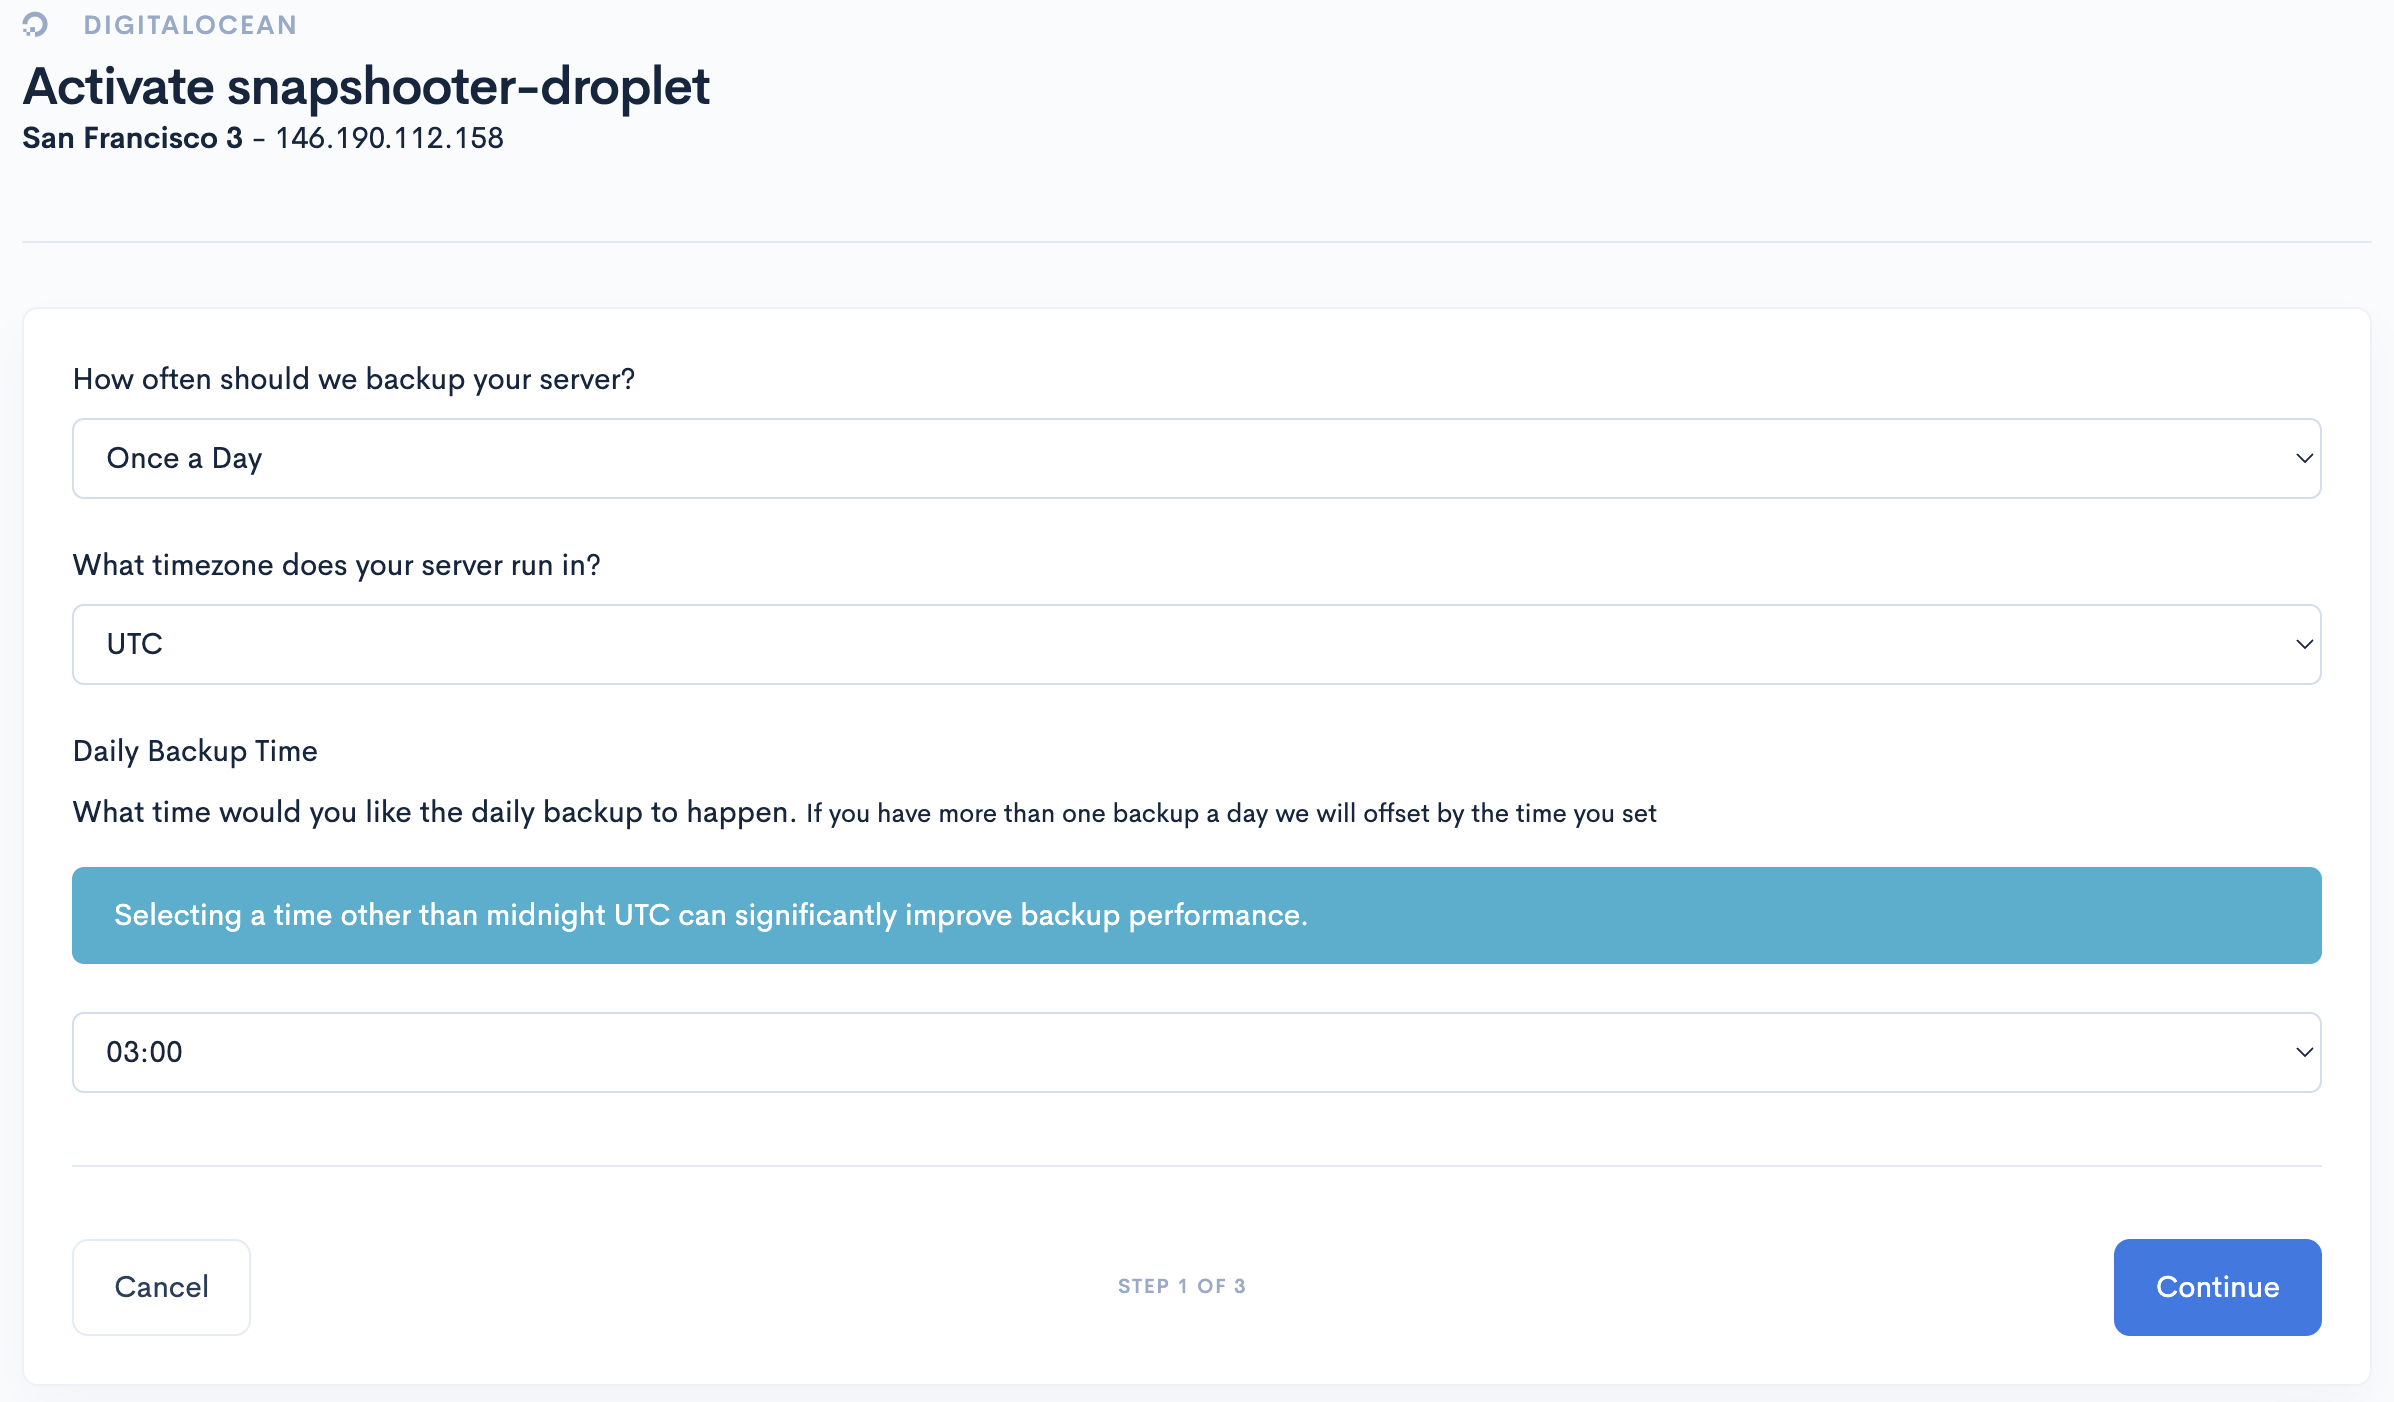
Configure how often you want to backup your Droplet, the timezone the server is running in, and when to perform the backup. Your options my vary according to the level of your Plan within SnapShooter.
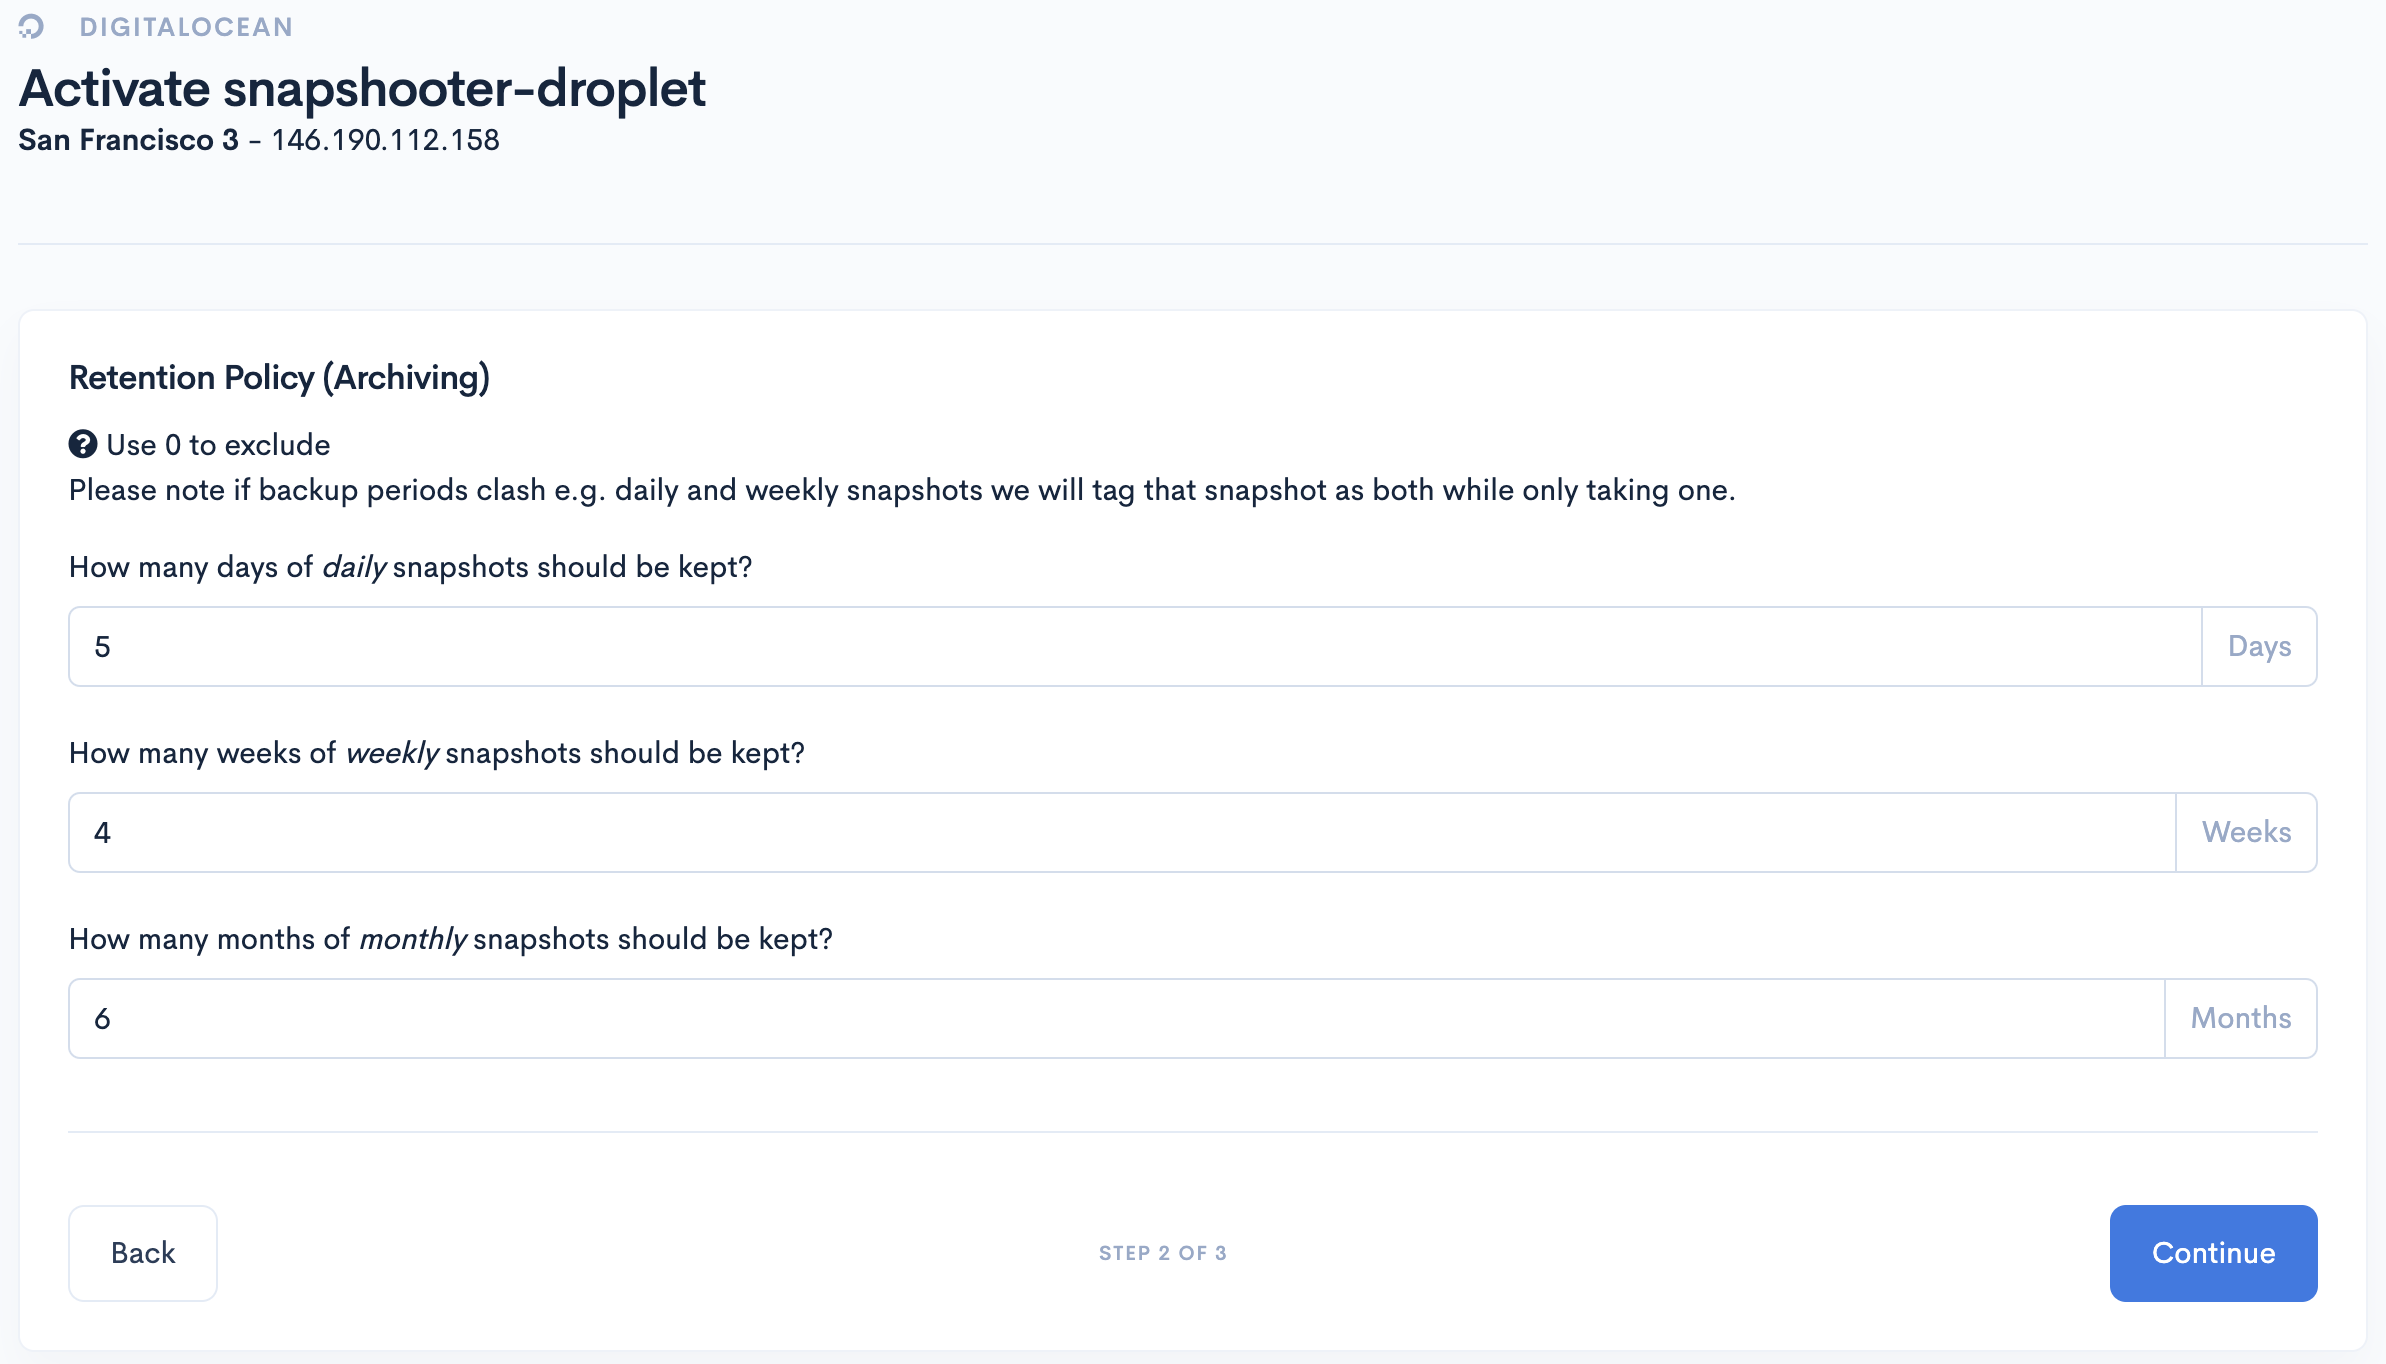
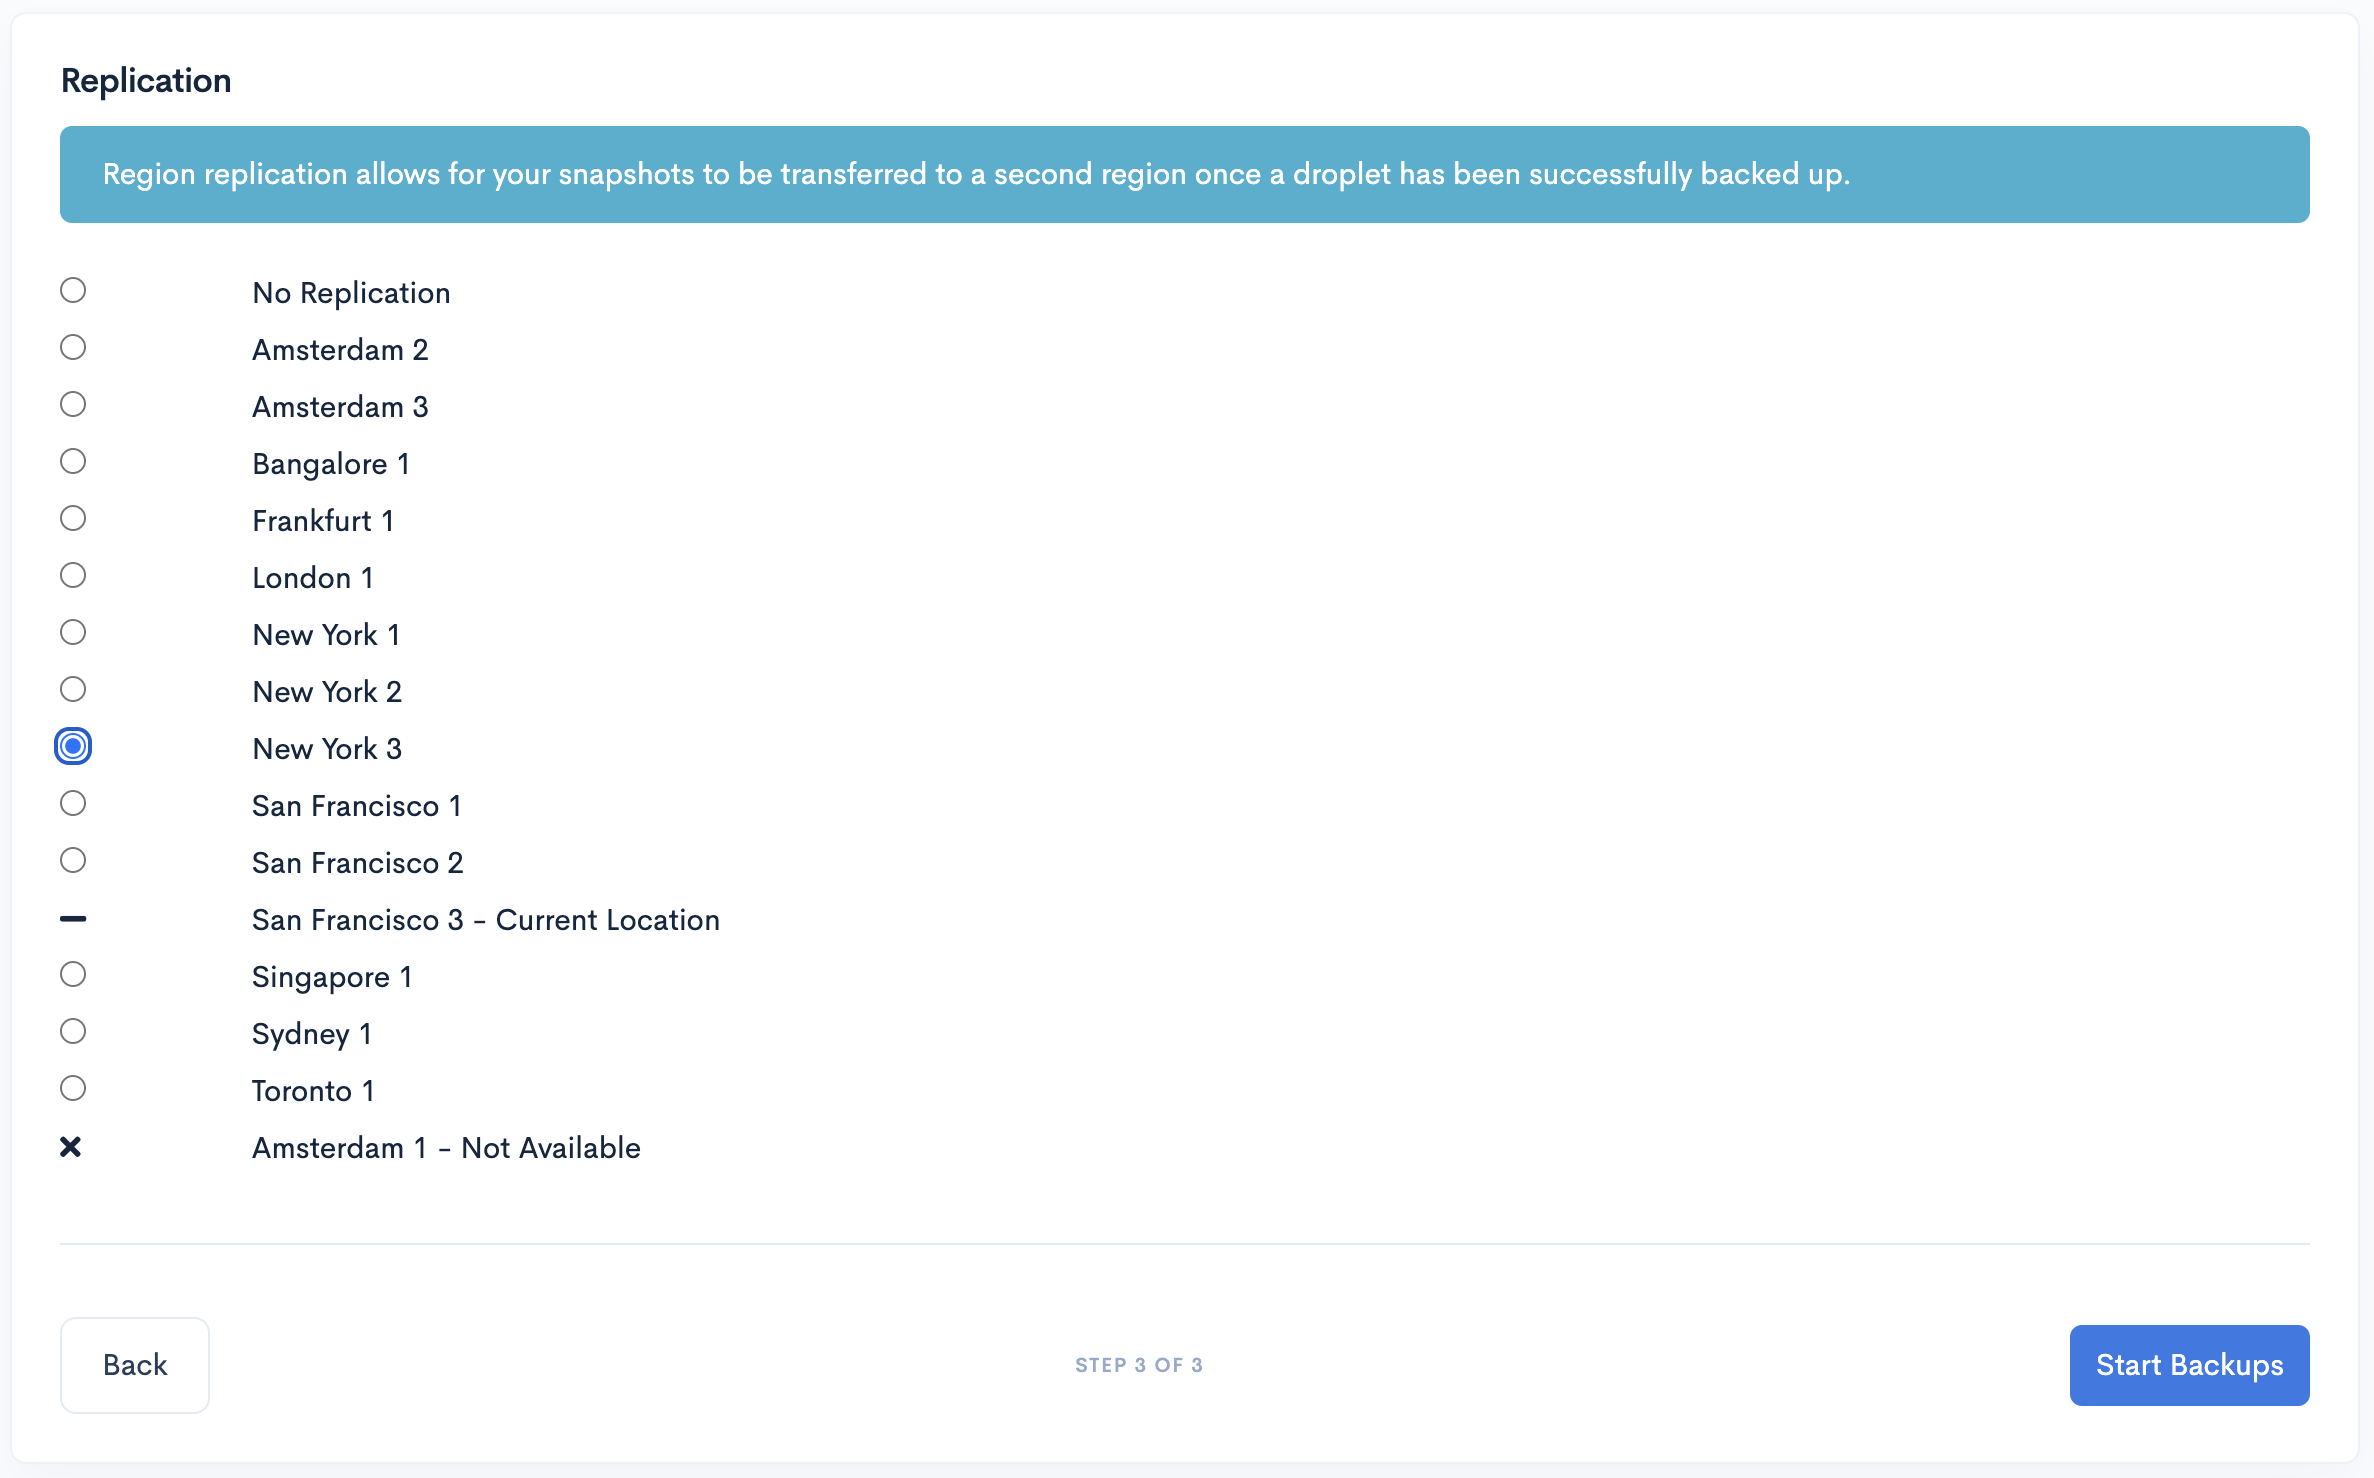
Set the Retention Policy for your daily, weekly and monthly snapshots, and choose whether you would like to have region replication for further piece of mind as this will ensure that your snapshots are stored in multiple physical locations globally.
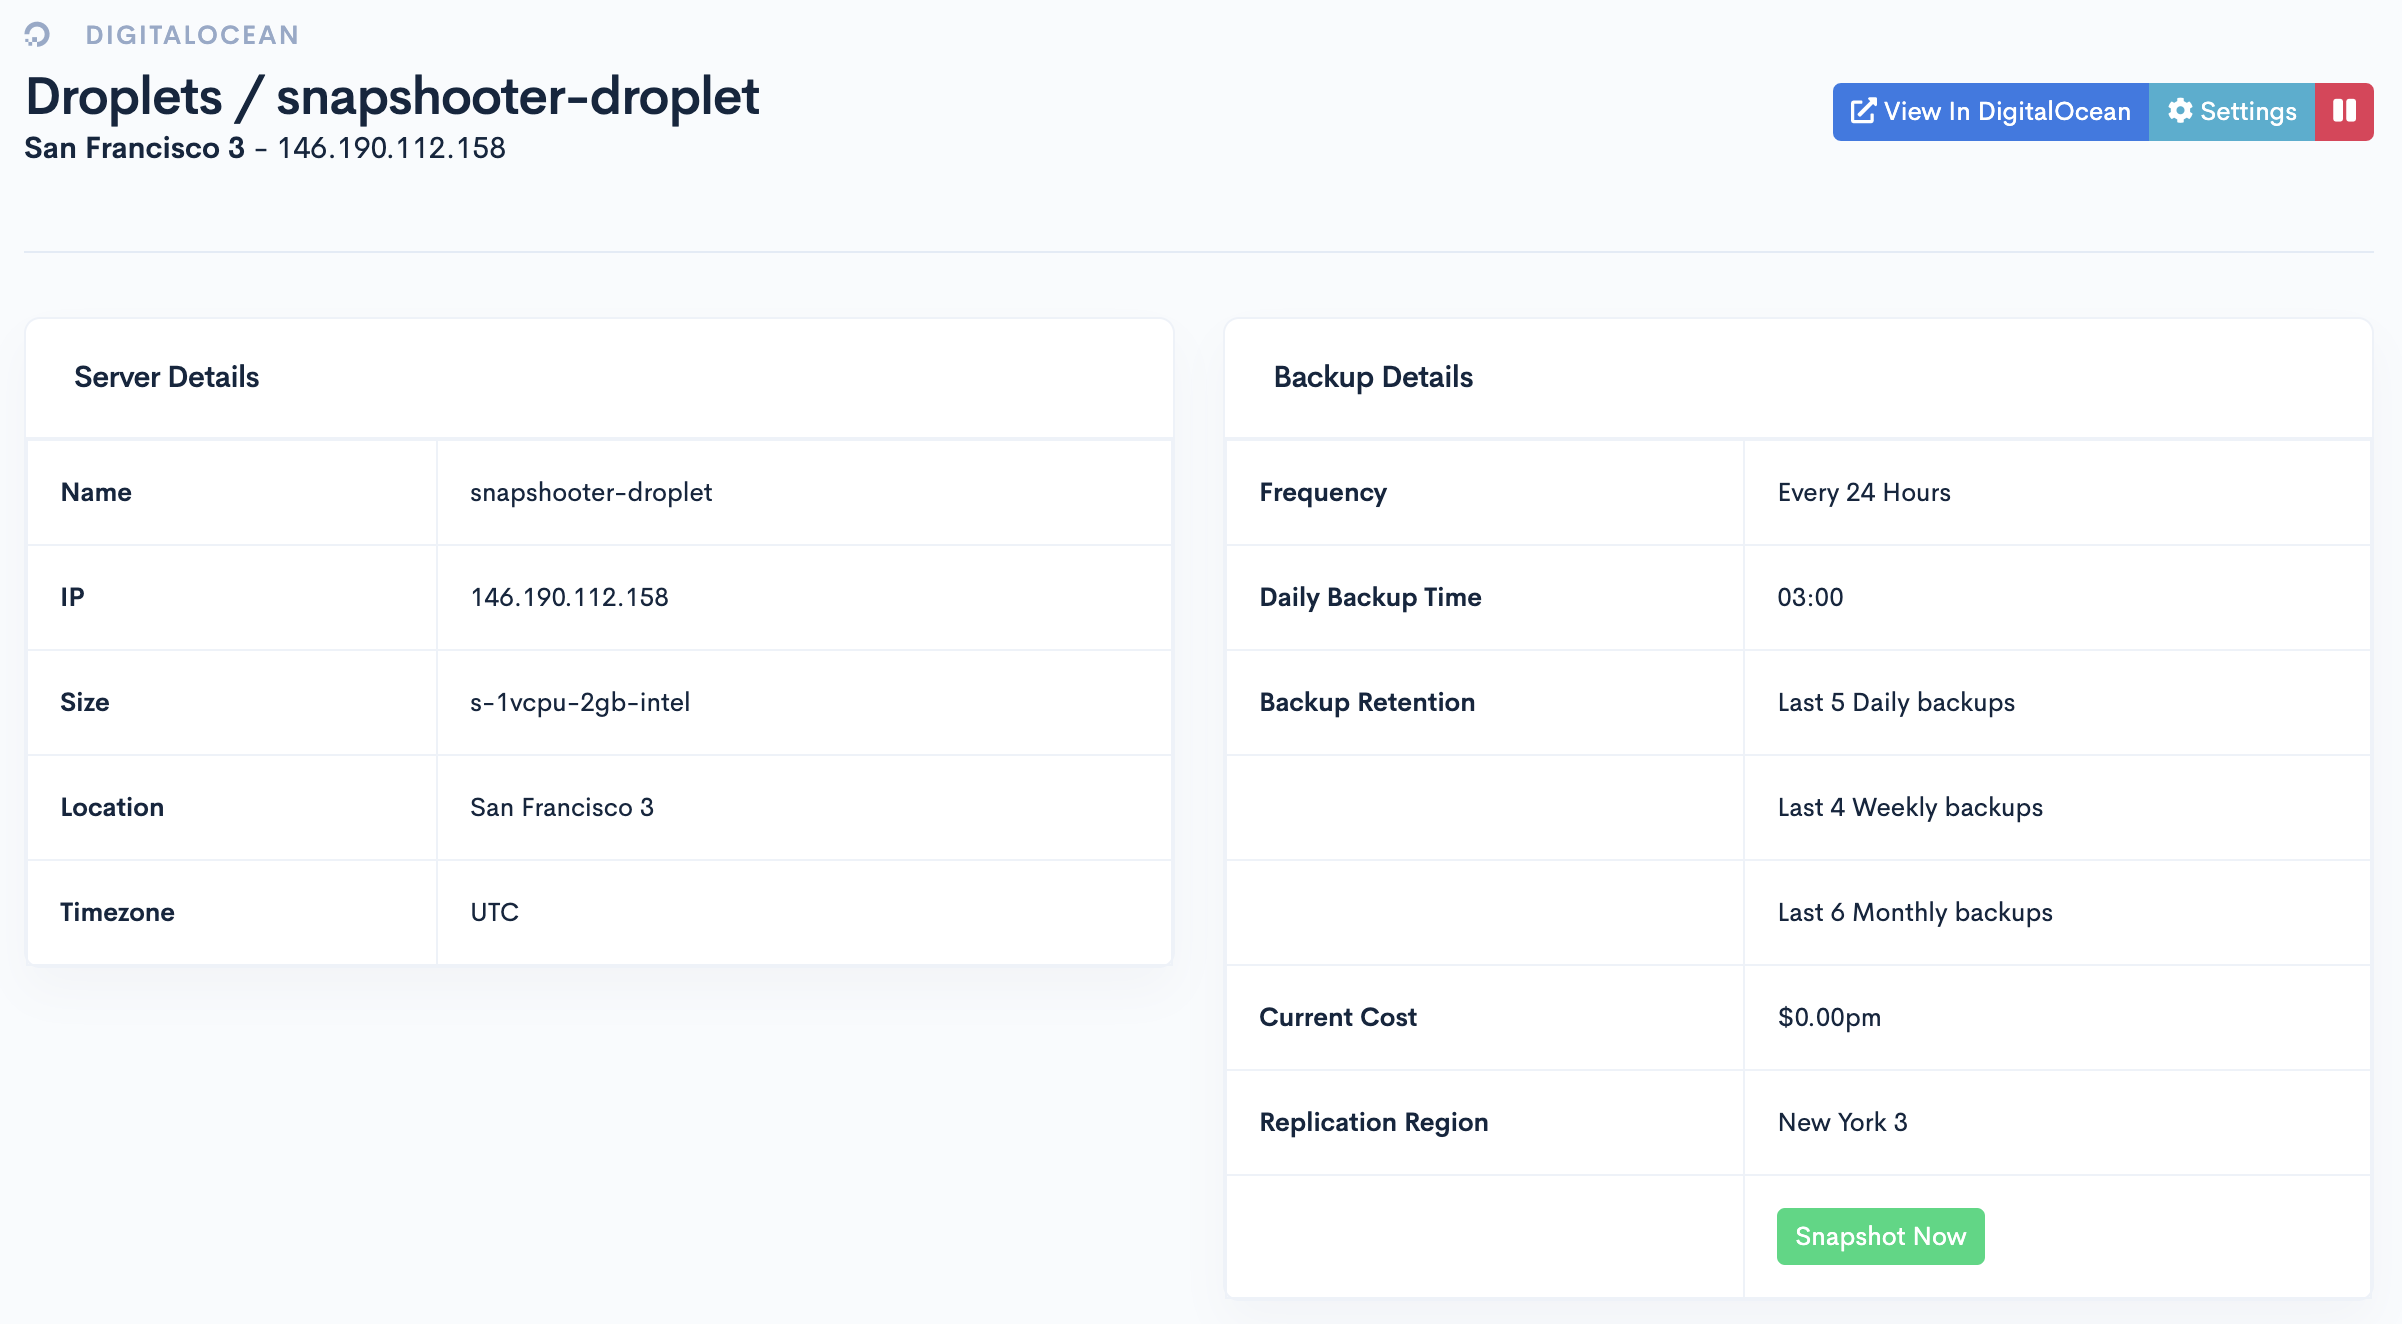
Once you click the Start Backups you’ll be given an overview of your backup frequency and details with the option of also crating a backup there and then via the Snapshot Now button.
Backing Up Volumes
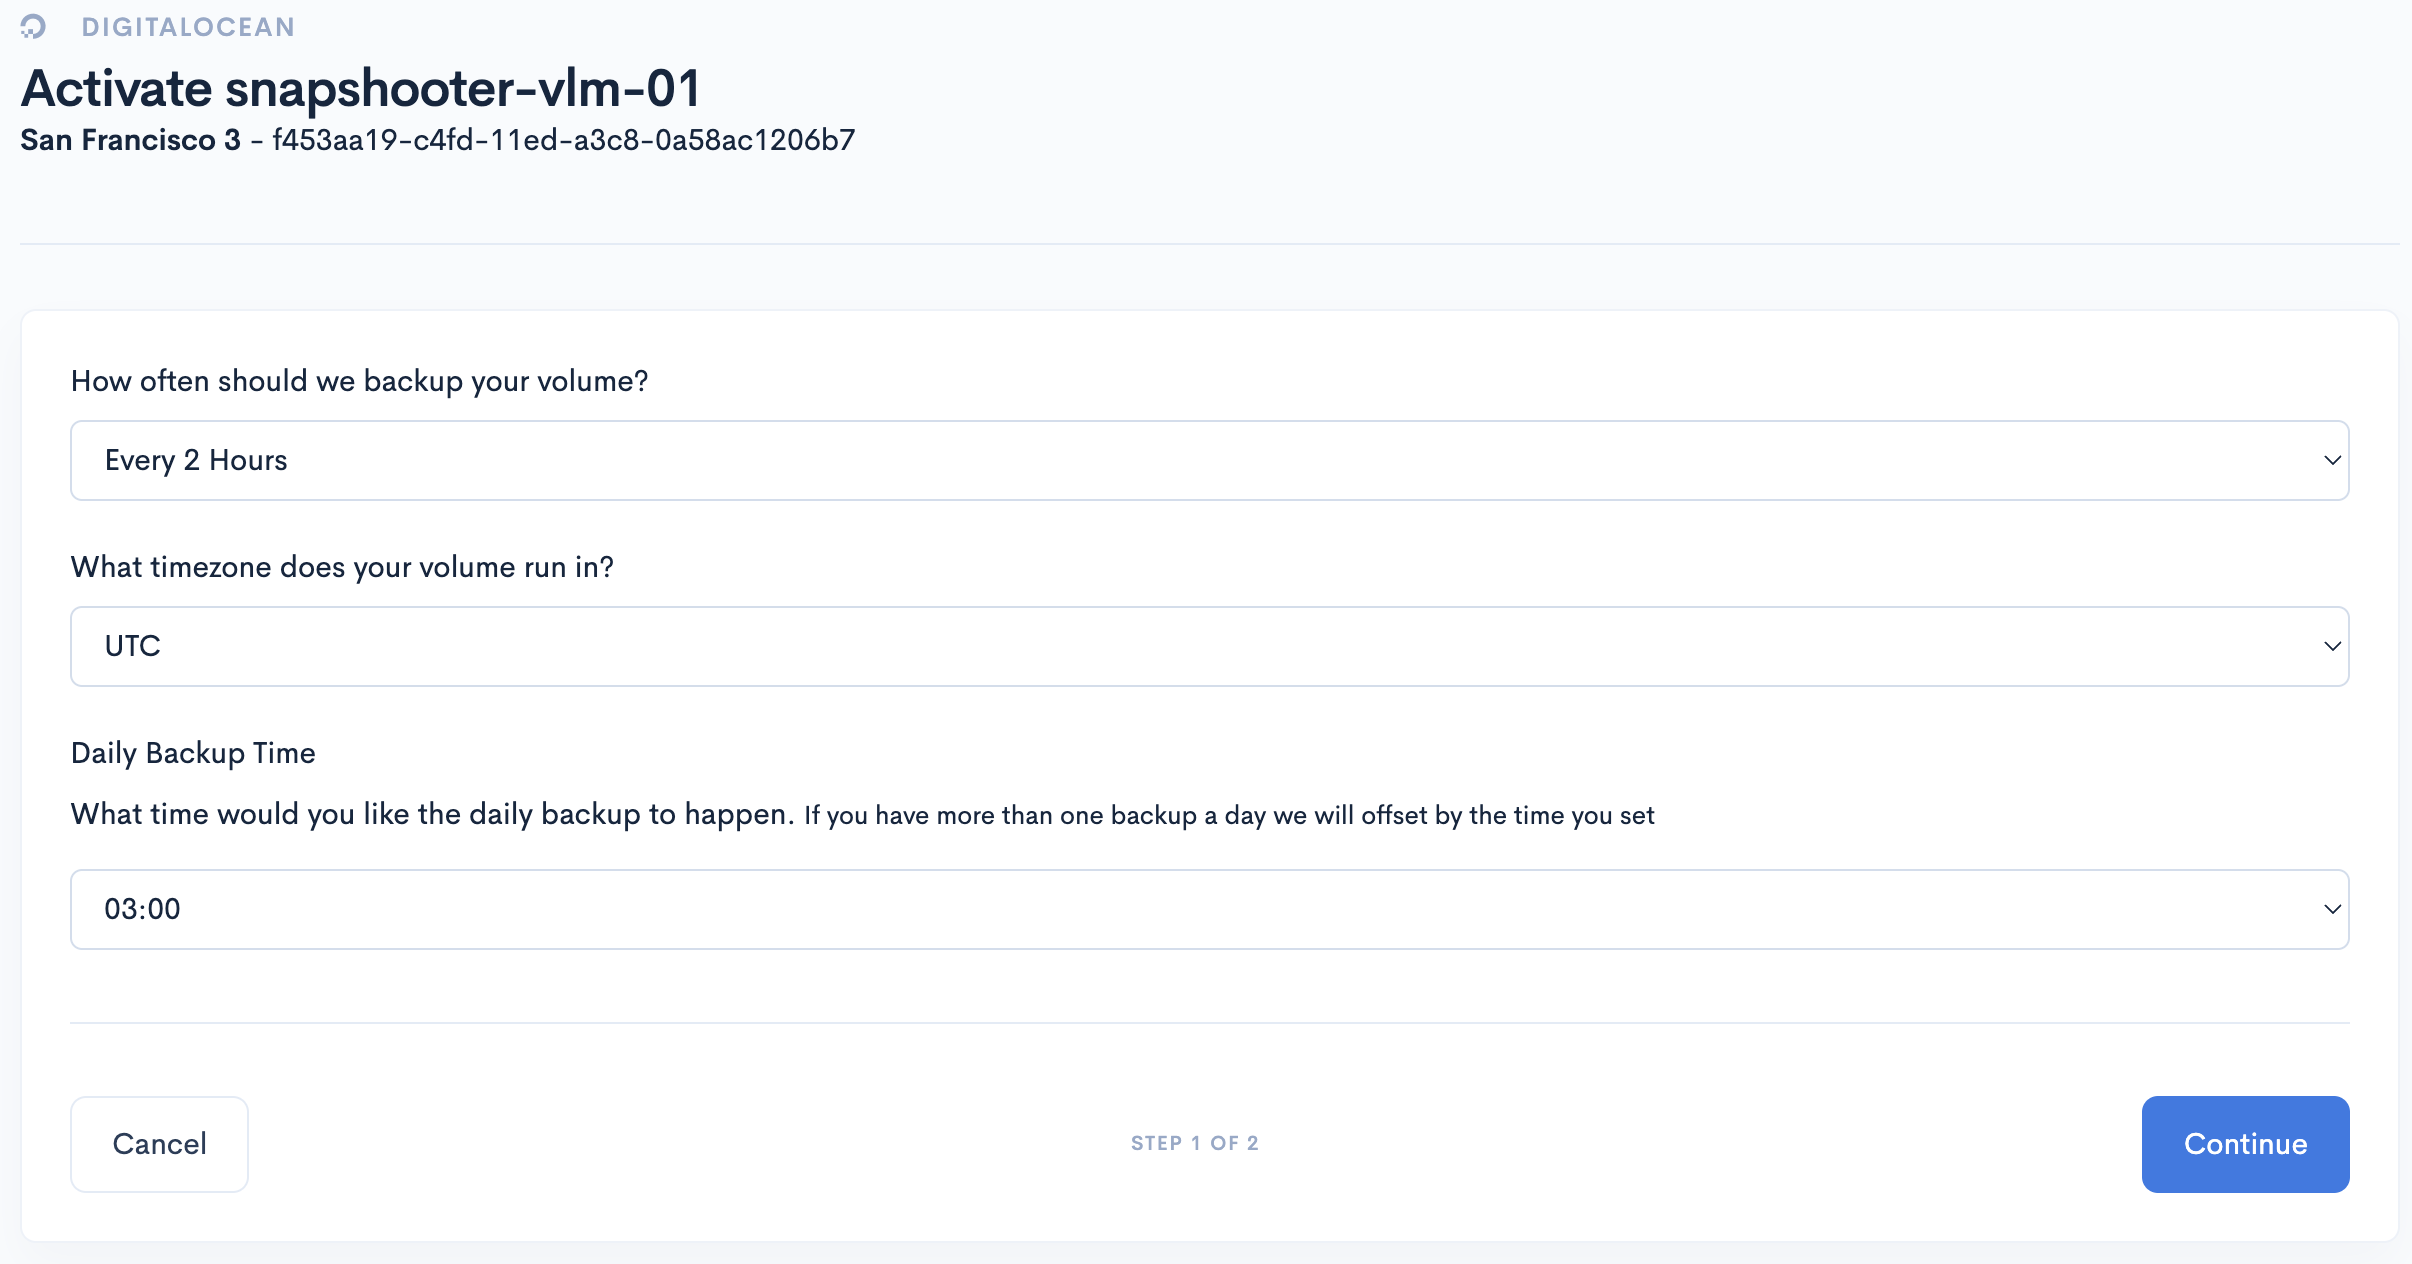
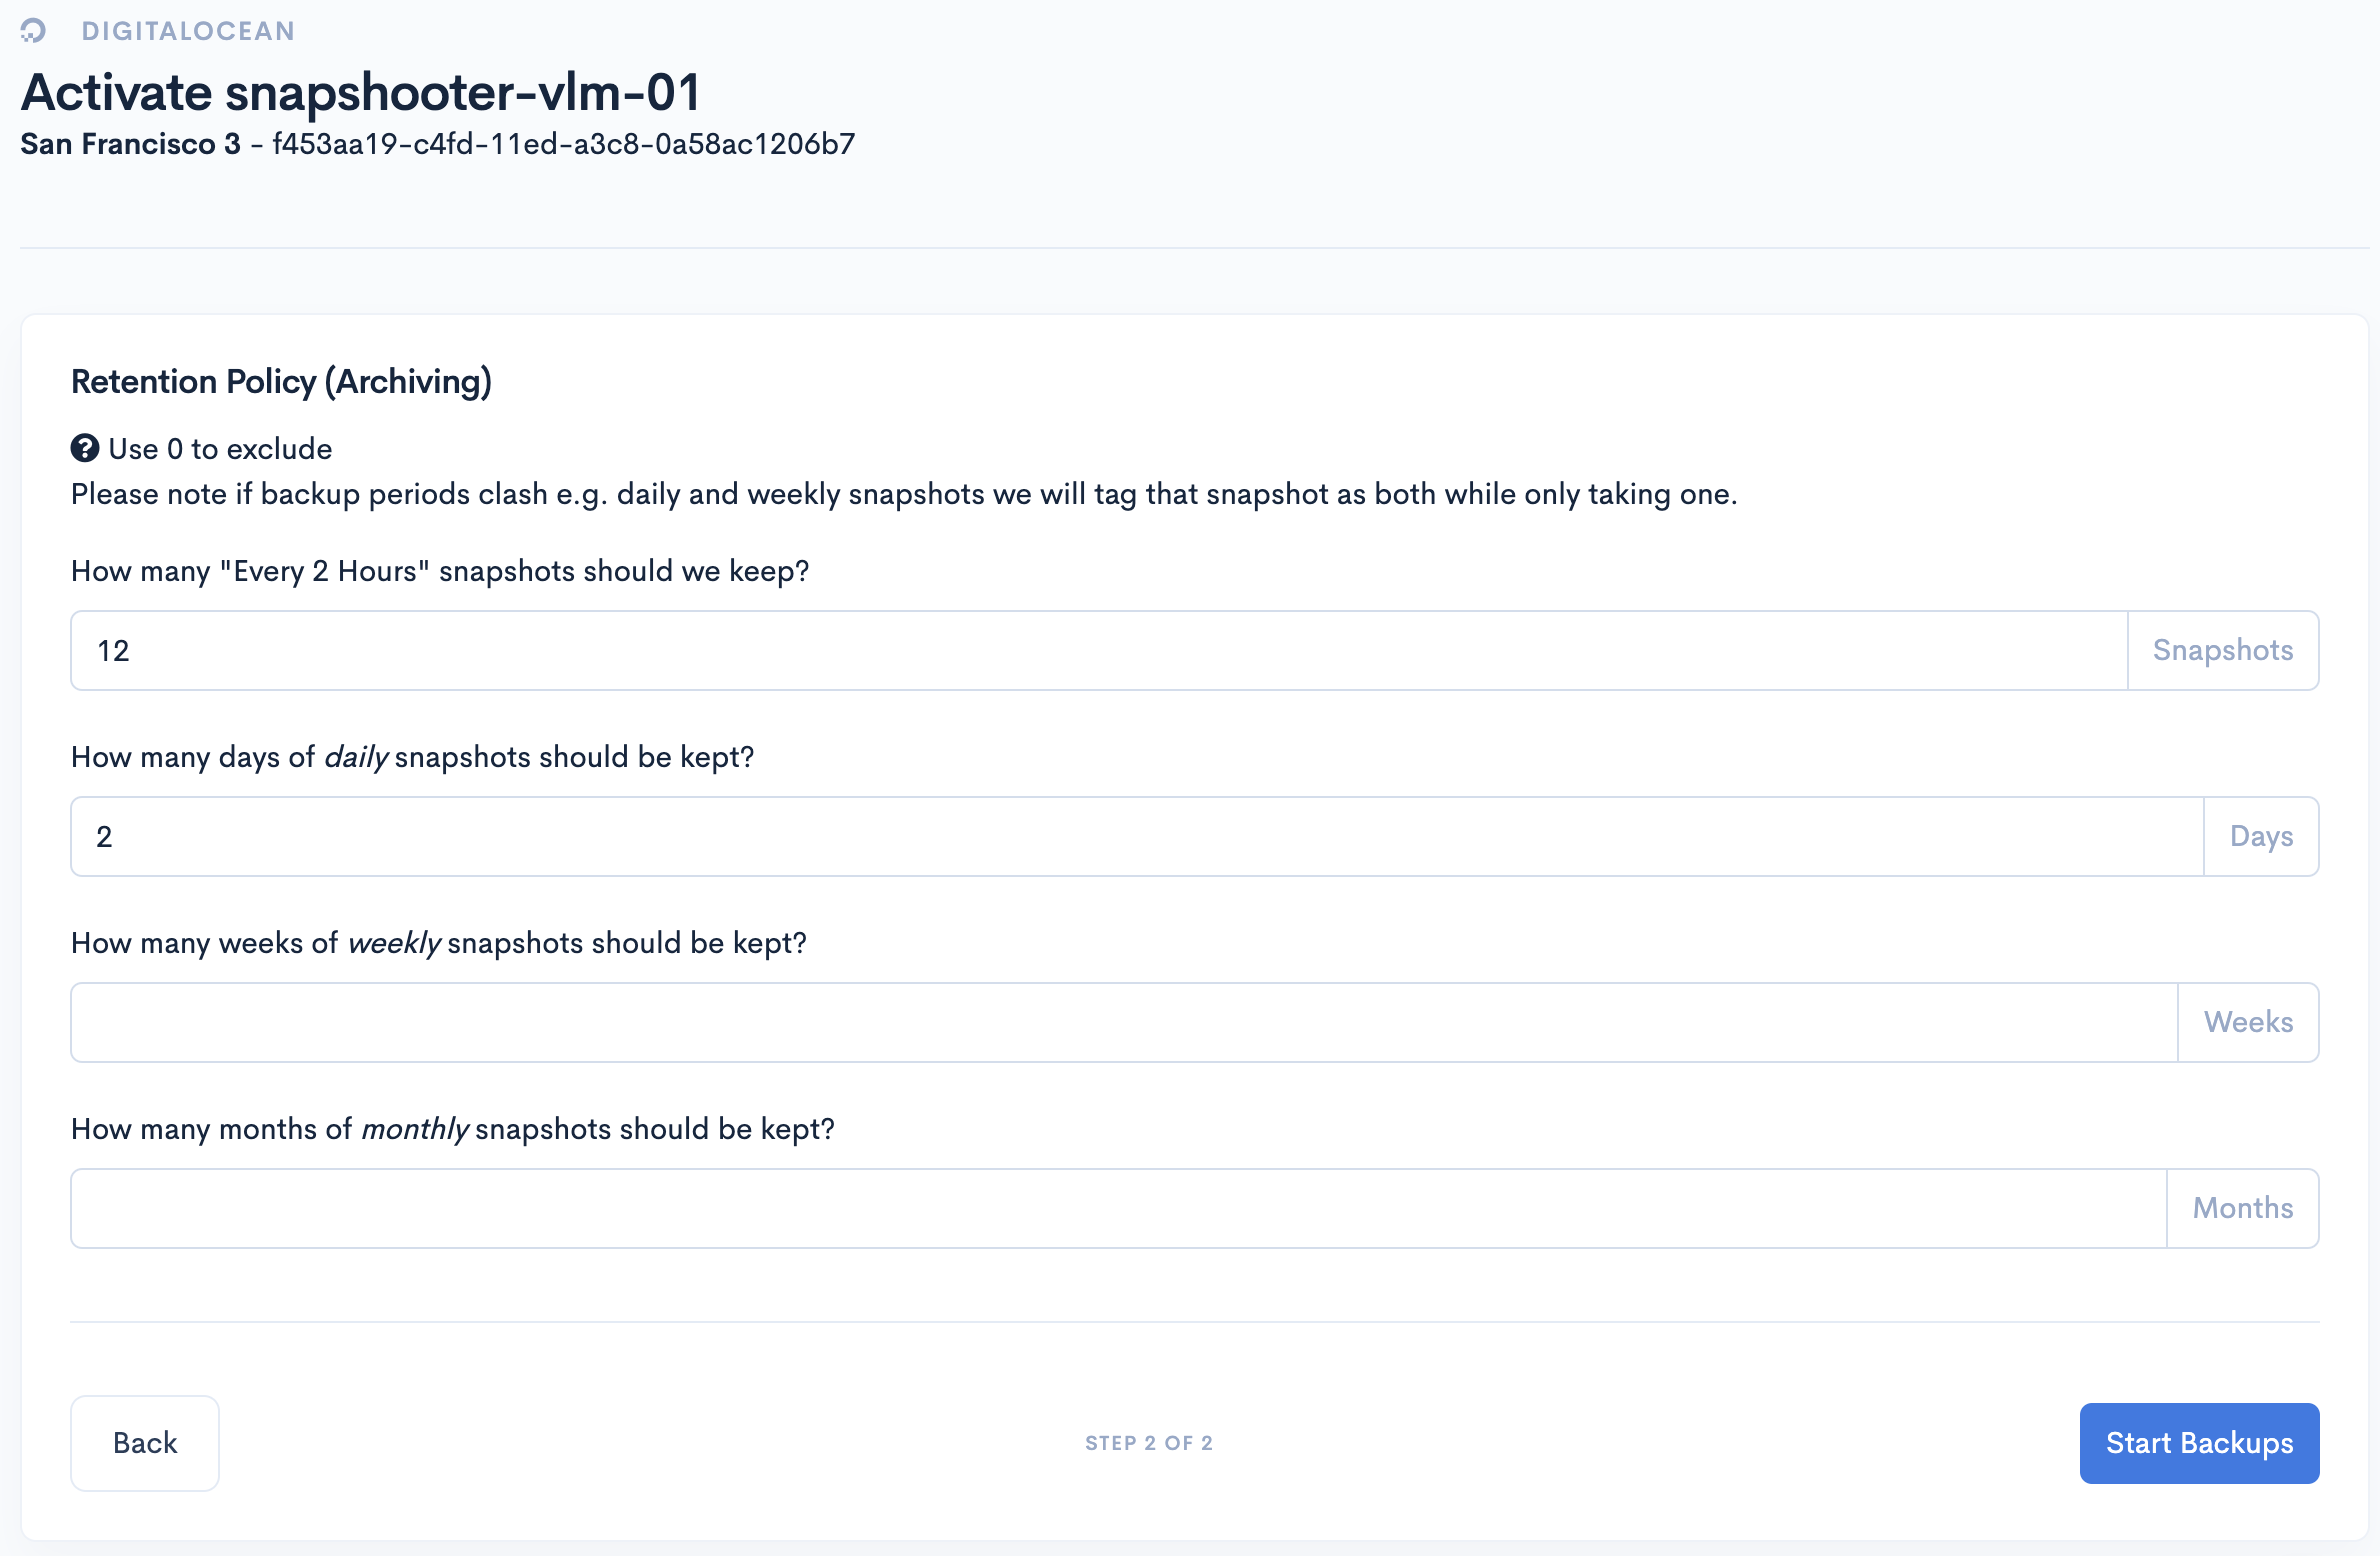
When backing up a Droplet any Volumes attached to the Droplet are not backed up default. Luckily the process of backing up a Volume via SnapShooter is as easy to do as that for a Droplet (and in fact a very similar process). In our example we have 3 Volumes we can backup. We’ll backup the first Volume in the list by setting the appropriate backup configuration for the volume with regards to frequency, timezone and time of backup. We’ll also set a retention policy for our Volume. N.B. You are limited to 25 snapshots per volume which will confine your retention policy, in our example we are limited to retaining 24 snapshots as we’ve specified a retention policy of 12 “2 hour” backups over 2 days.
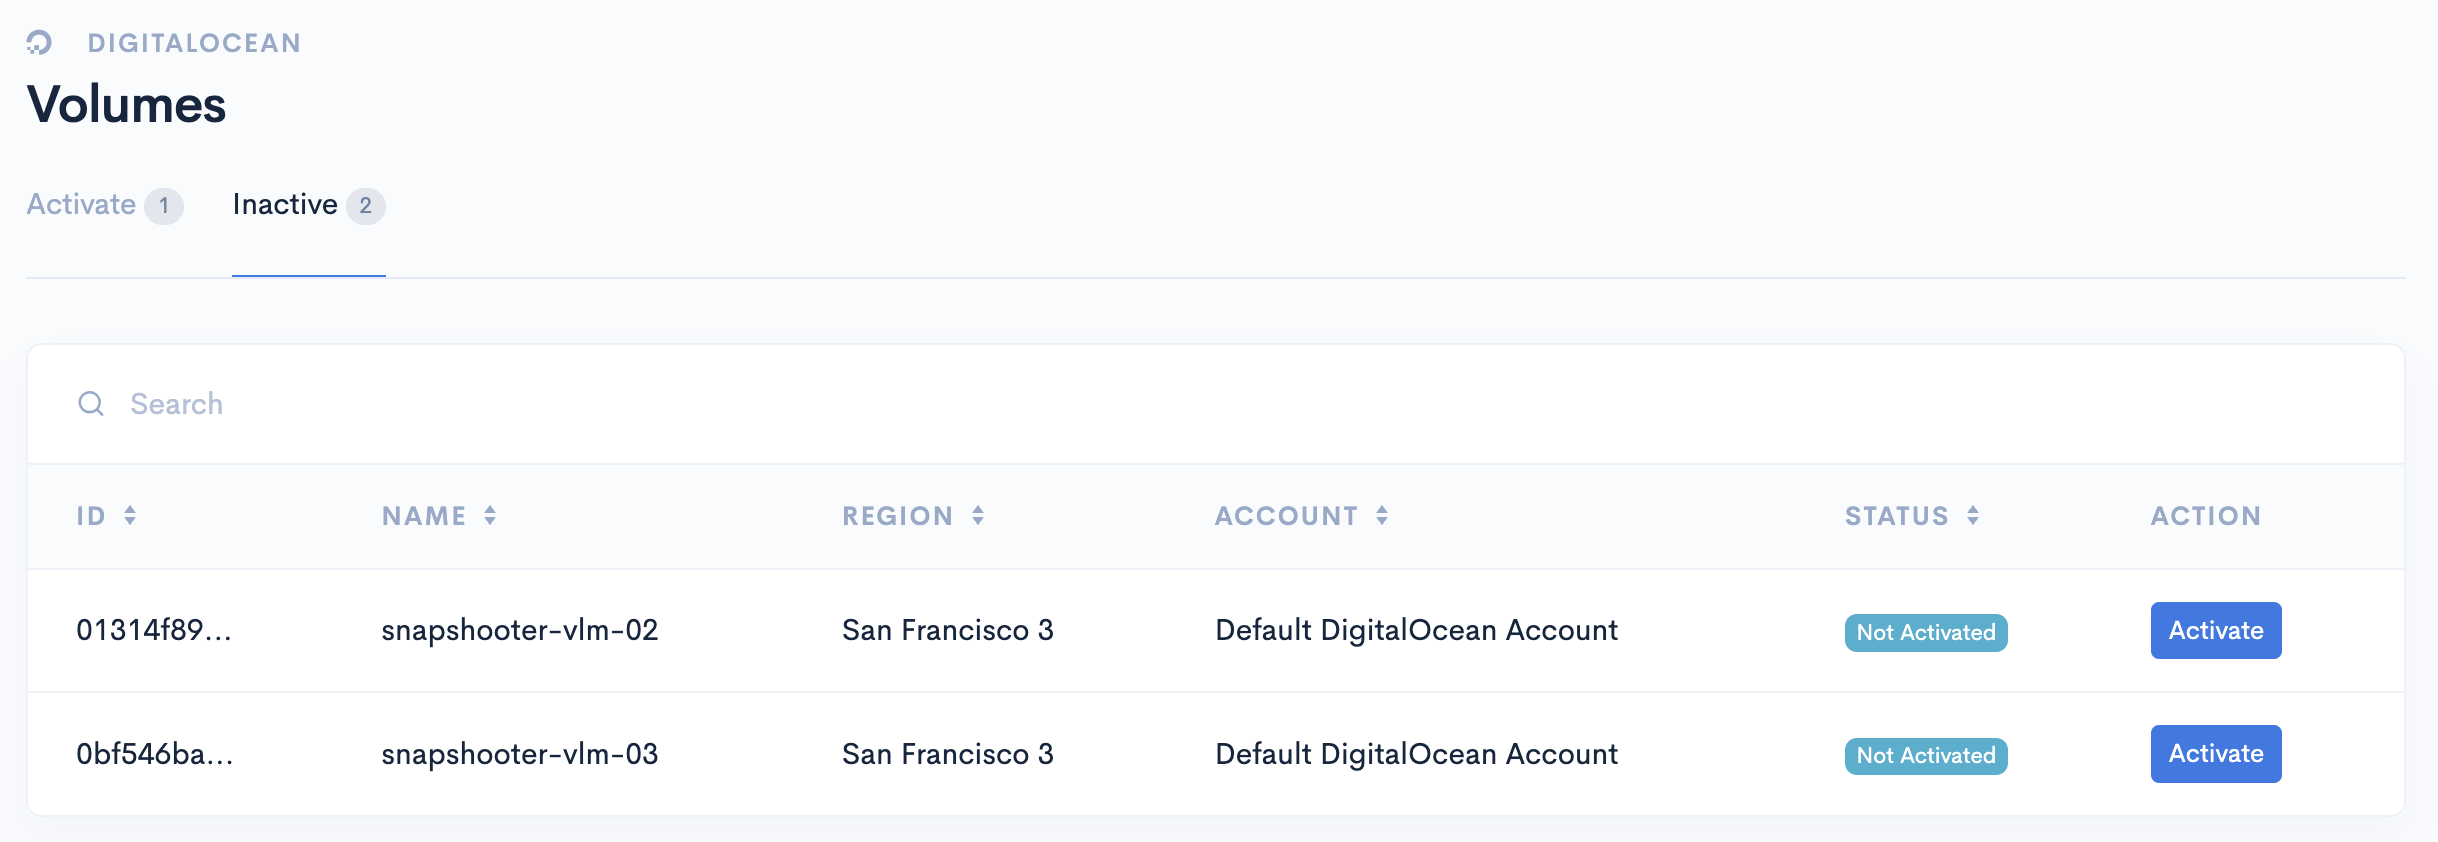
Once you’ve set your Volume backup, you’ll see what Volumes are actively being backed up and which ones are not. Should you wish to backup the Inactive Volumes repeat the process above

Viewing Backups
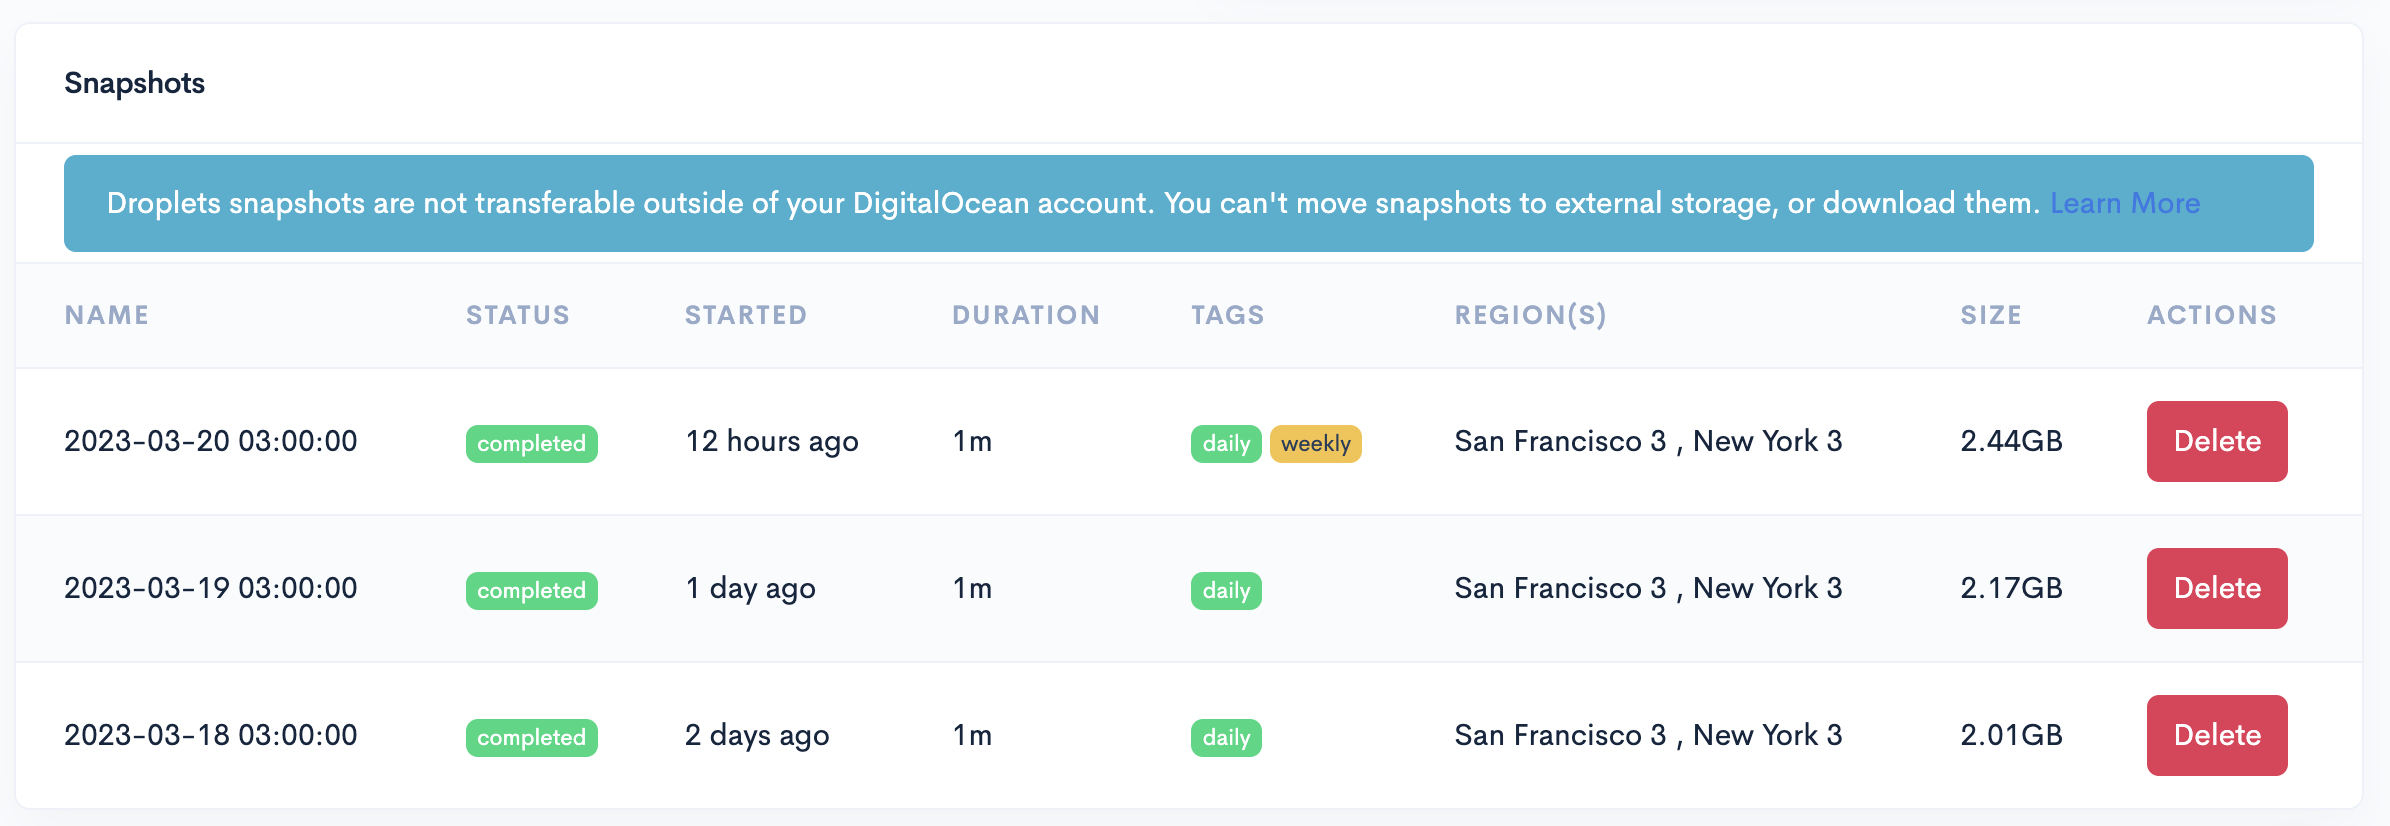
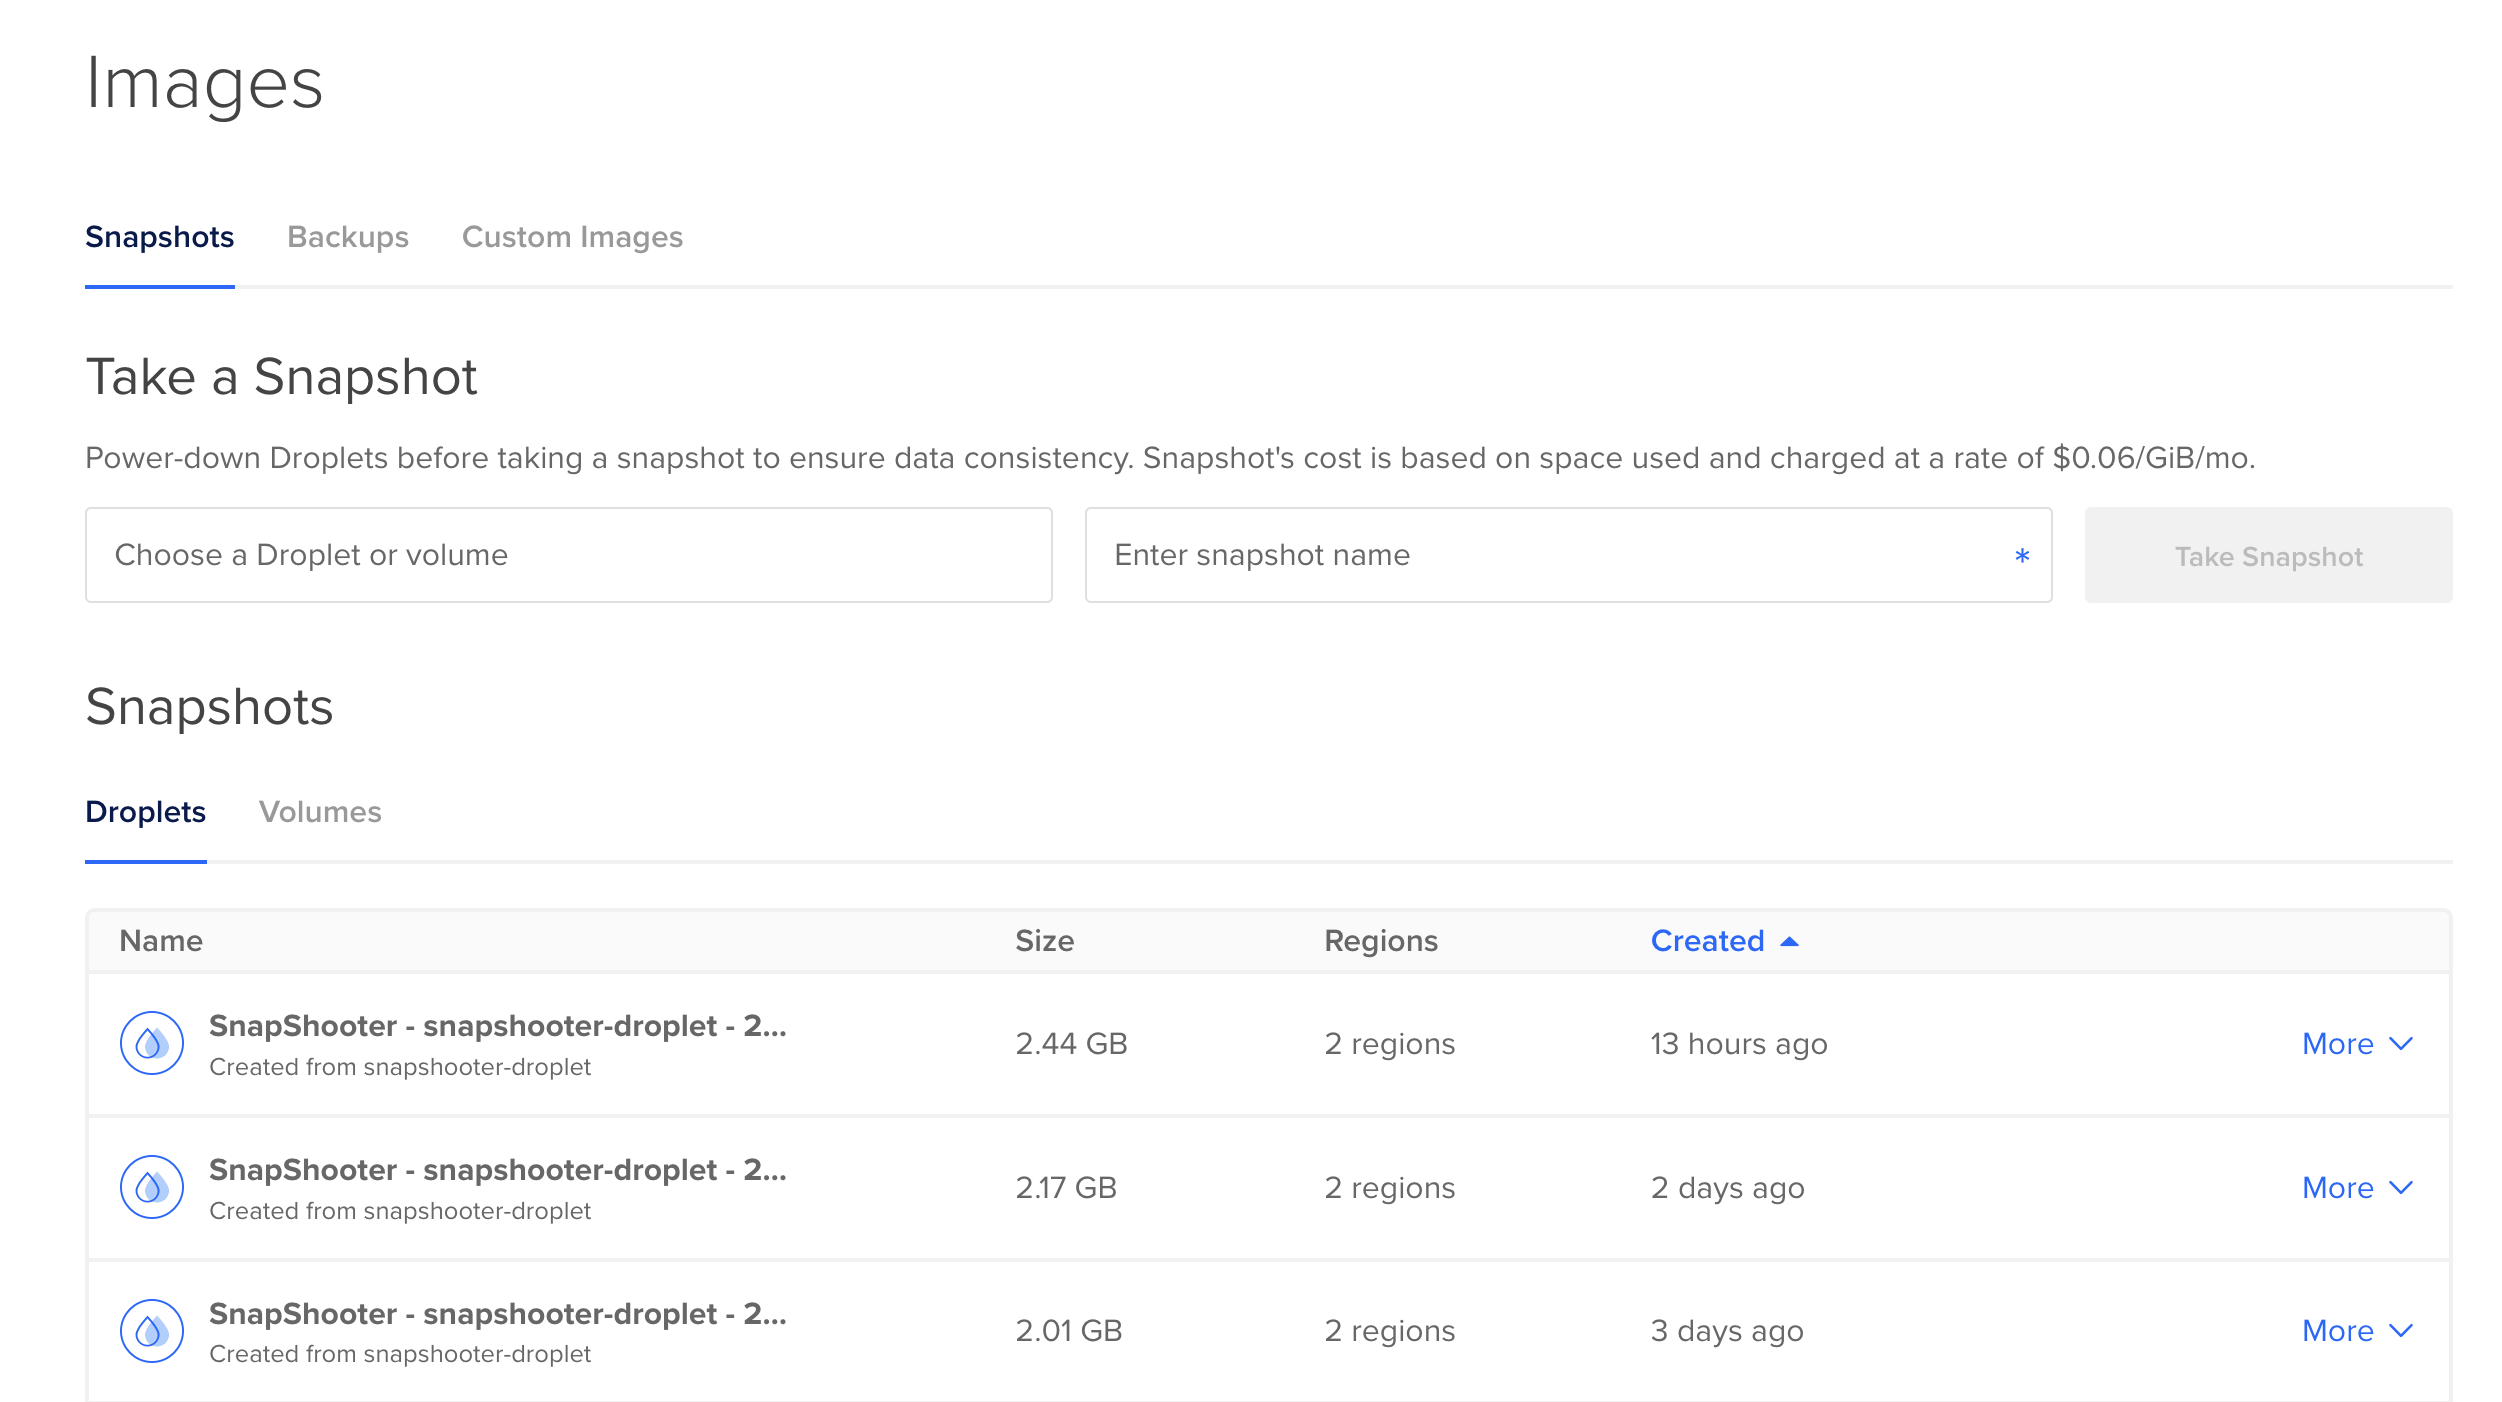
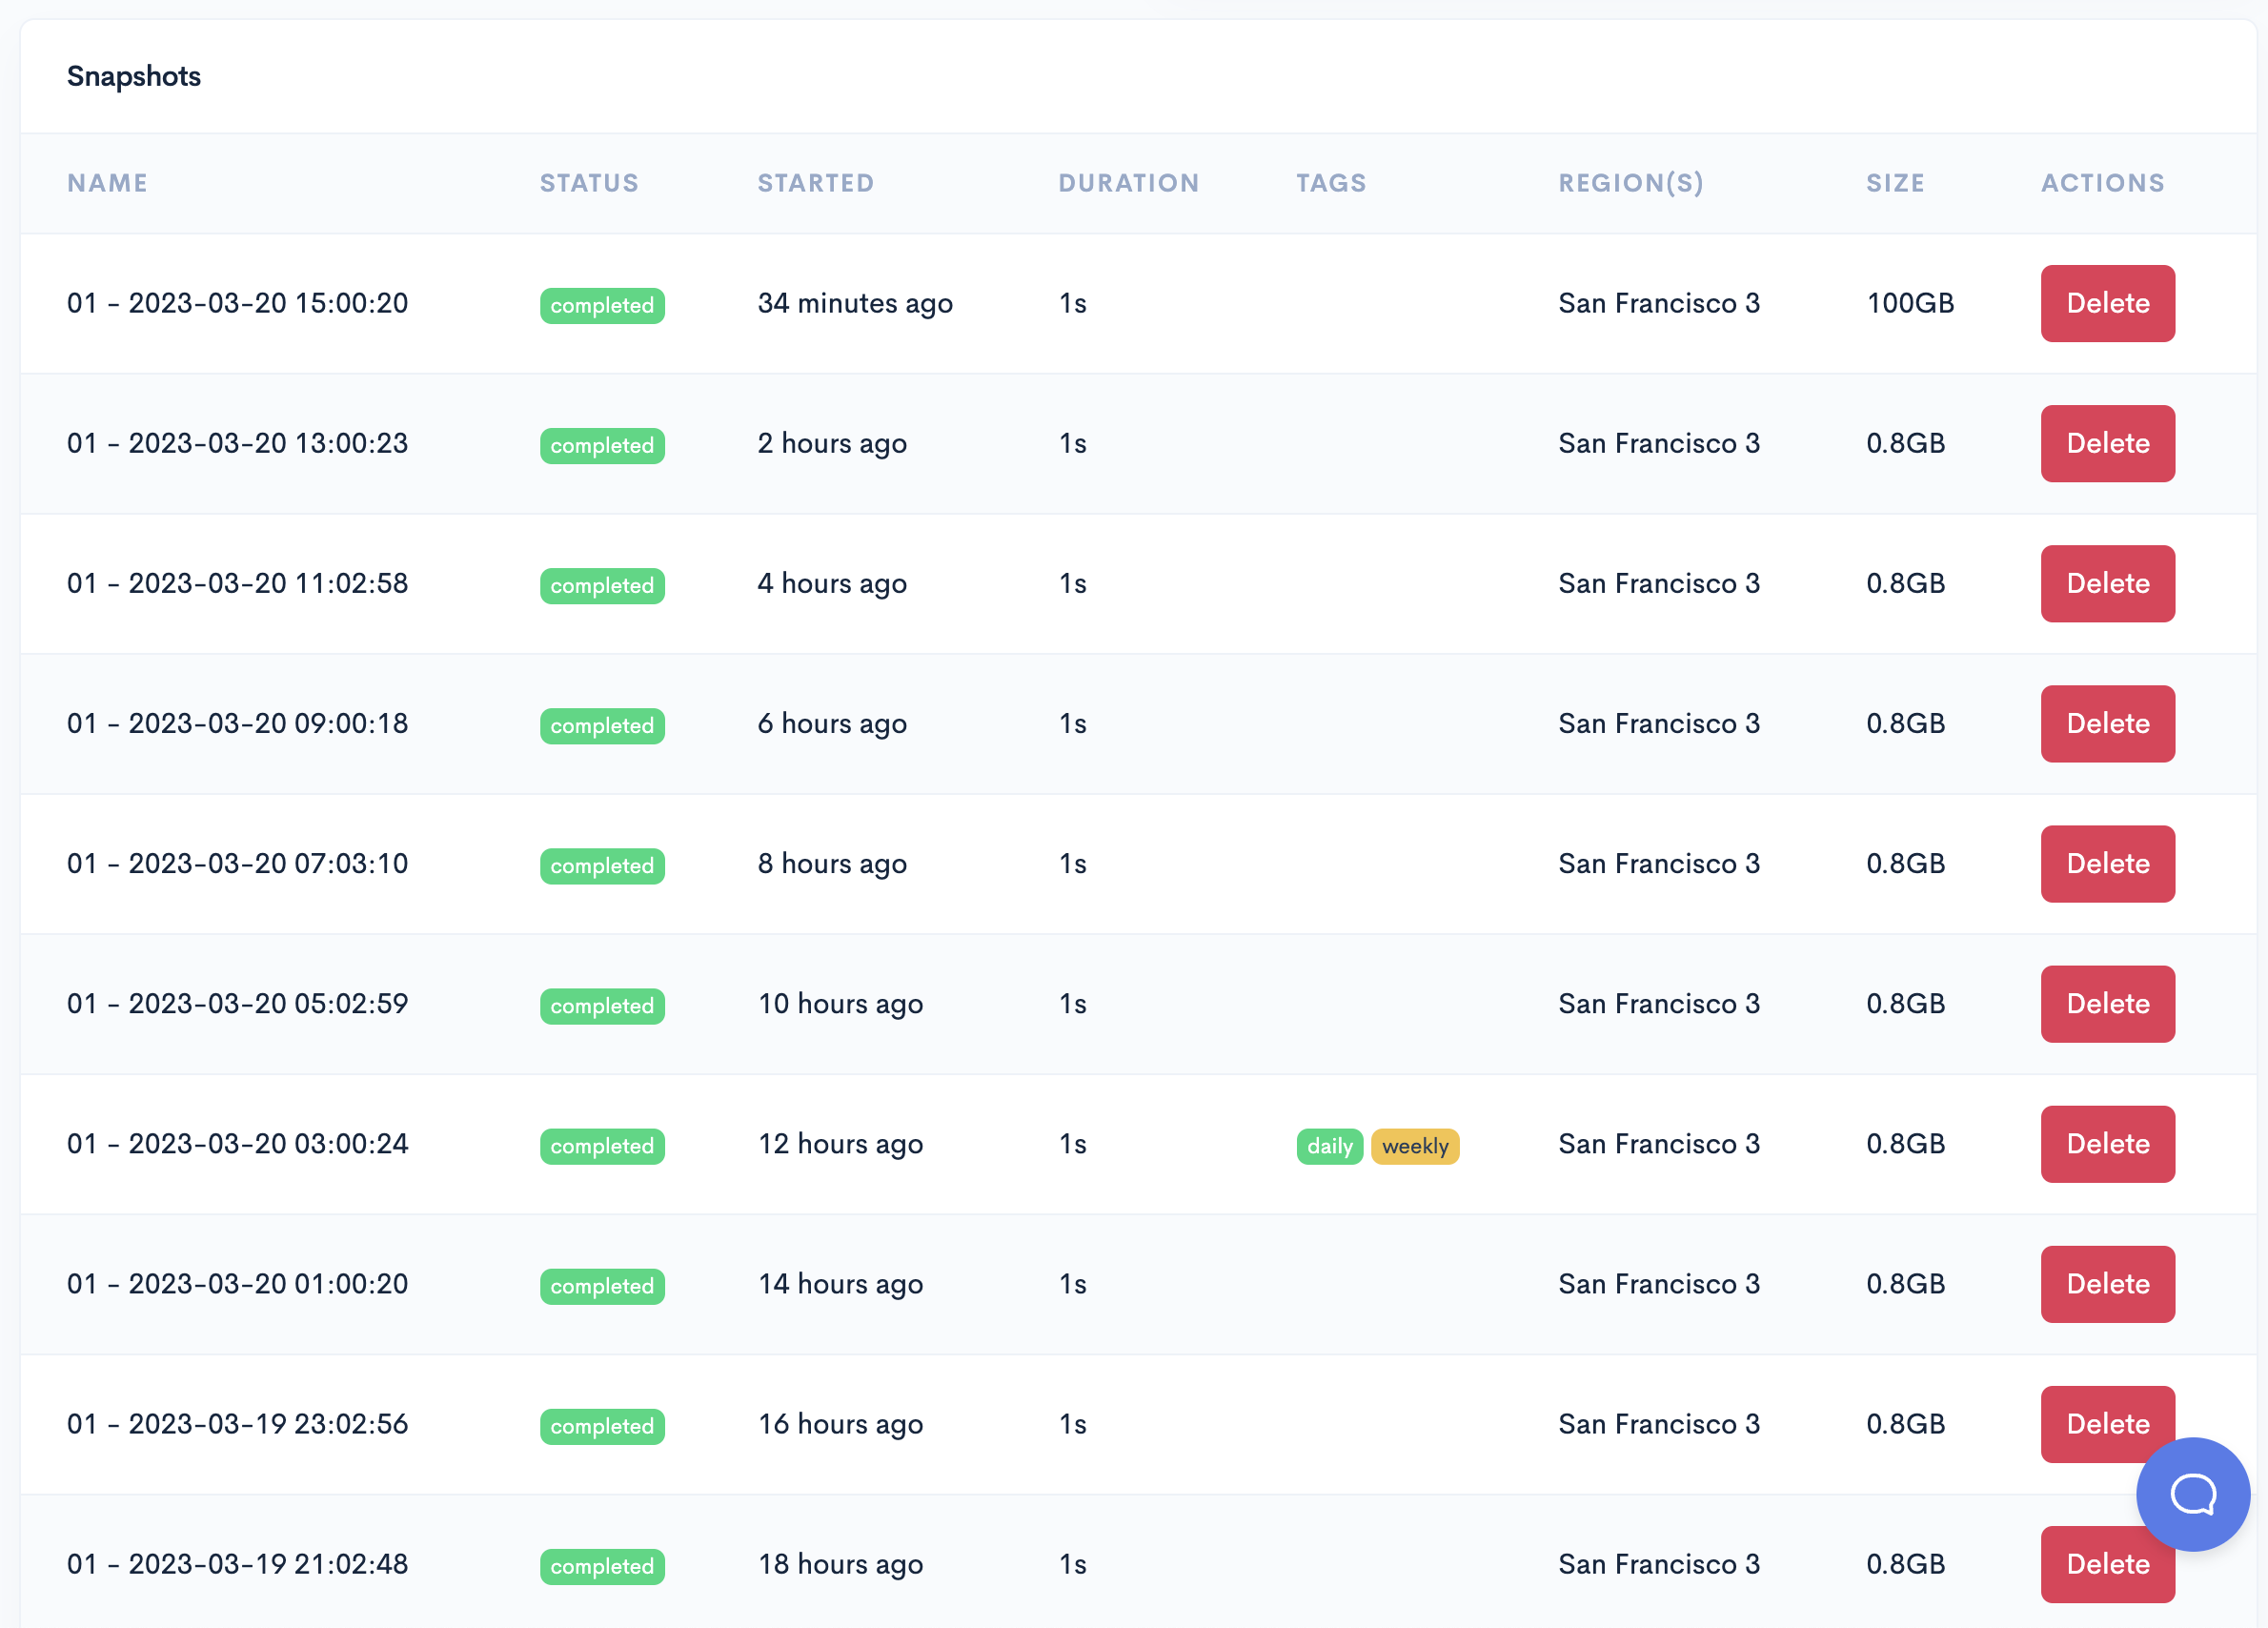
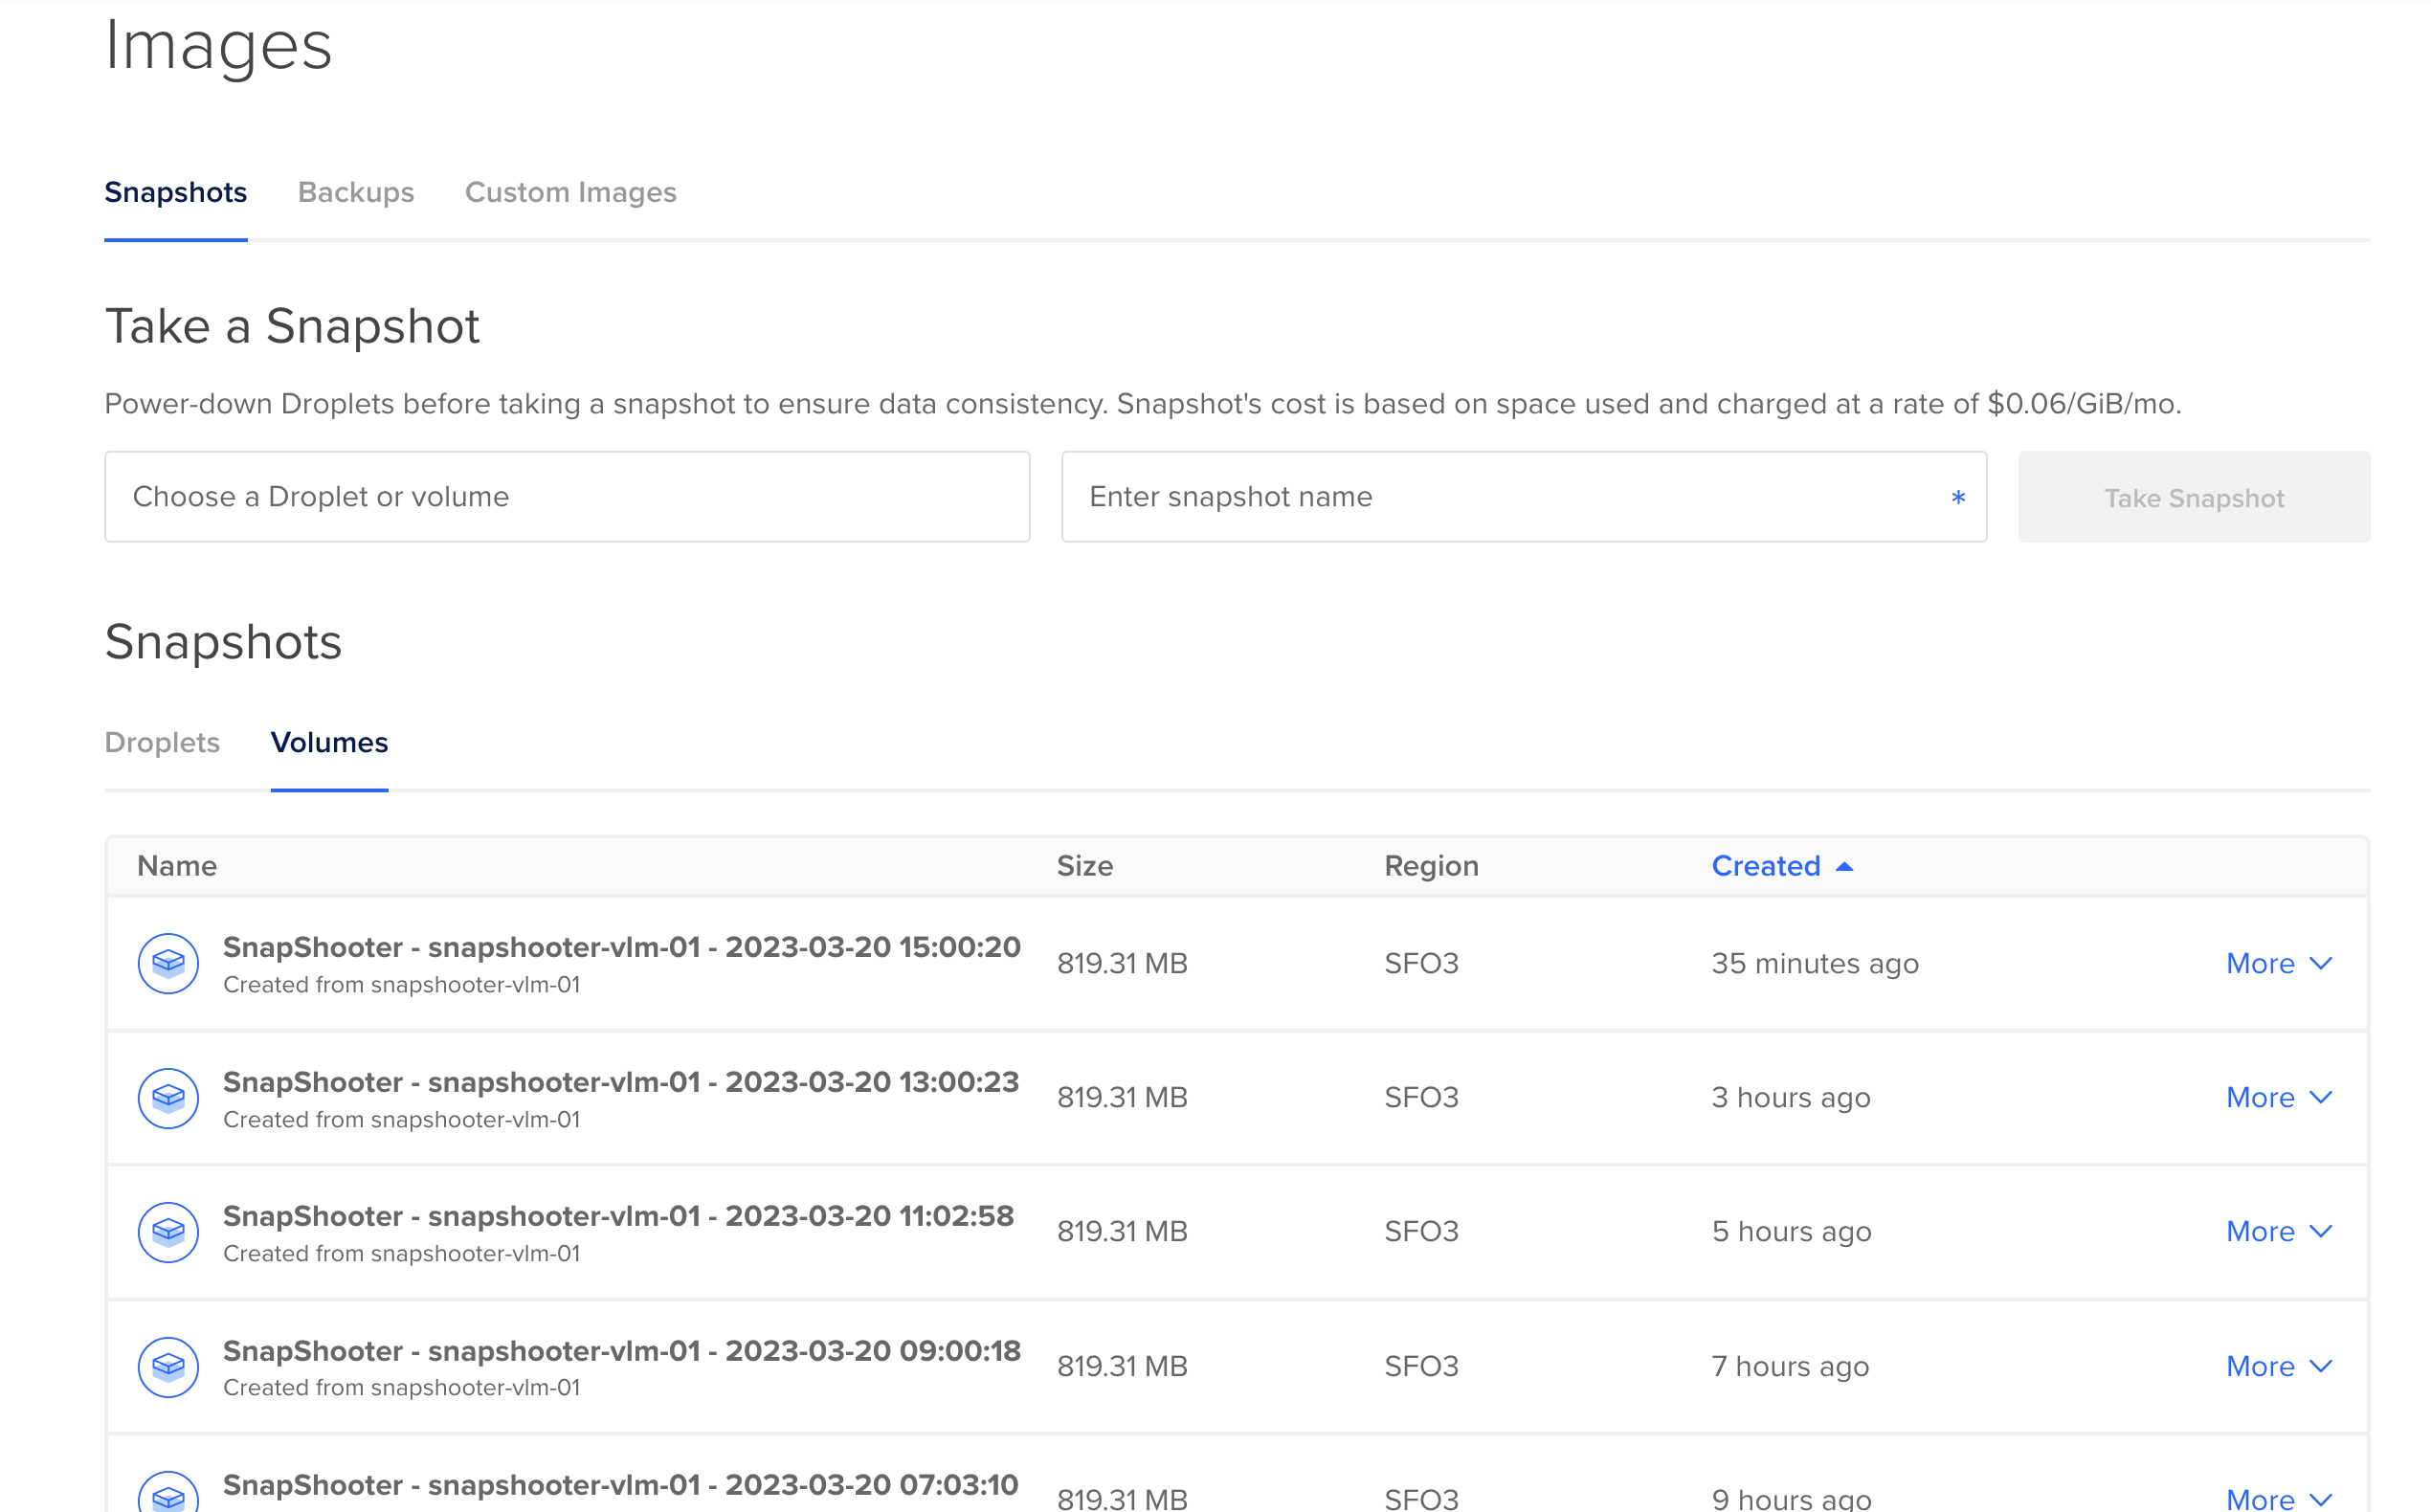
As SnapShooter goes through the process of backing up your Droplets and Volumes you’ll be able to see the list of snapshots retained, and any that have expired and been deleted. You’ll also be able to see the snapshots within your DigitalOcean account under Images > Snapshots. Should you wish to use one of these snapshots to restore your system to a previous state you can easily do this by following our documentation for Droplets and Volumes.
Conclusion
Knowing that your system is backed up gives you piece of mind that should the worst occur you can easily restore your application to a previously working condition. In this tutorial we created backup jobs in SnapShooter for Droplets and Volumes. We encourage you to ensure your servers, databases, and applications are always backed up with SnapShooter and get started building with DigitalOcean today.