How to Fork a MySQL Database Cluster
MySQL is an open source, object-relational database built with speed and reliability in mind. Its large and active developer community has created many third-party applications, tools, and libraries that expand MySQL’s functionality.
Forking a database cluster creates a new cluster from an existing cluster based on a specific point in time. Forking is a cluster-level action that replicates all databases, users, and other settings from the original cluster.
You can create a fork to preserve a cluster’s working state past the 7-day limit that DigitalOcean’s database restoration feature provides. Alternatively, you can create a dump. However, using a fork gives you the flexibility to alter the configuration of the forked cluster. Forking a cluster is also a low-risk way of using your production data to test applications, move it between datacenter regions, or archive it for later analysis.
Fork a Database Using the API
Creating a database from a backup is the same as forking a database in the control panel. To create a new database cluster based on a backup of an existing cluster, send a POST request to /v2/databases. In addition to the standard database cluster attributes, the JSON body must include a key named backup_restore with the name of the original database cluster and the timestamp of the backup to be restored.
Fork a Database Cluster Using the Control Panel
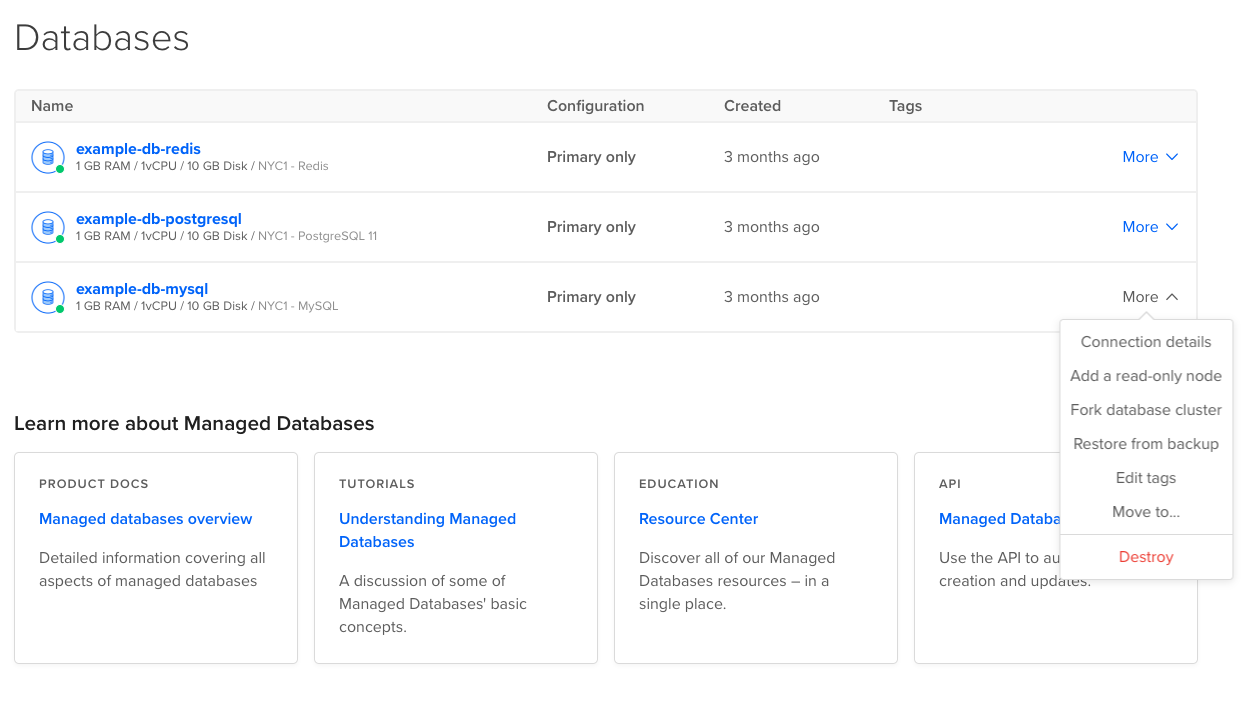
To fork a database cluster, find the cluster on the Databases page and open its More menu.

In the More menu, click Fork database cluster to go to the Fork database cluster page. If you don’t see that option, verify that you opened the More menu of the cluster’s primary node and not a read-only node.
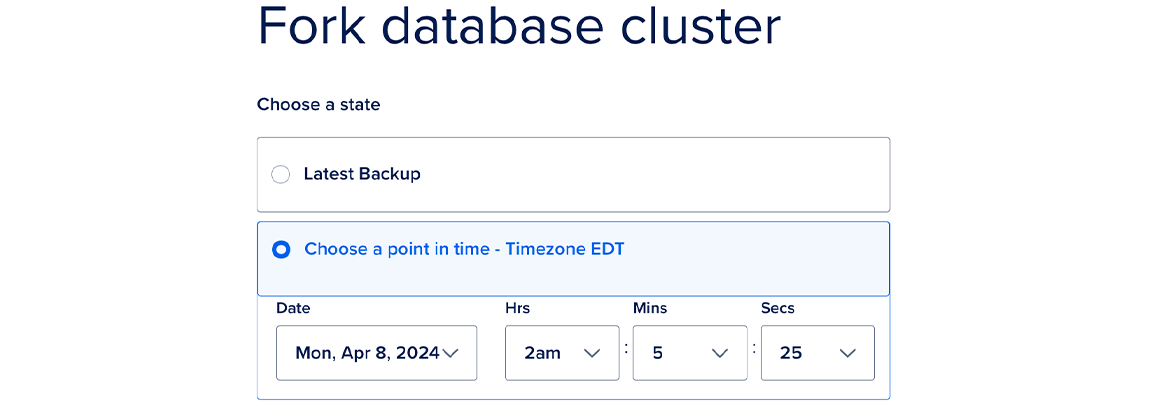
The Fork database cluster page has two sections: choose a state and choose a cluster configuration.

Choose a State
You can choose from two states:
-
Latest Transaction: This state creates a copy of your database as of the time you loaded the Fork database cluster page. It won’t include transactions which occurred after you loaded the page, so you may want to refresh to capture the most recent transactions in the fork.
-
Point in Time: This state creates a copy of your database as of a specific point in time within the last 7 days.
Choose a Cluster Configuration
You can customize the forked cluster’s configuration with the following options:
-
Configuration plan: Choose a plan. You can choose any plan, regardless of the original cluster configuration.
-
Storage size: Choose a storage size. You can choose any storage size, regardless of the original cluster configuration.
-
Standby nodes: Select the number of standby nodes. You can choose any number, regardless of the original cluster configuration.
-
Choose a datacenter: You can select the same datacenter or a different datacenter for the fork.
The monthly cost and hourly prorate for the new cluster are displayed here. Billing stops when you destroy the cluster.
Finalize and Create
Choose a name for the forked cluster, between 3 and 63 characters. The name must be lowercase and may not contain spaces. All the databases and users will be copied to the fork, including the required defaultdb database and doadmin user.
When all required fields are complete, click the Fork Database Cluster button to initiate the fork. A fork will take longer to provision than a new cluster as the nodes are created and the data is transferred.