How to Schedule Functions Beta
Functions are blocks of code that run on demand without the need to manage any infrastructure. Develop on your local machine, test your code from the command line (using doctl), then deploy to a production namespace or App Platform — no servers required.
To run functions on a schedule, you can create a function trigger and then specify a schedule using standard cron syntax. Each trigger is attached to a single function, but functions can have multiple triggers with different schedules and payloads.
Create a Scheduled Trigger
You can create triggers in the control panel or by updating your project’s project.yml file and deploying the changes with doctl serverless deploy.
If you have already deployed your function from the command line using doctl serverless deploy, you can create your scheduled trigger in project.yml and redeploy.
doctl to deploy and manage triggers, you must have doctl version 1.82.0 or higher. Use doctl version to check your version.First, navigate to the project directory containing the function you want to schedule. If you don’t have an existing project, see the Functions Quickstart to get started.
Open the project.yml file in your text editor. A simplified version of the default project.yml from a Node.js project follows.
packages:
  - name: sample
    functions:
      - name: hello
        binary: false
        runtime: 'nodejs:default'
        web: true
To create a scheduled trigger, add a triggers: key to the function definition:
packages:
  - name: sample
    functions:
      - name: hello
        binary: false
        runtime: 'nodejs:default'
        web: true
        triggers:
          - name: trigger-hello
            sourceType: scheduler
            sourceDetails:
              cron: "* * * * *"
              withBody:
                name: 'sammy'
Under triggers is a list of objects specifying triggers. Refer to the triggers section of the project.yml reference for details on the configuration options.
In this example, the above trigger configuration creates one trigger named trigger-hello, scheduled to run every minute (* * * * *). The trigger passes in a payload with the name parameter set to sammy.
web: true set, which means it is a Web Function that responds to normal public HTTP requests. If you want your function to remain private and only be invoked by the trigger, set this to false.Save the updated project.yml file, then deploy the changes:
doctl serverless deploy .
Which returns the output:
Deploying '/home/sammy/example-node'
  to namespace 'fn-378ae839-e58b-4cd1-afcf-632cd7b7b8db'
  on host 'https://faas-nyc1-2ef2e6cc.doserverless.co'

Deployed functions ('doctl sbx fn get <funcName> --url' for URL):
  - sample/hello
Deployed triggers:
  - trigger-hello
Notice the Deployed triggers: section. Your new trigger should be listed as deployed.
To check that your scheduled trigger is working, fetch the latest log entry from your function:
doctl serverless activations logs --function "sample/hello"
Be sure to use the correct function name. You can also add --limit and specify a number to print multiple log entries at once.
doctl serverless activations logs --function "sample/hello" --limit 10
A successful invocation of the sample/hello function, reflecting the payload set in project.yml, results in the following log entry:
=== 0870c85762594431b0c85762594431c2 (success) 10/06 12:34:51 hello:0.0.2
2022-10-06T16:34:51.687835976Z stdout: Hello sammy!
For more information on developing, testing, and inspecting functions, see How to Develop Functions.
To create a trigger for a function using the control panel, first navigate to the function. From the main Functions page click on the namespace containing the function, then click the function name.
doctl could result in the trigger being overwritten or destroyed during subsequent runs of doctl serverless deploy.This takes you to the function’s Source tab. Click the Triggers tab.

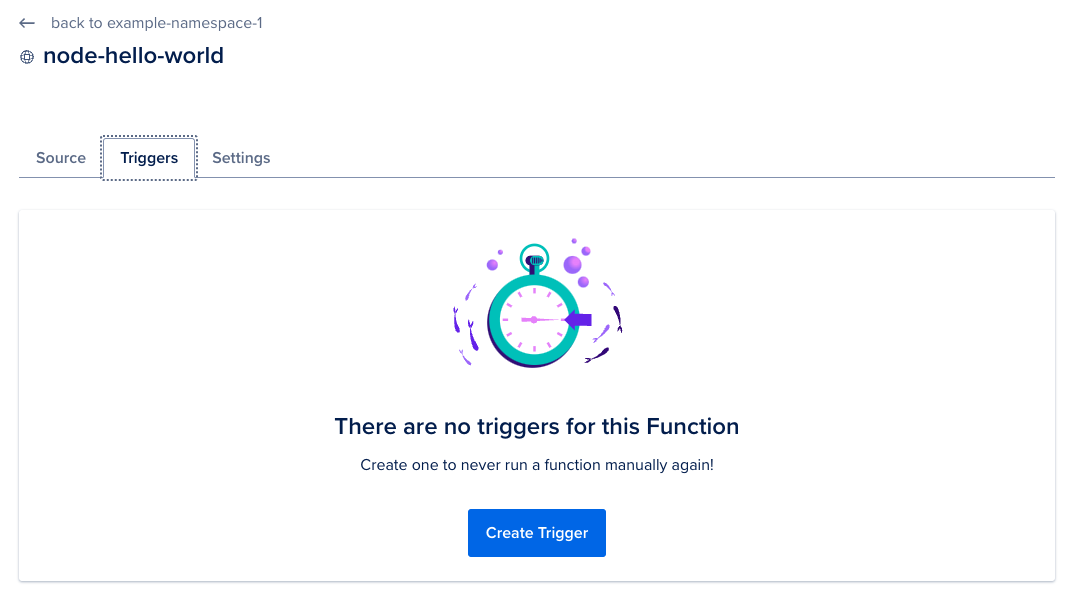
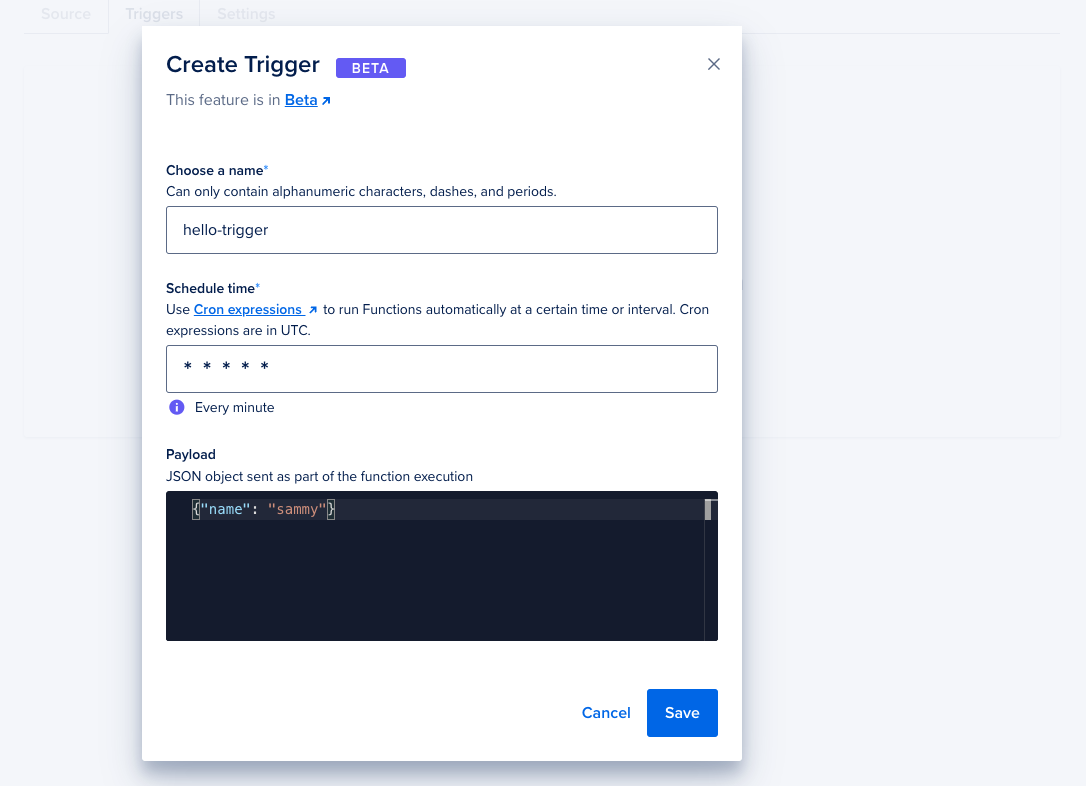
If your function has no triggers, the page will only have a placeholder image and a Create Trigger button. Click the button to start creating a new trigger. This pops up the Create Trigger dialog.

There are three fields to fill out. First, choose a name for your trigger.
Next, set the schedule using standard cron syntax. See the cron Syntax section for more details on formatting the schedule.
As you fill out the schedule, your input is automatically checked for errors and interpreted into plain language. Check the interpretation to ensure it matches your intended schedule.
Finally, you can optionally send parameters to the function as a JSON payload. Input any valid JSON object (or leave it empty {}), then press Save to create the scheduled trigger.
To check that your trigger is active and working as expected, navigate to the Logs tab of your function’s namespace. Inspect the activation records from your function to verify that the trigger is firing and the logs are correct.
cron Syntax
The cron syntax used to schedule jobs on UNIX systems has become a standard method of specifying repeating task schedules. A cron schedule string consists of five fields: minute, hour, day of the month, month, and day of the week. A basic example looks like this:
30 17 * * 2
This schedule triggers every Tuesday at 5:30 PM. The allowed values for each field are listed in the following table.
| Field | Allowed Values |
|---|---|
| minute | 0-59 |
| hour | 0-23 |
| Day of the month | 1-31 |
| month | 1-12 or JAN-DEC |
| Day of the week | 0-6 or SUN-SAT |
There are also a few special characters you can use to express more complex schedules:
-
*: The asterisk is a wildcard that represents “all”. A schedule of* * * * *runs every minute of every hour of every day of every month. -
,: Commas allow you to list multiple values for a field. If you want to have a task run at the beginning and middle of every hour you could achieve this with0,30 * * * *. -
-: A hyphen represents a range of values.0-29 * * * *triggers every minute in the first half of each hour. -
/: You can use a forward slash after an asterisk to express a step value. For example, to run a command every three hours you could use0 */3 * * *.Note
When expressing step values, you can only use integers that divide evenly into the range allowed by the field in question. For example, in the “hours” field, you can only follow a forward slash with1,2,3,4,6,8, or12.
Example cron Schedules
Here are some more examples of the cron scheduling syntax:
* * * * *– Every minute12 * * * *– 12 minutes after every hour0,15,30,45 * * * *– Every 15 minutes*/15 * * * *– Every 15 minutes0 4 * * *– Every day at 4:00 AM0 4 * * 2-4– Every Tuesday, Wednesday, and Thursday at 4:00 AM20,40 */8 * JUL-DEC *– On the 20th and 40th minute of every 8th hour every day of the last 6 months of the year
Limits
- You can create a maximum of 3 triggers during the Beta period. There will be no charge for creating scheduled triggers during the Beta but this is subject to change. Function invocations will still be billed normally. See Functions Pricing for pricing and free allowance details.
- Scheduled triggers are not yet available for function components deployed through App Platform.