
Machines are high-performing computing for scaling AI applications.
After you log in to the console, click the create button.
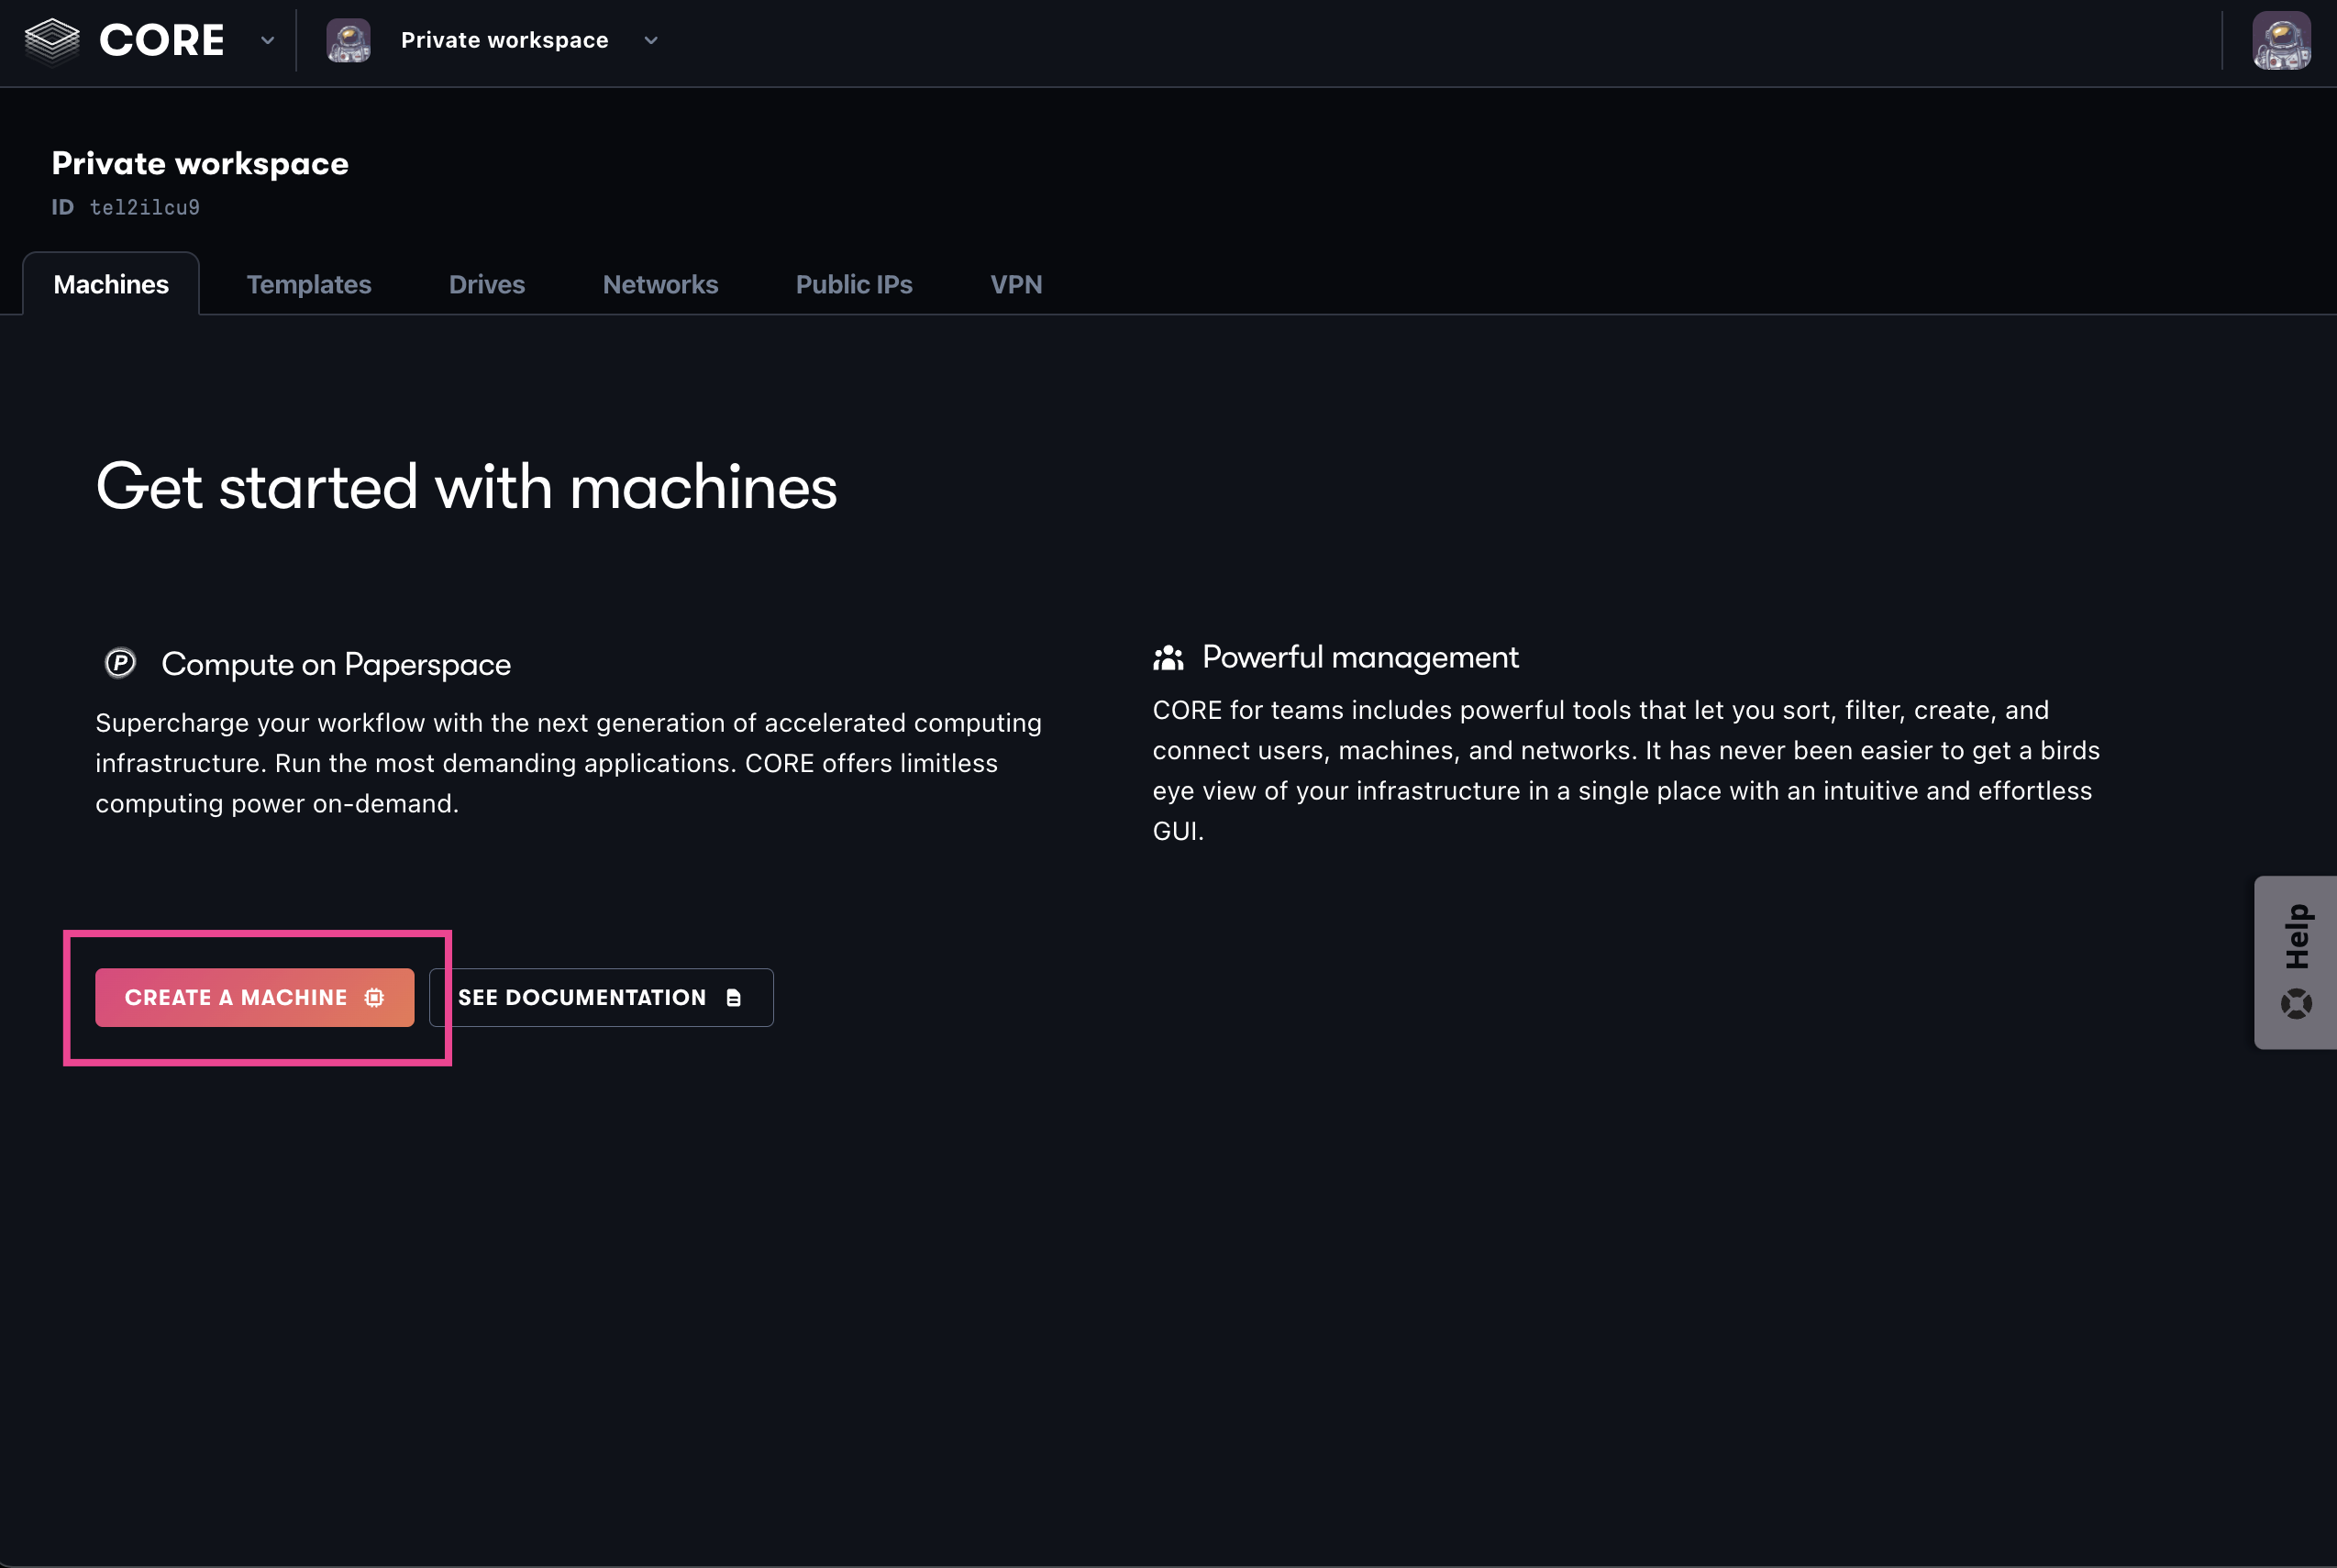
The create page is where you choose your machine configuration, such as its operating system (OS), the machine type, and which features (like Snapshots or Public IPs) to enable. The most popular defaults are pre-selected, so you can scroll to the bottom of the page and create a Machine immediately, or you can customize any of the options in each section.
In the OS section, you choose the template to use while creating your machine. Initially, you can choose from four categories:
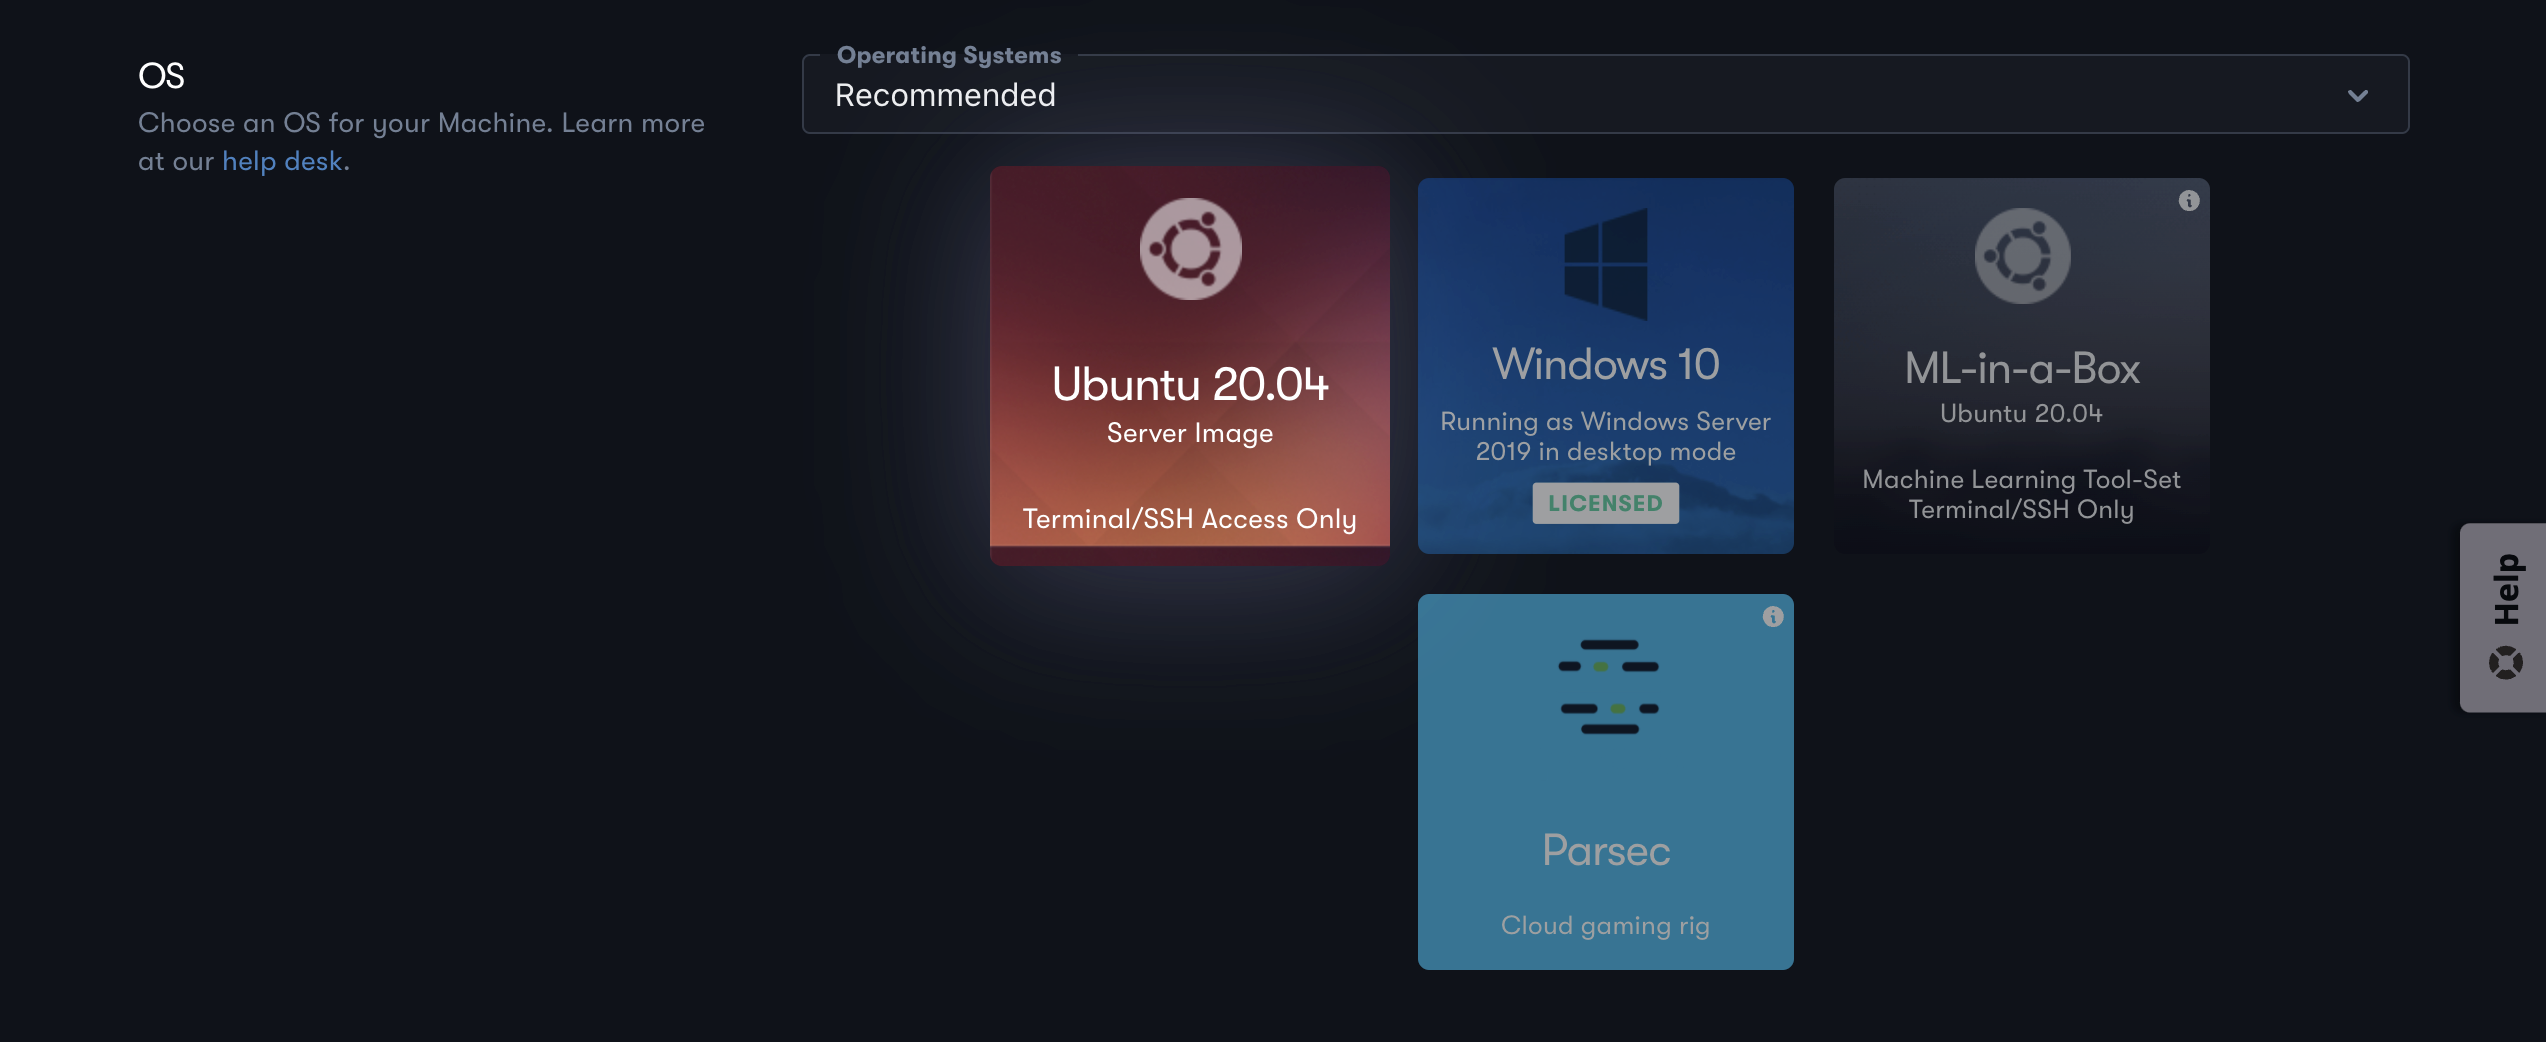
Recommended templates are a set of popular options within Paperspace.
Linux templates are basic Unix-like images with no additional software.
Windows templates are basic Windows OS versions with no additional software.
Public templates include third party software.
Custom templates list any custom images that you have created, if any.
In the machine type section, you see a list of OS-specific machine types. At the top, there is a set of tabs you can use to filter by GPU, Multi-GPU, CPU, etc. or you can view all machine types. The machine types list contains the name, the high-level specs, and price.
You can view more information about machine types here and view more information about their performance here.
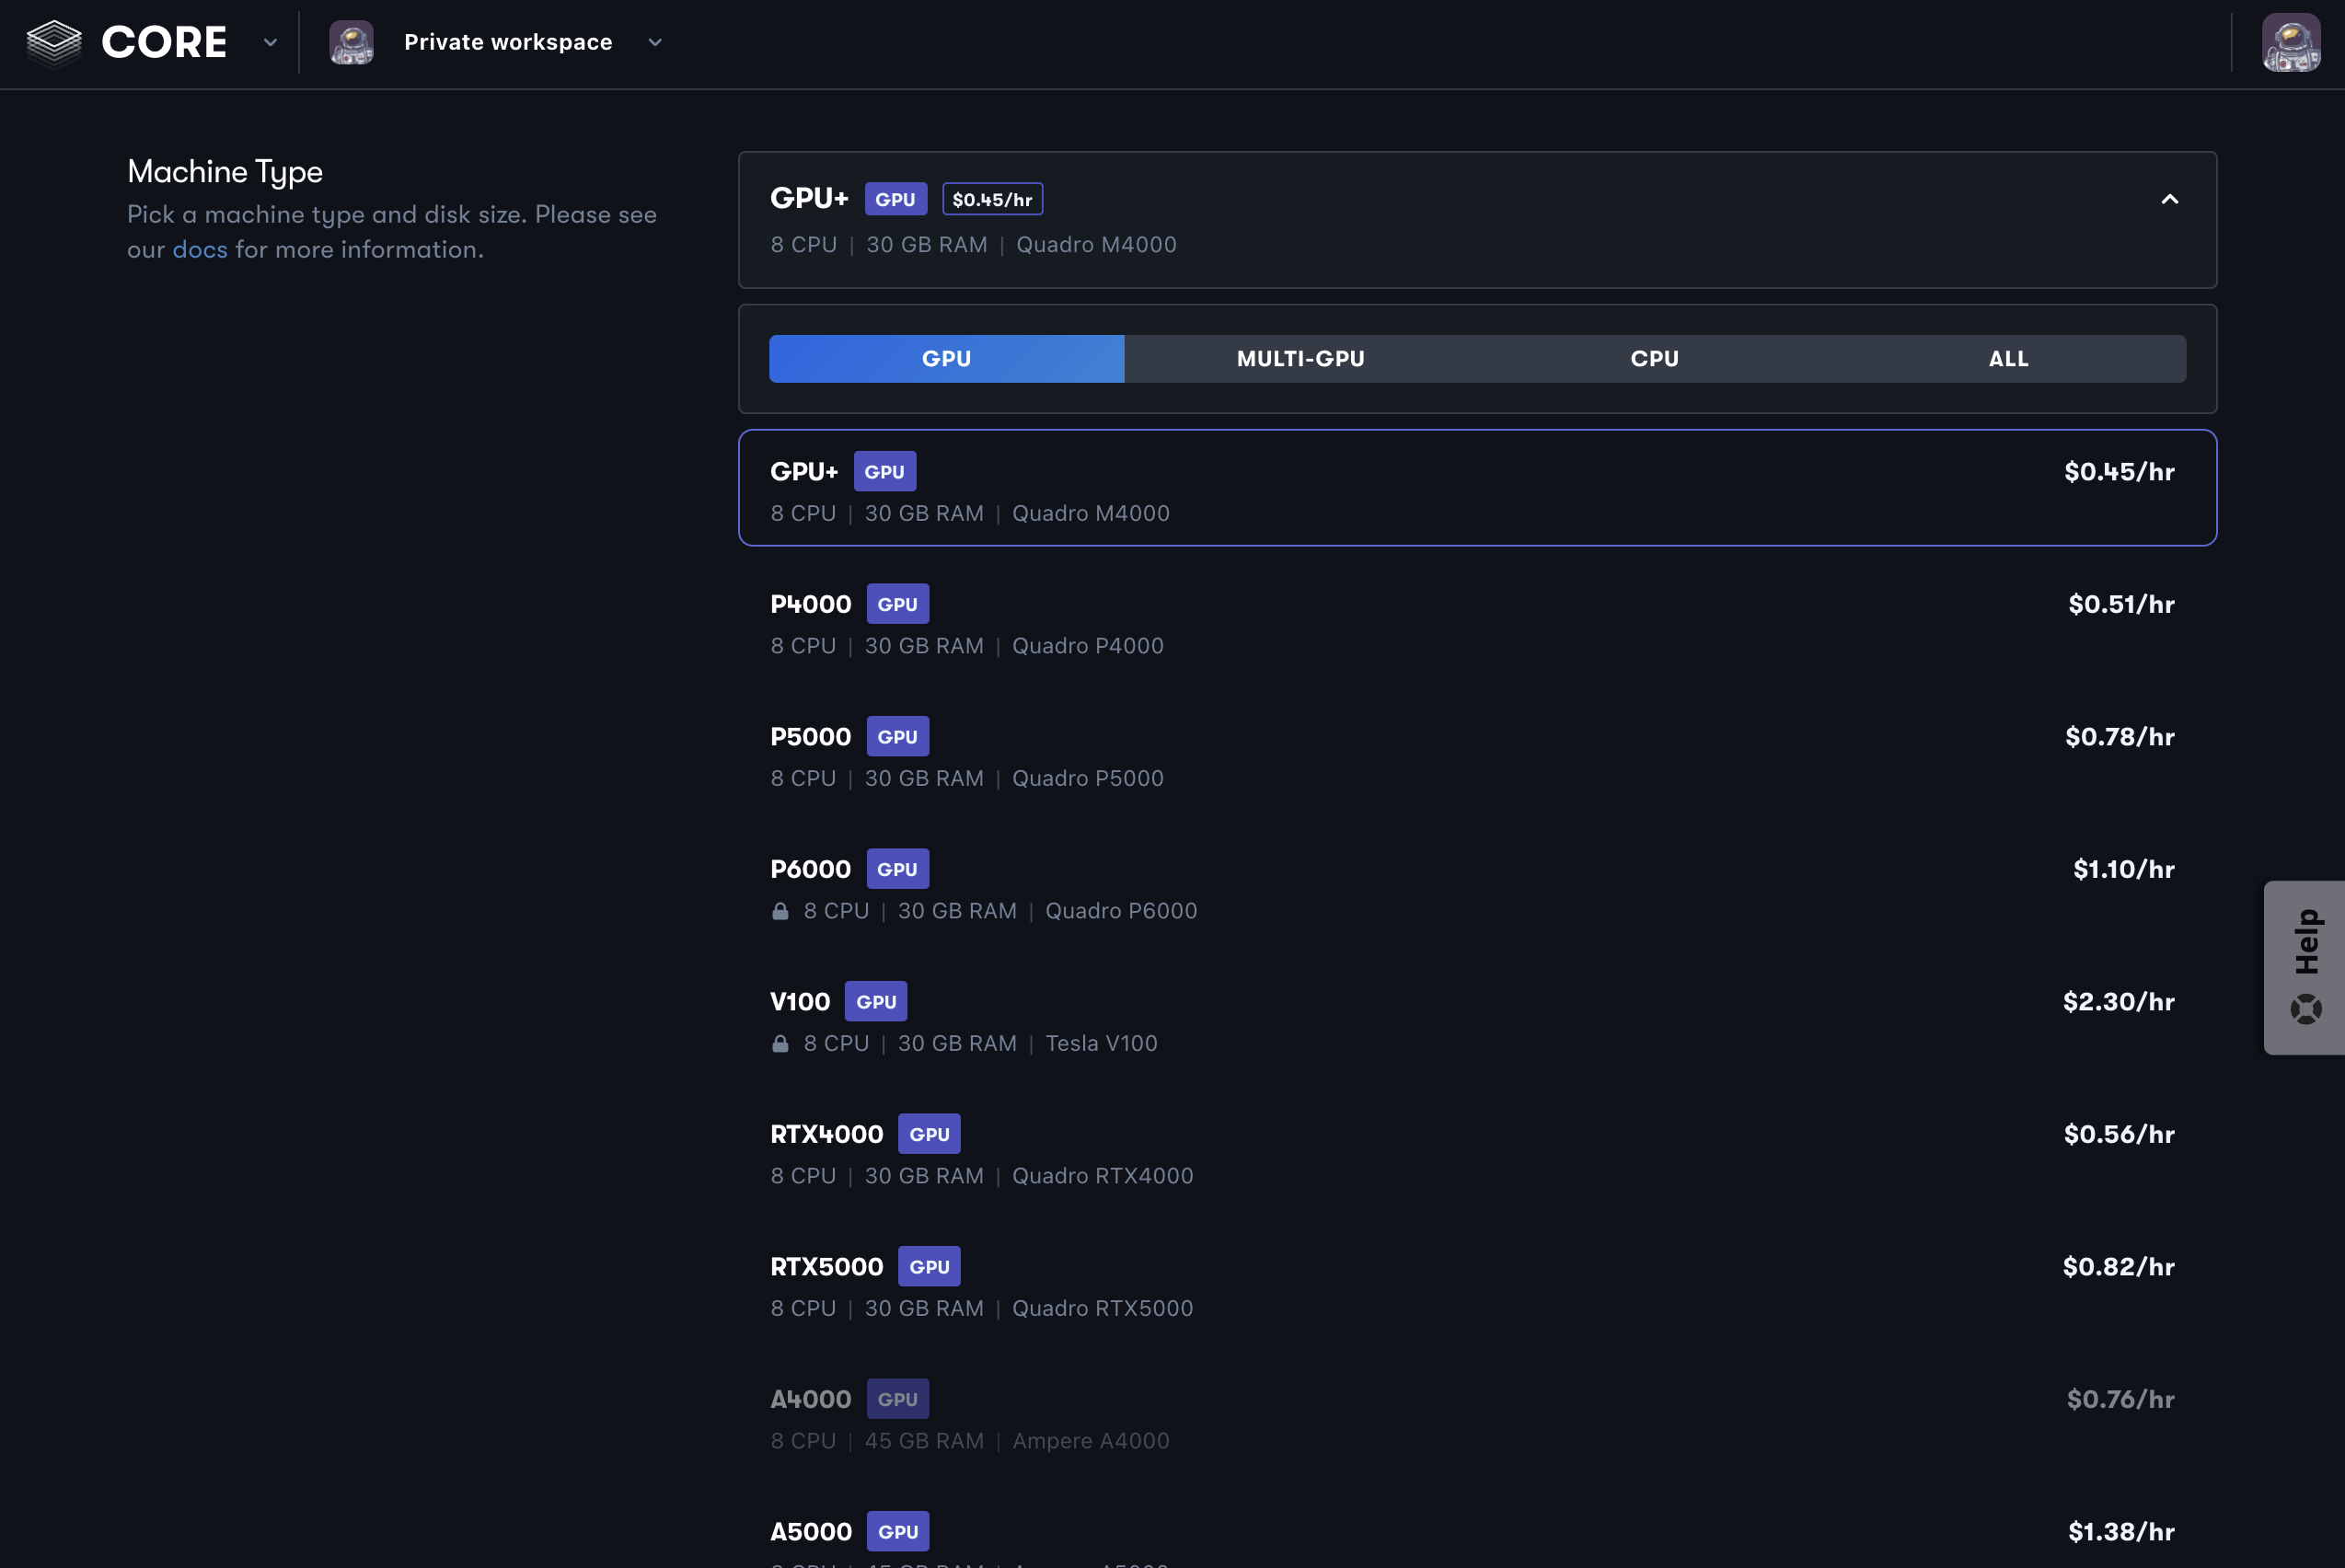
In the region section, select the region where you want to create your machine.
A good default is selected for you, but for the best performance and minimal latency, choose the datacenter region nearest to you. You can also make a decision based on which machine types are available in which regions.
The create page greys out datacenter regions that are incompatible with your selected configuration.
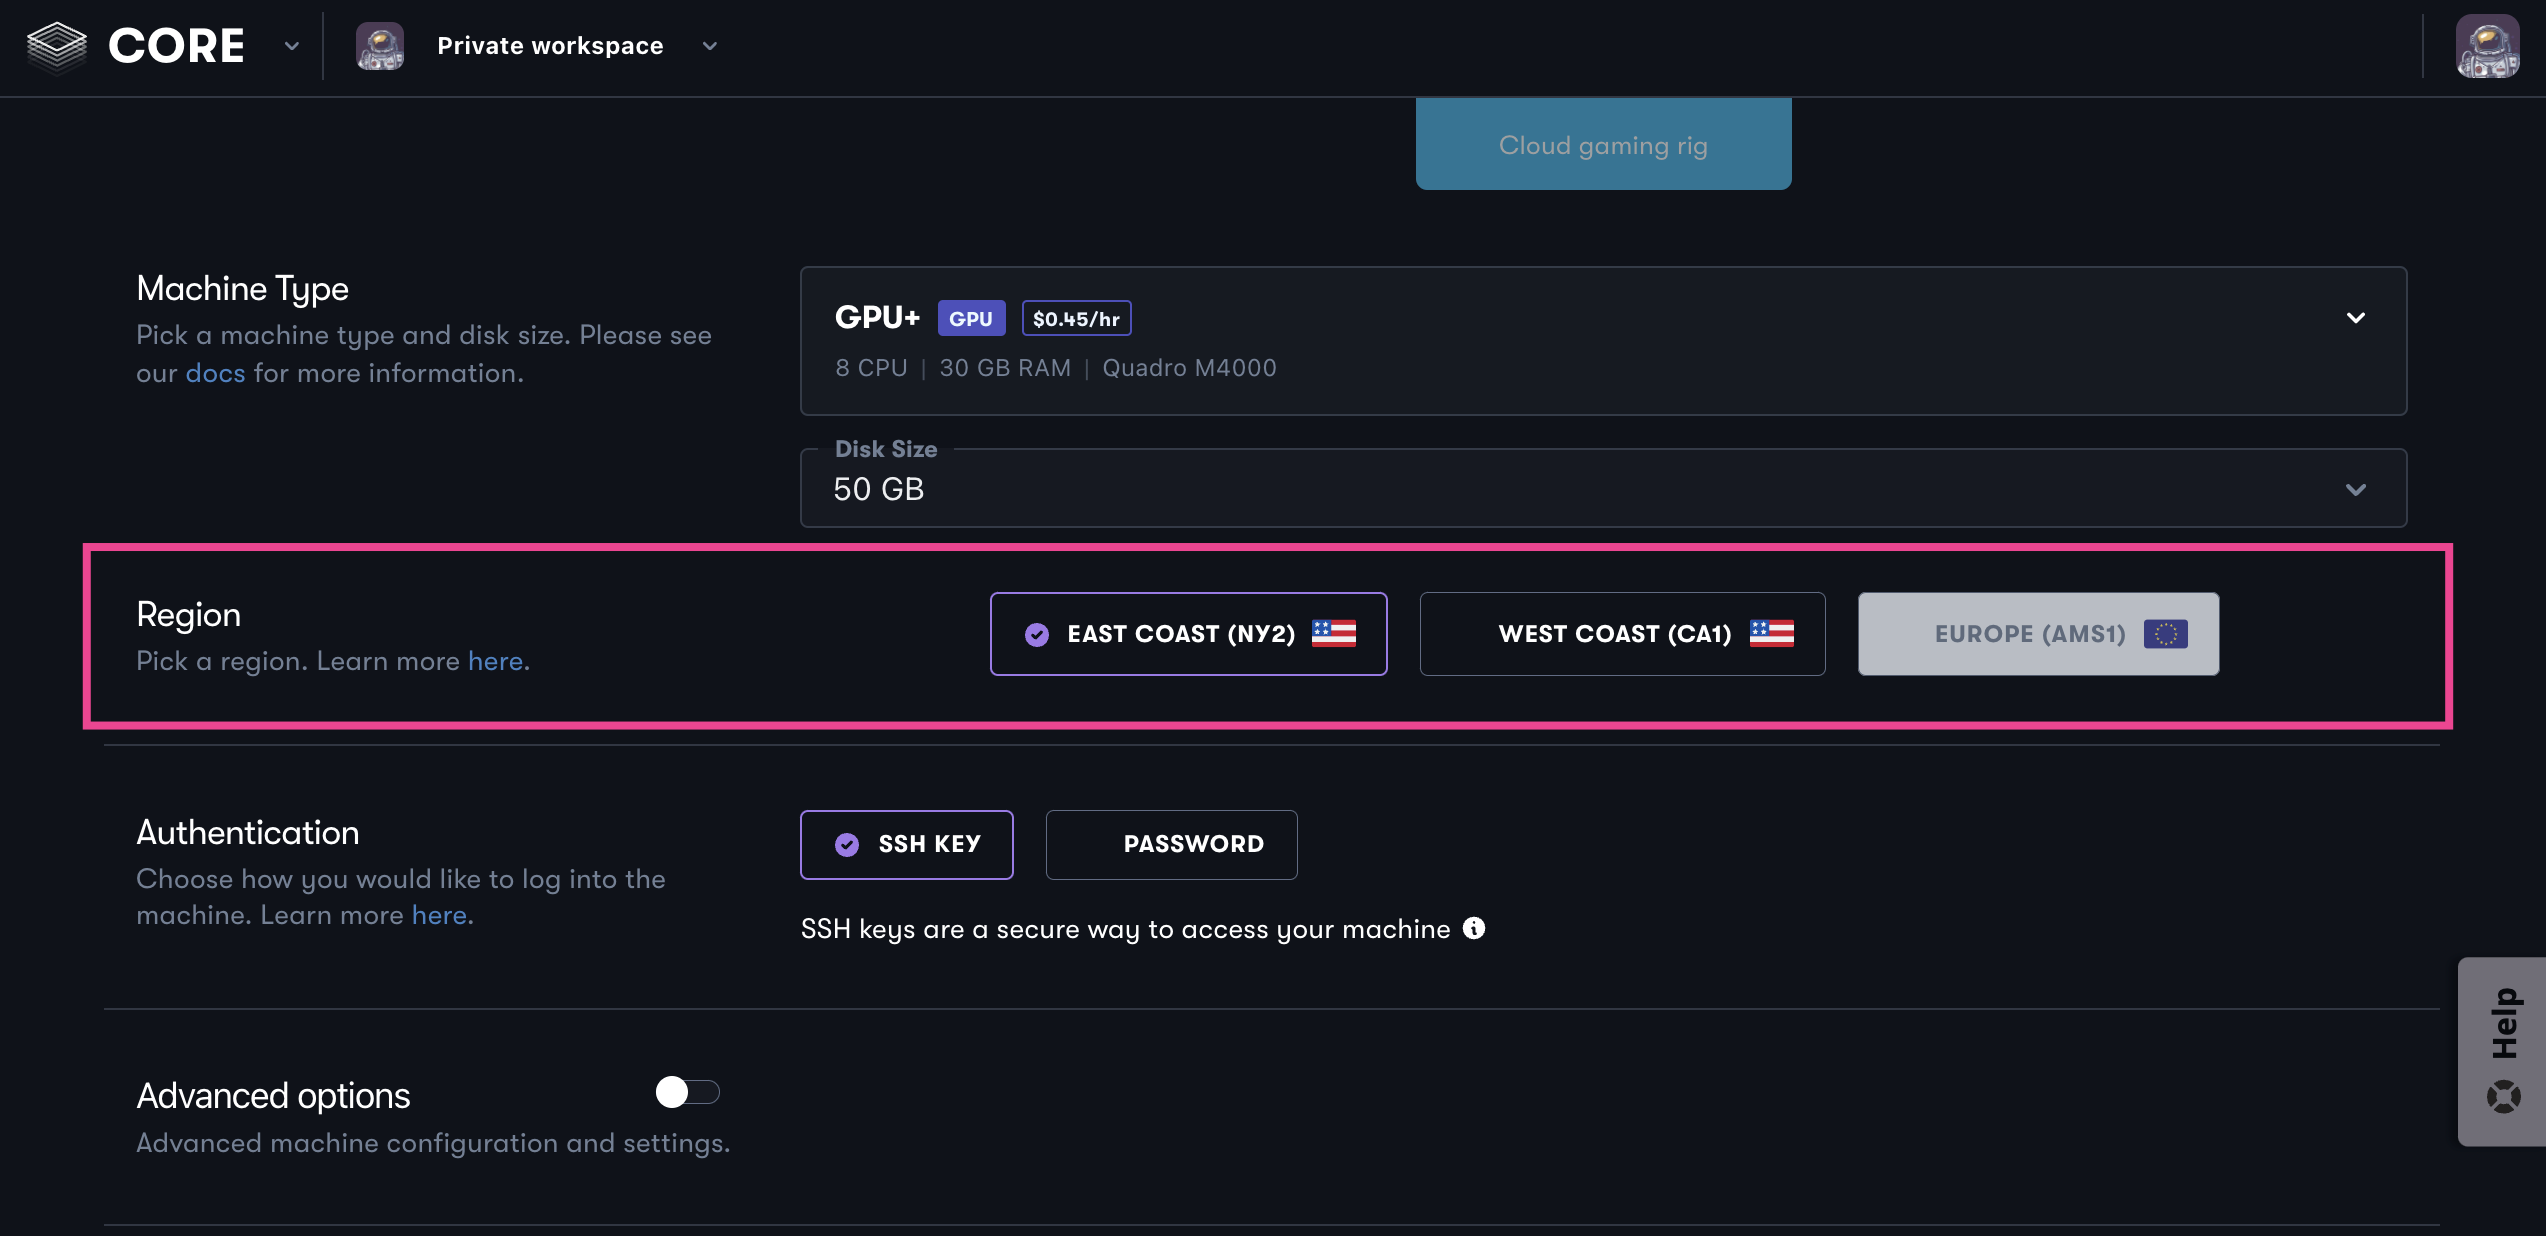
When a Linux template is selected, you see an Authentication section which where you must choose the method you want to use to log in to your machine.
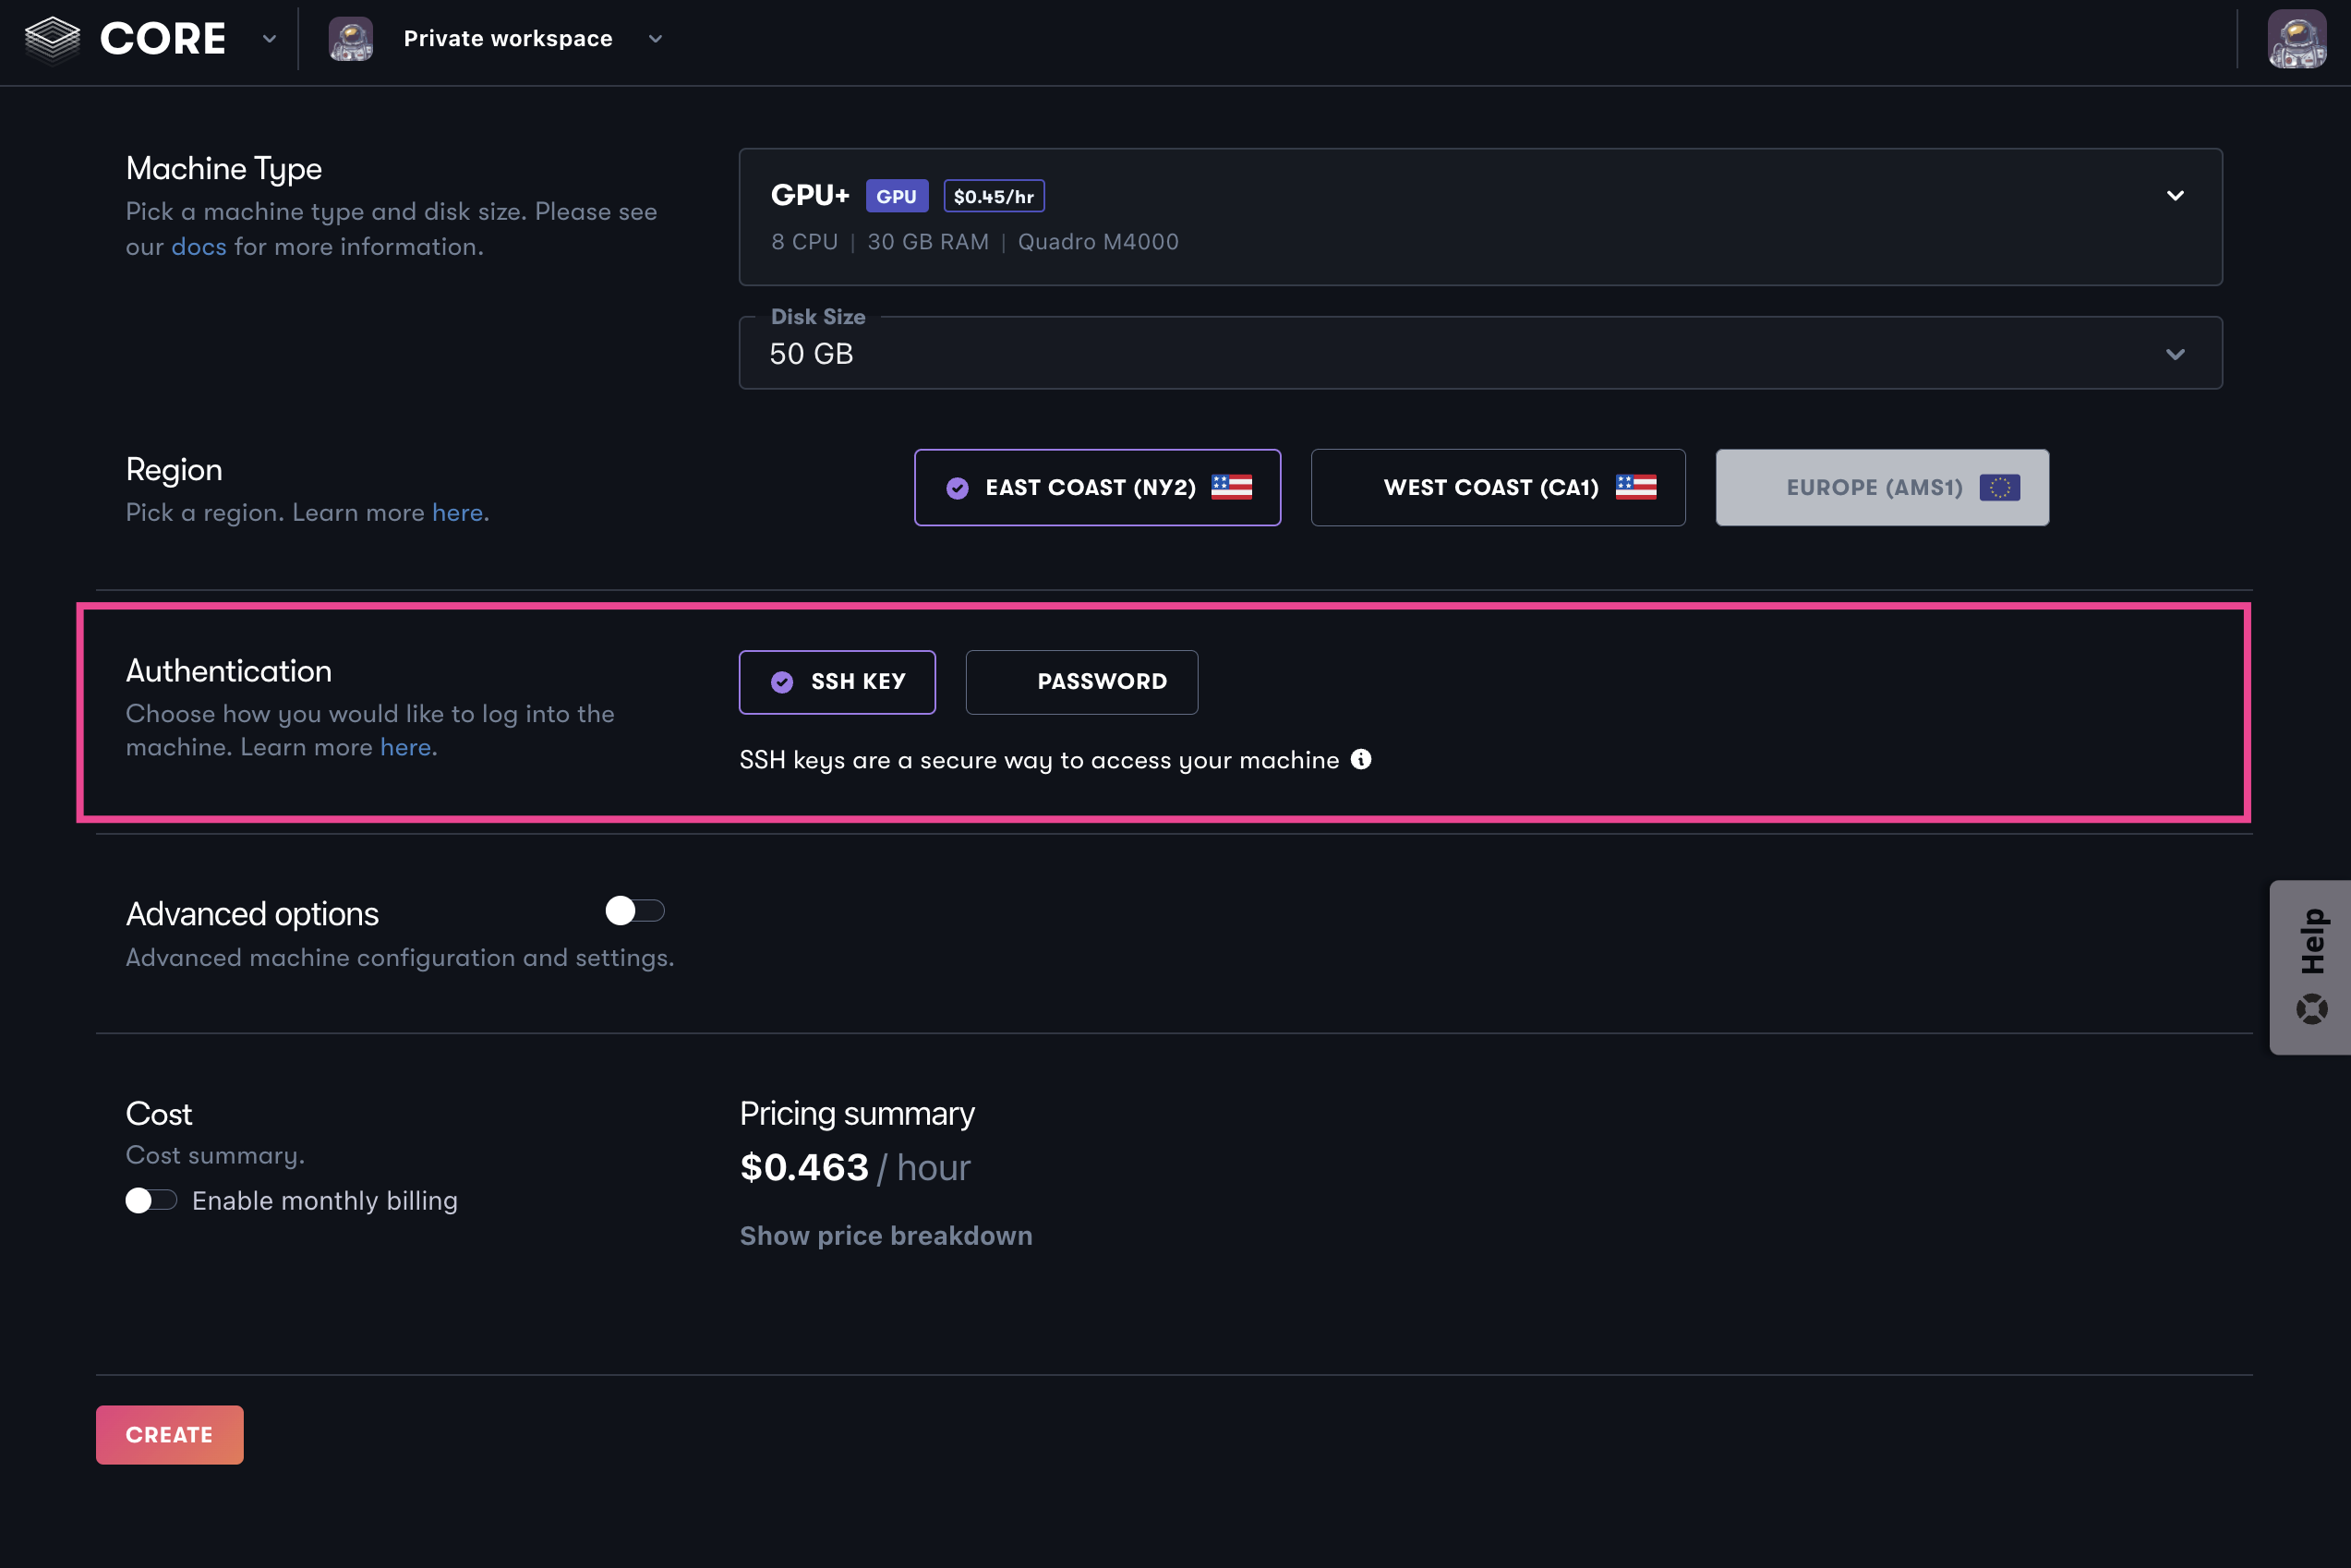
SSH Keys provide more security than a password. If you choose to use SSH keys, keys already uploaded of any team members with access to this machine is automatically added to the machine during provisioning. You are also provided an option to create a new SSH key from the create page.
If you select this option, a password is emailed to you after the machine is provisioned.
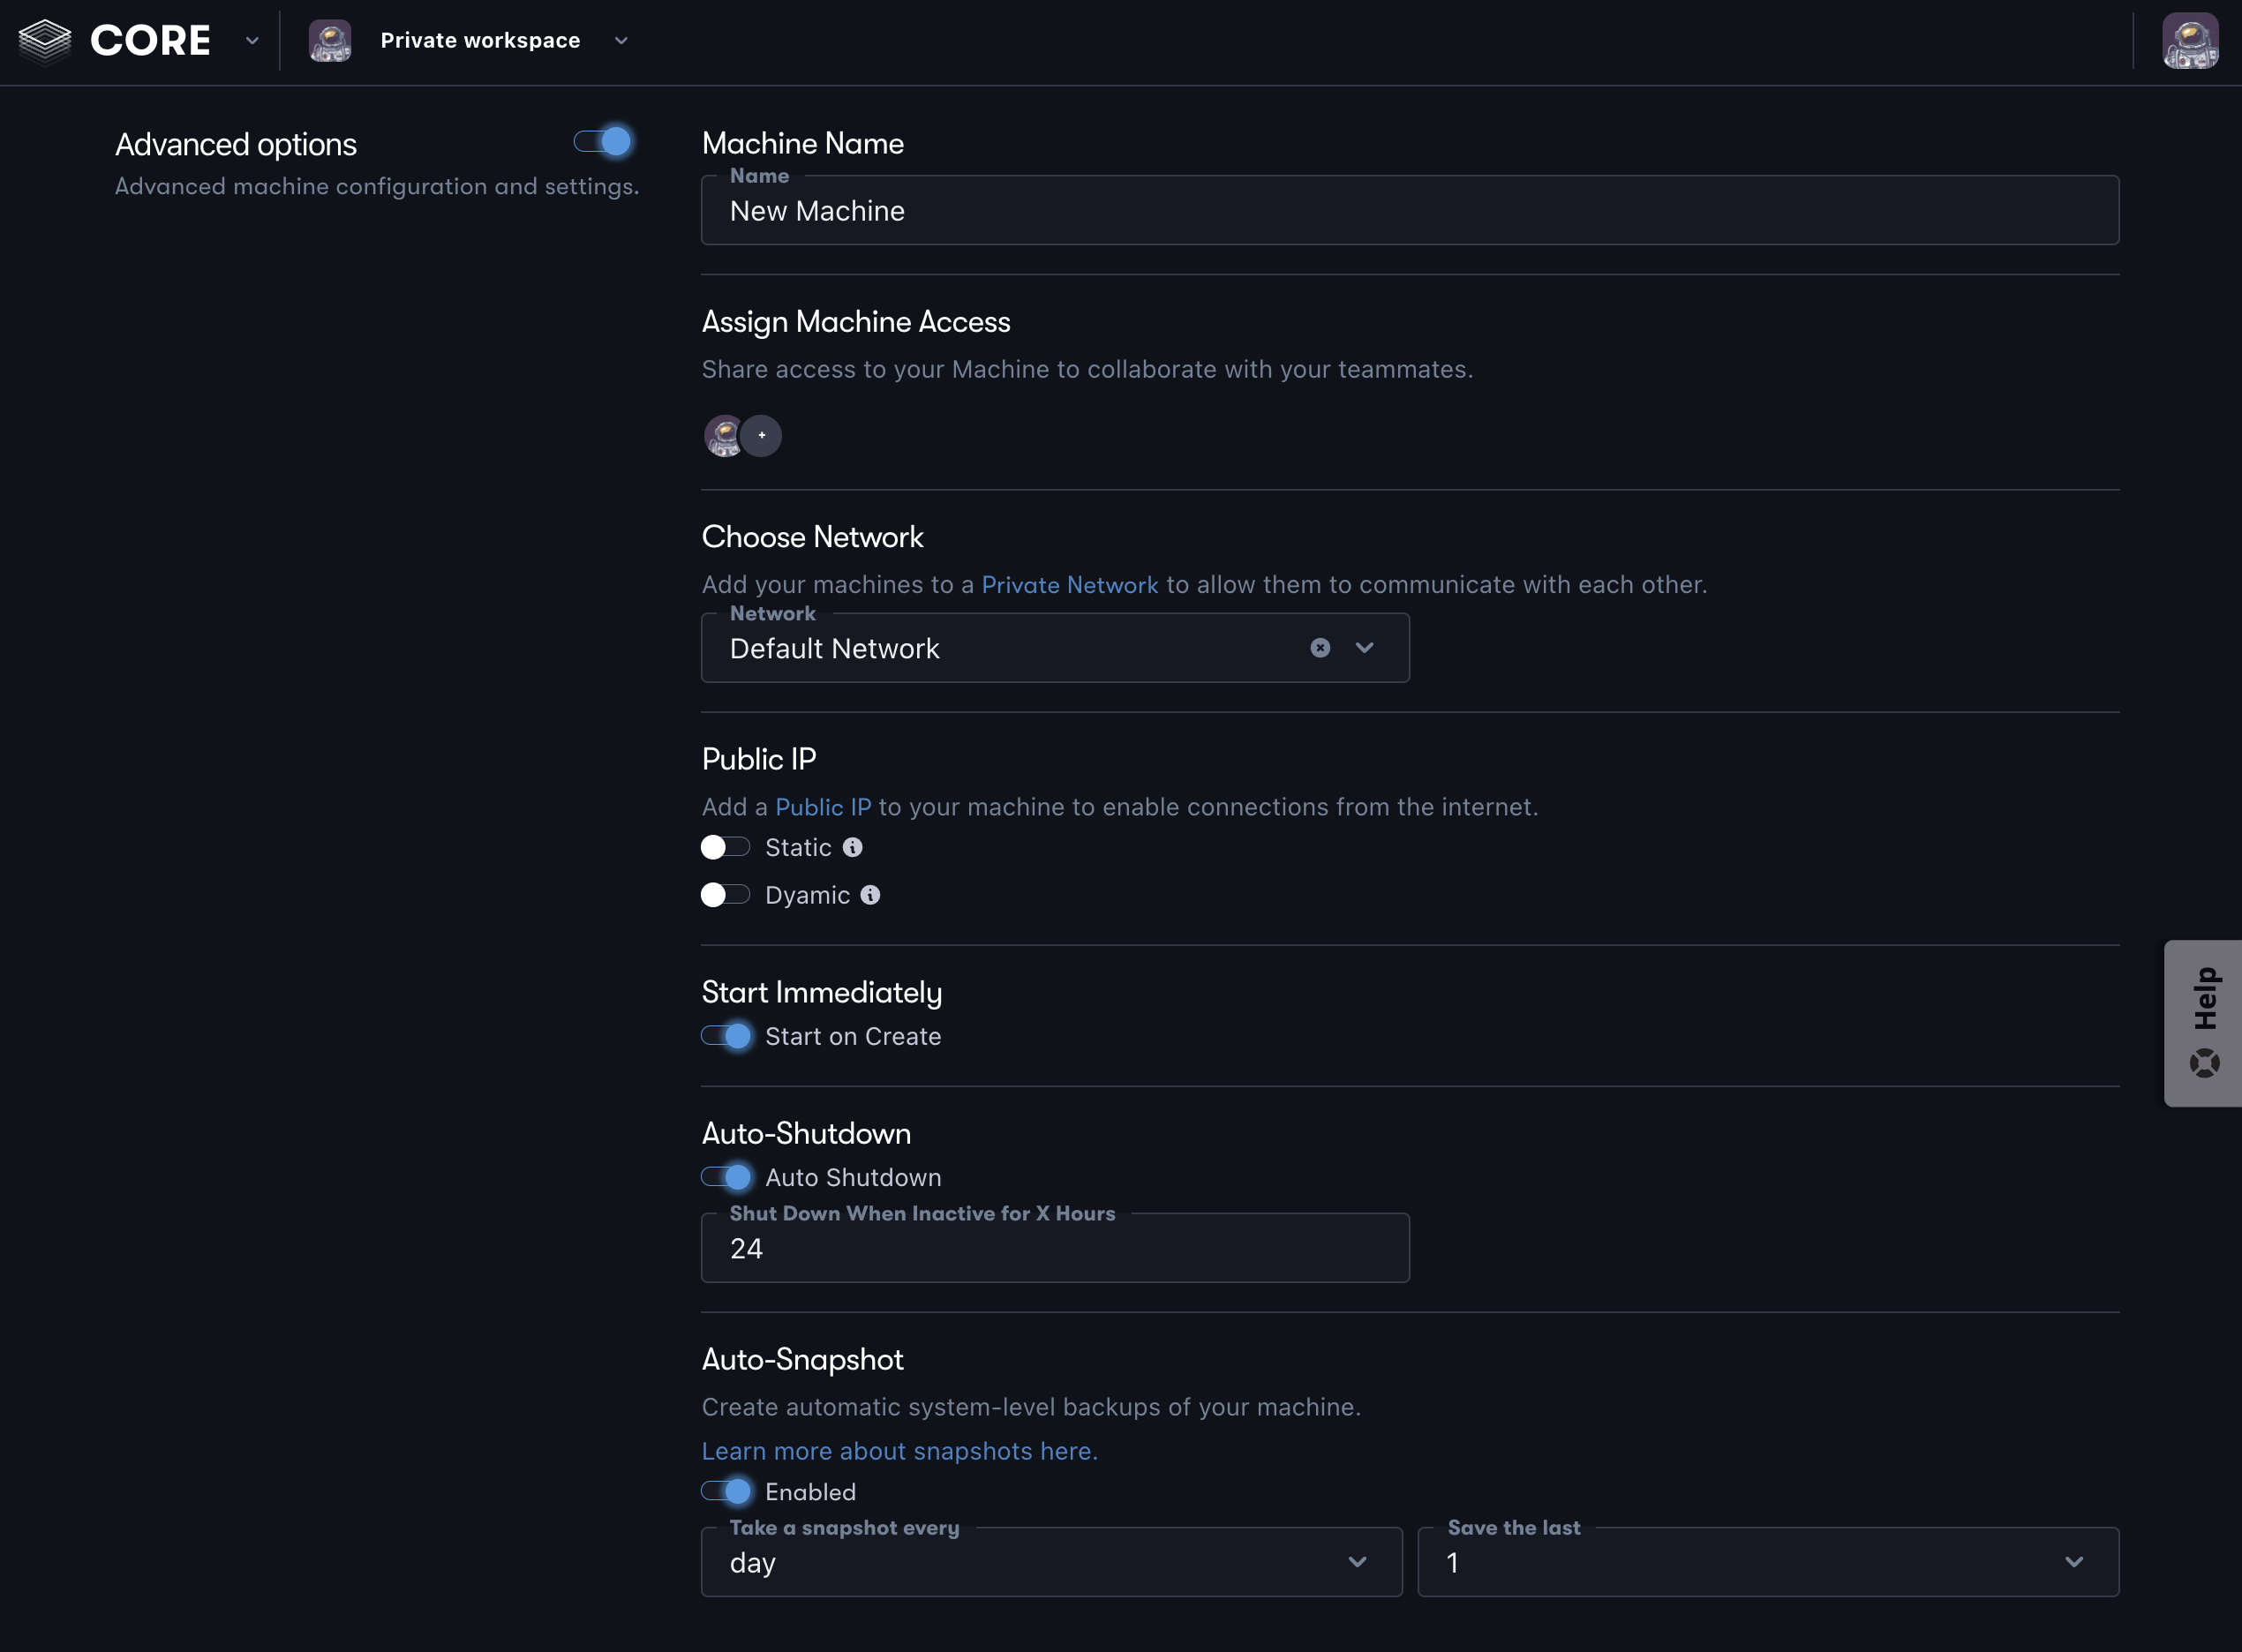
This option provides the ability to add and remove machine accessors. To add an accessor, click the + icon and select the user from the dropdown. View the manage accessors guide to learn more.
By default, your machine is created in the “Default Network” which prohibits private communication with other machines, including machines that you own. This option provides the ability to launch your machine into a Private Network. If you previously created a Private Network, you may select it from the dropdown.
Add a Public IP address to your machine to enable connections over the internet. There are two options: Static and Dynamic. Learn more about the differences here. If no Public IP is added, you machine can only be accessed privately or via the desktop app if using Windows streaming.
Start on create initiates a start event after provisioning is complete. If unselected, the machine must be started after provisioning in order to access it. You can learn more about machine states here.
Auto-shutdown is a feature that detects when your machine is idle and initiate a stop event after a predefined amount of time.
Create automatic system-level backups of your machine. To enable this feature, set the frequency and number of Snapshots you want to save. You can learn more about Snapshots here.
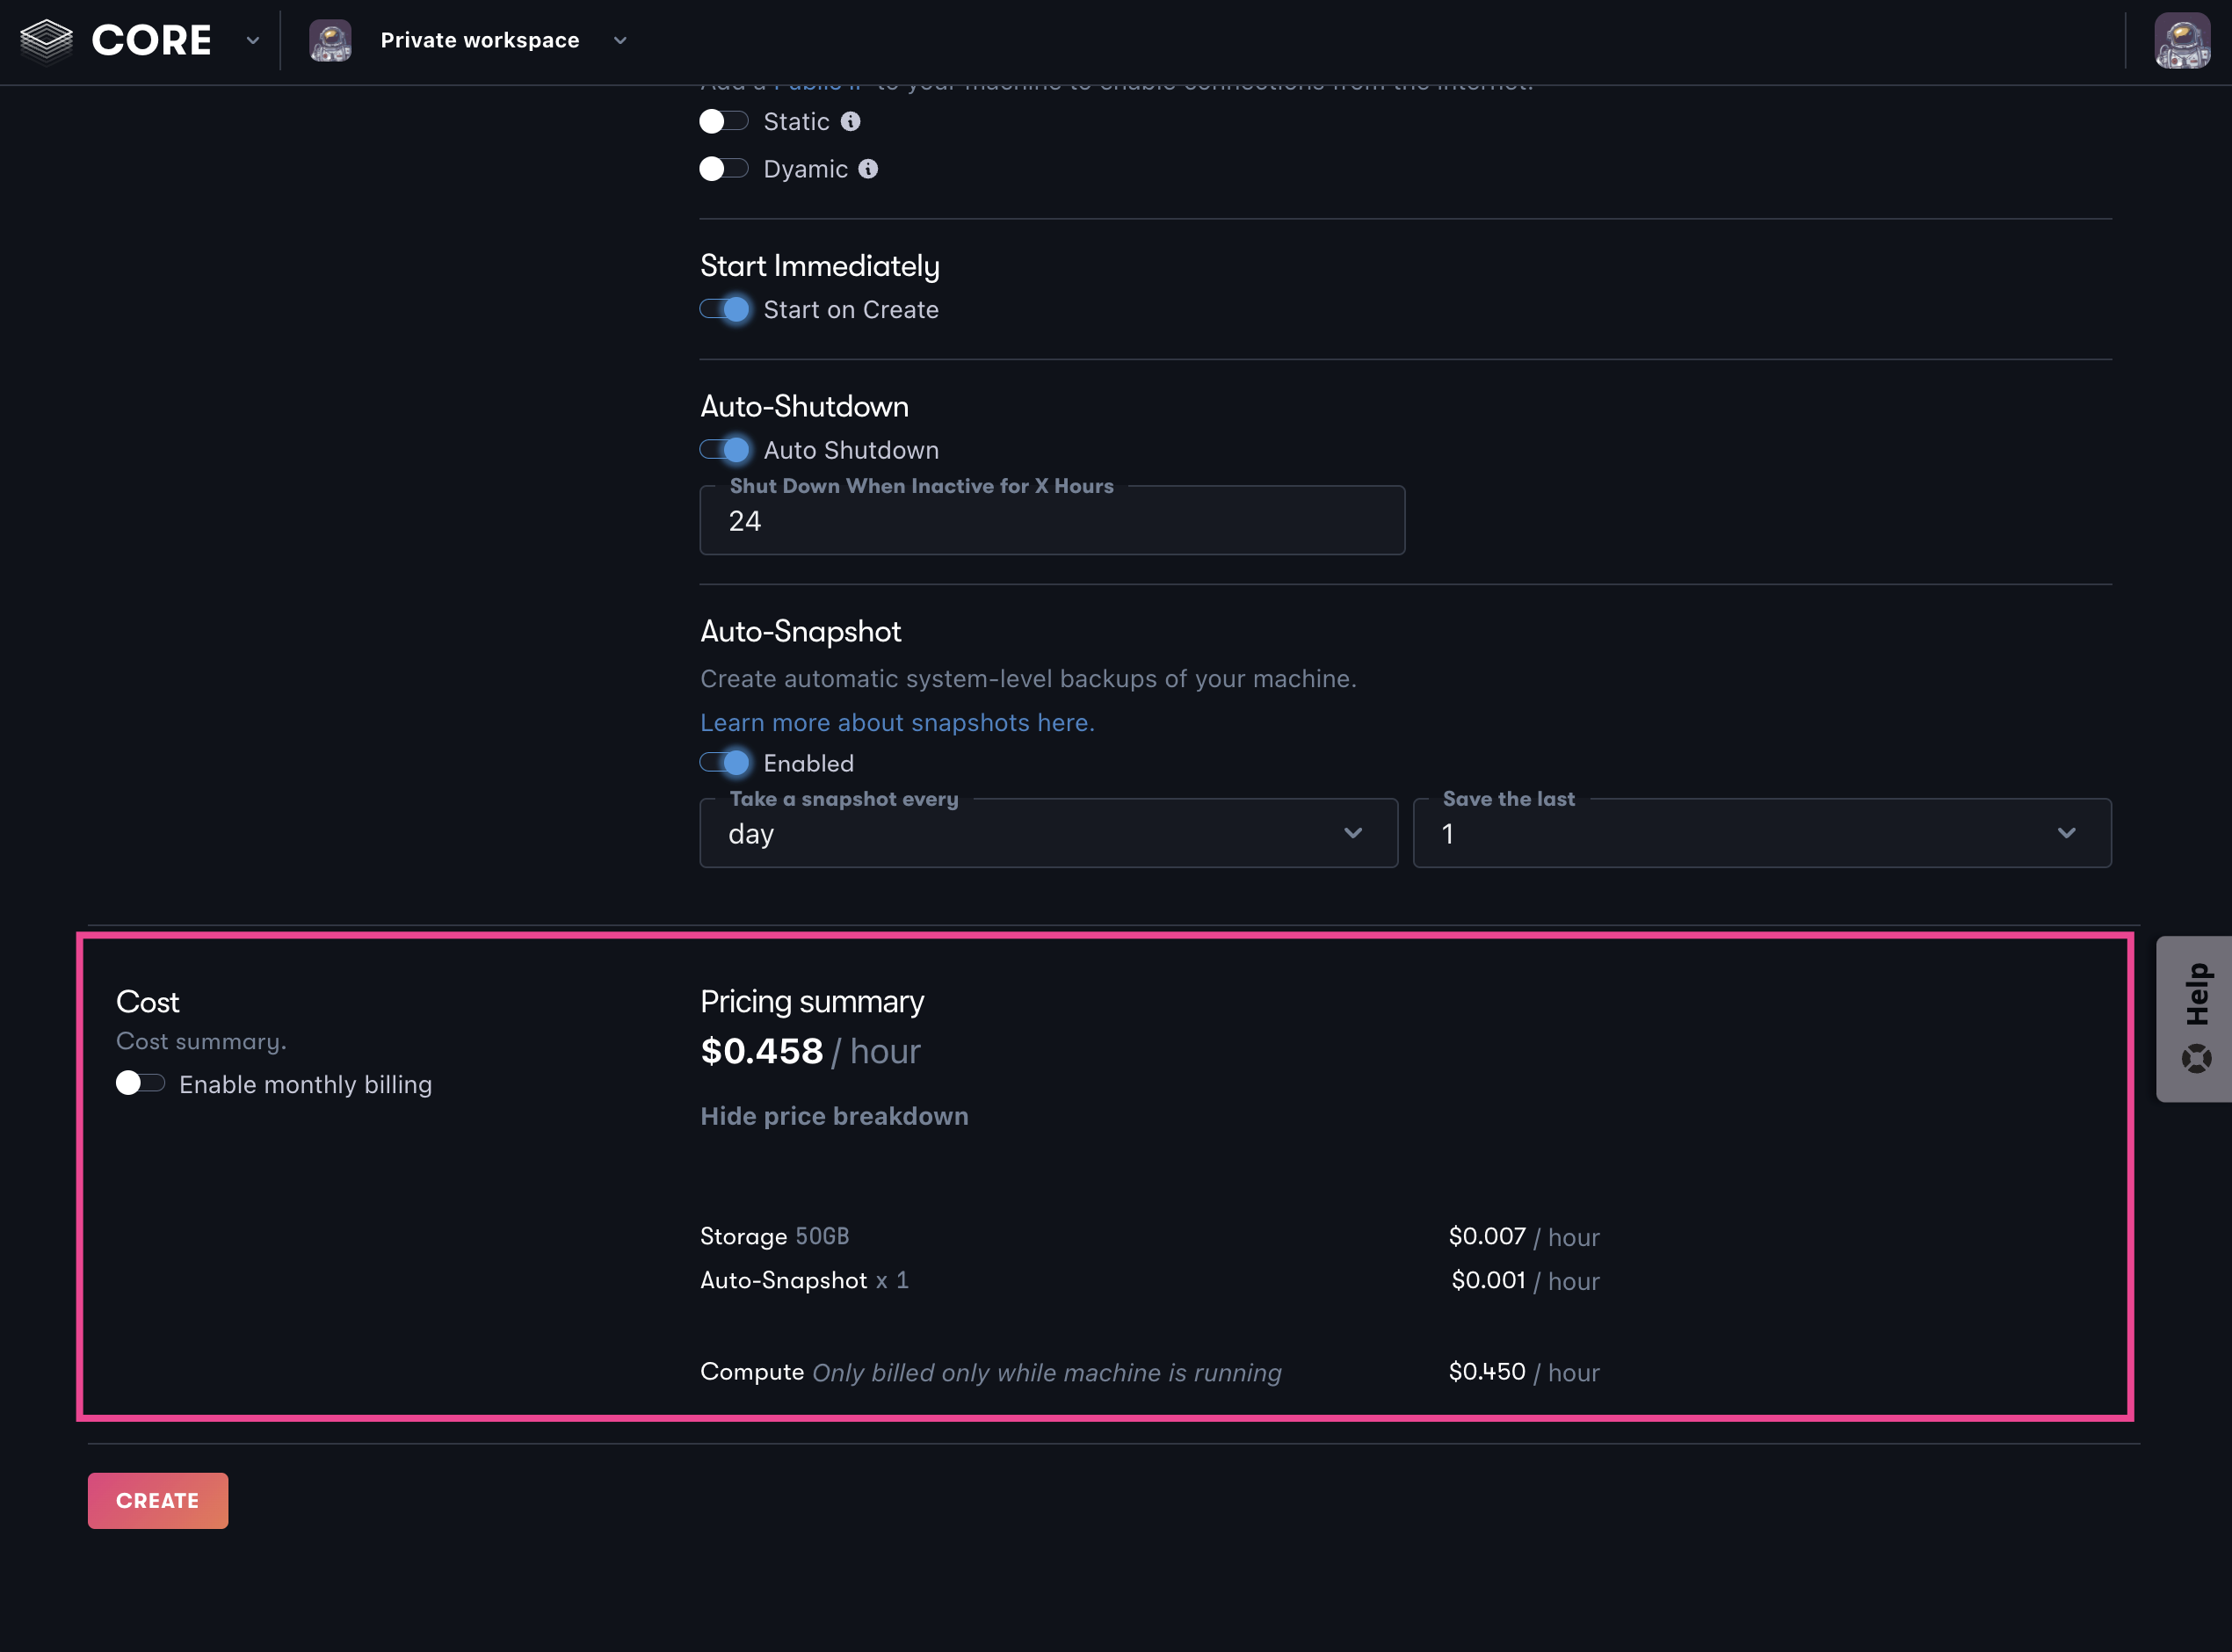
At the last step, you see a price breakdown of each item that accrues utilization (cost).
Once you click create, your machine begins provisioning. If you set the machine to start after provisioning is complete, it becomes available after it starts. The provisioning process typically lasts about one minute with Linux and about three-five minutes with Windows.