Notebooks are a web-based Jupyter IDE with shared persistent storage for long-term development and inter-notebook collaboration, backed by accelerated compute.
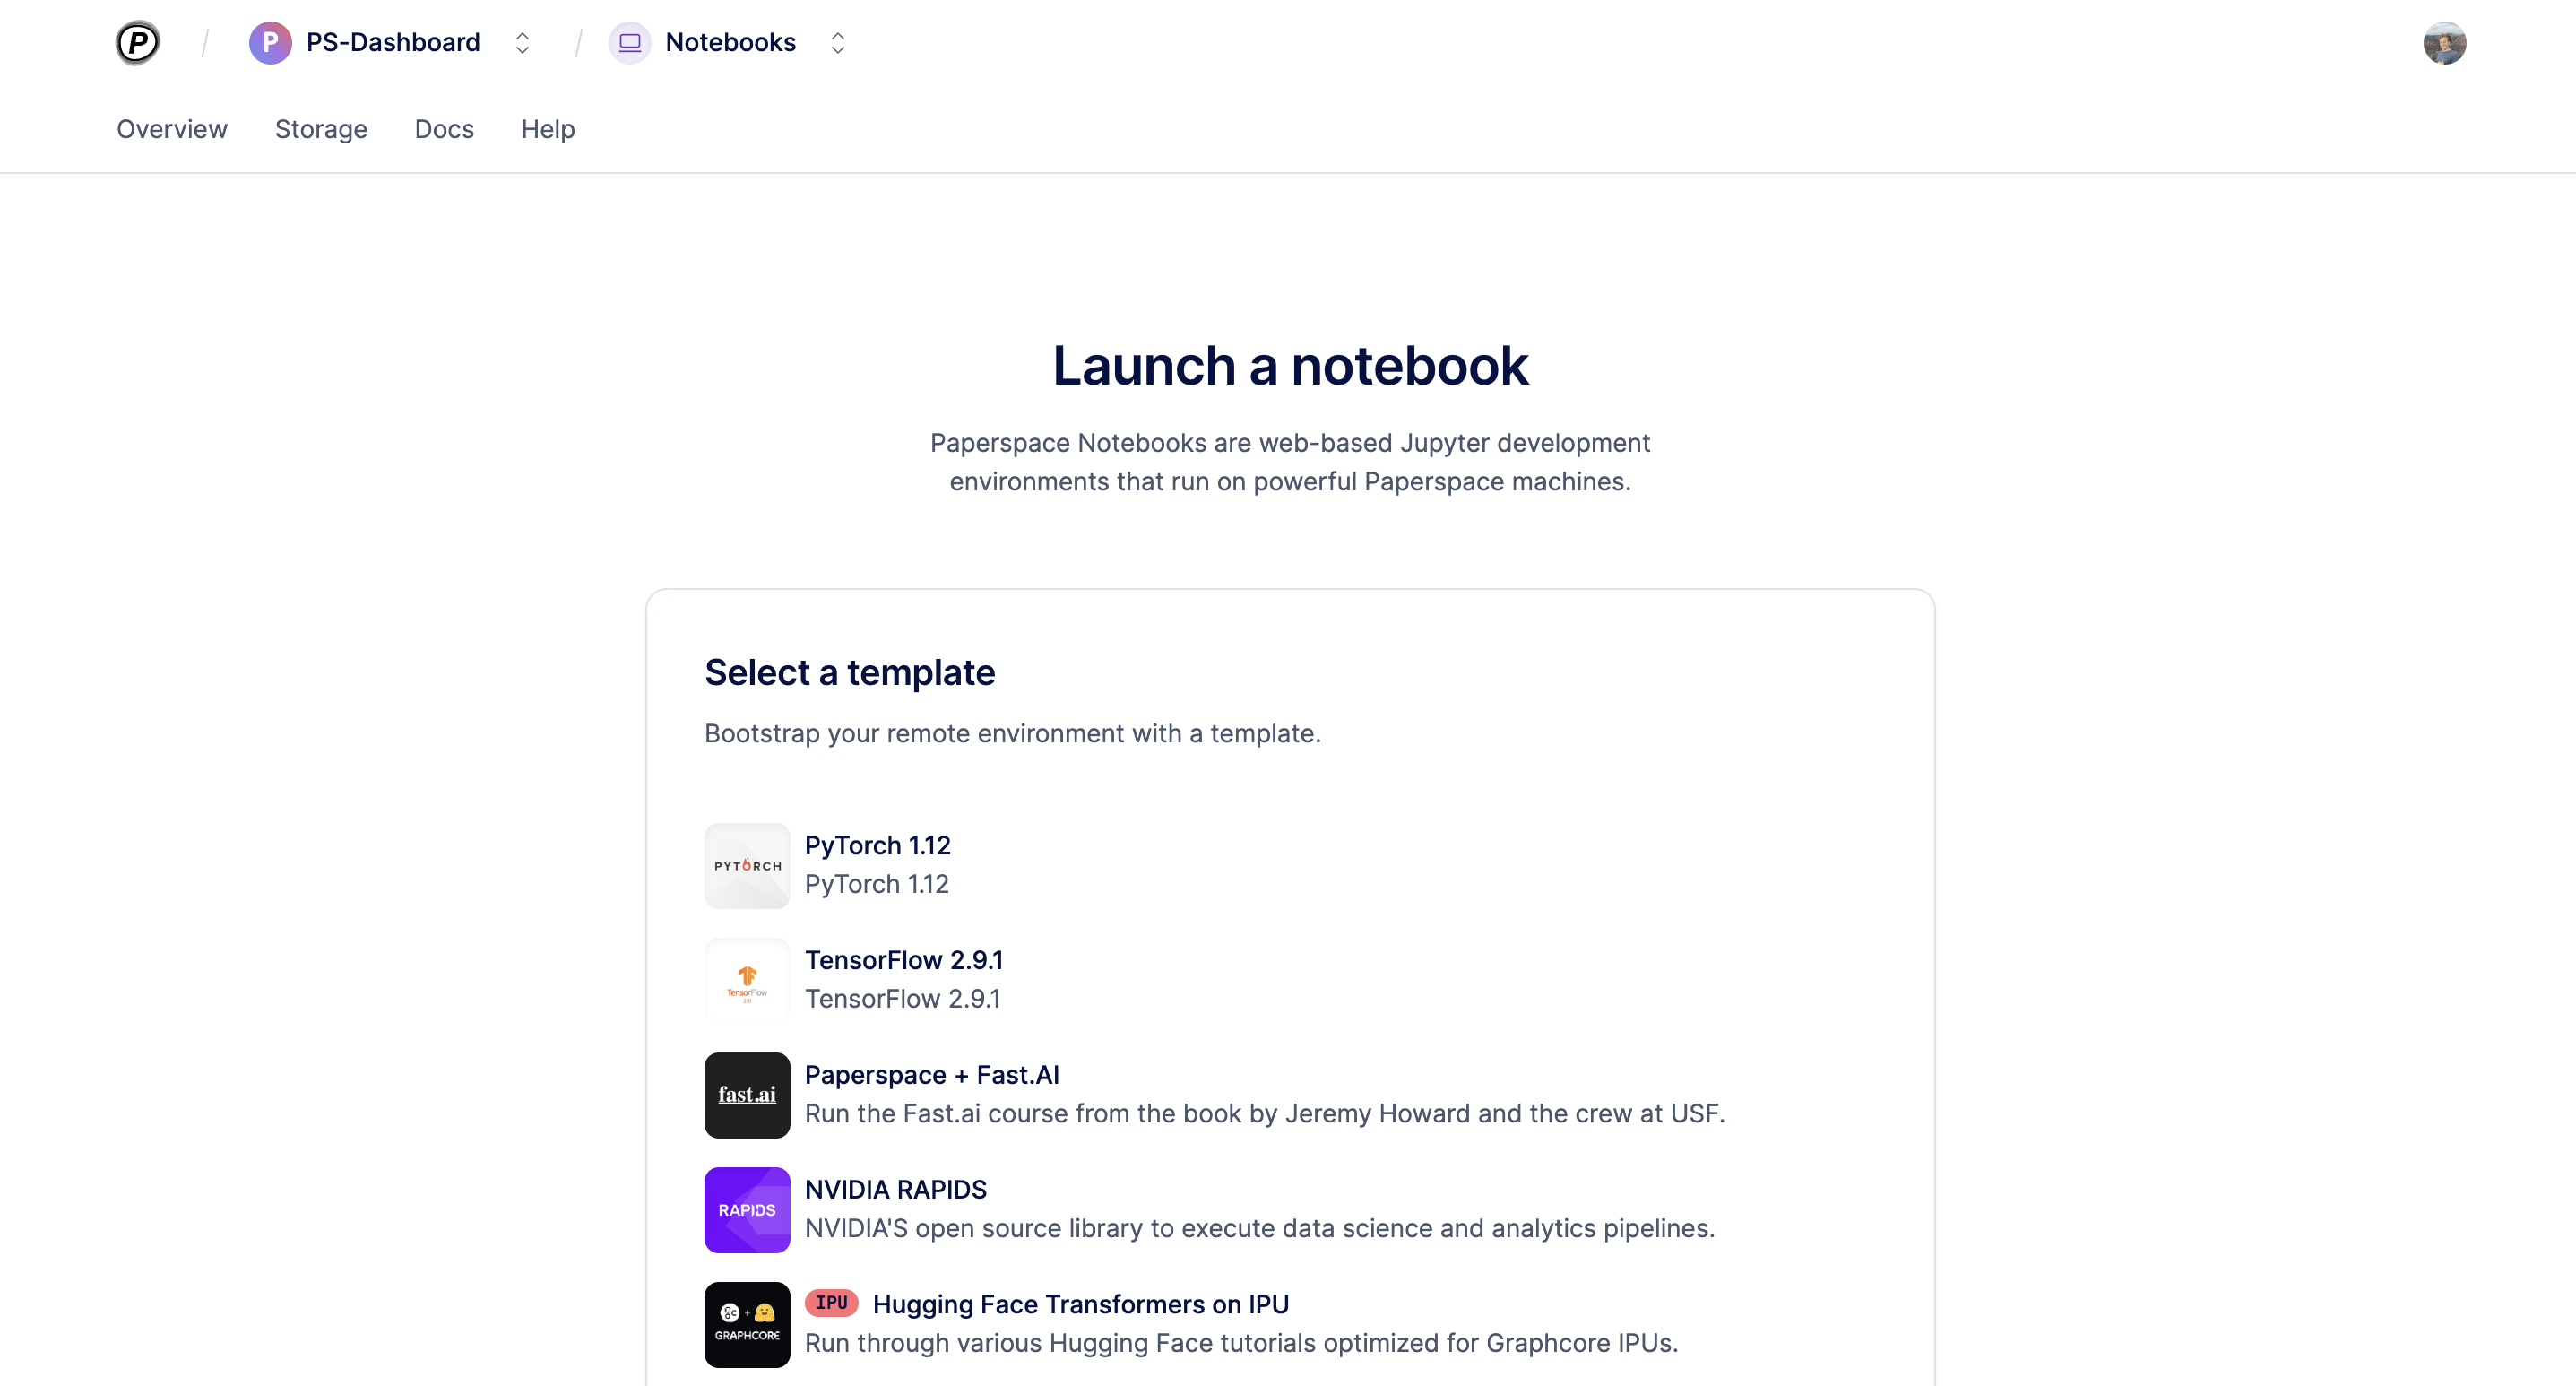
You can either choose an existing [template](/products/paperspace/notebooks/concepts/notebook-templates/) or create a custom notebook using advanced options.
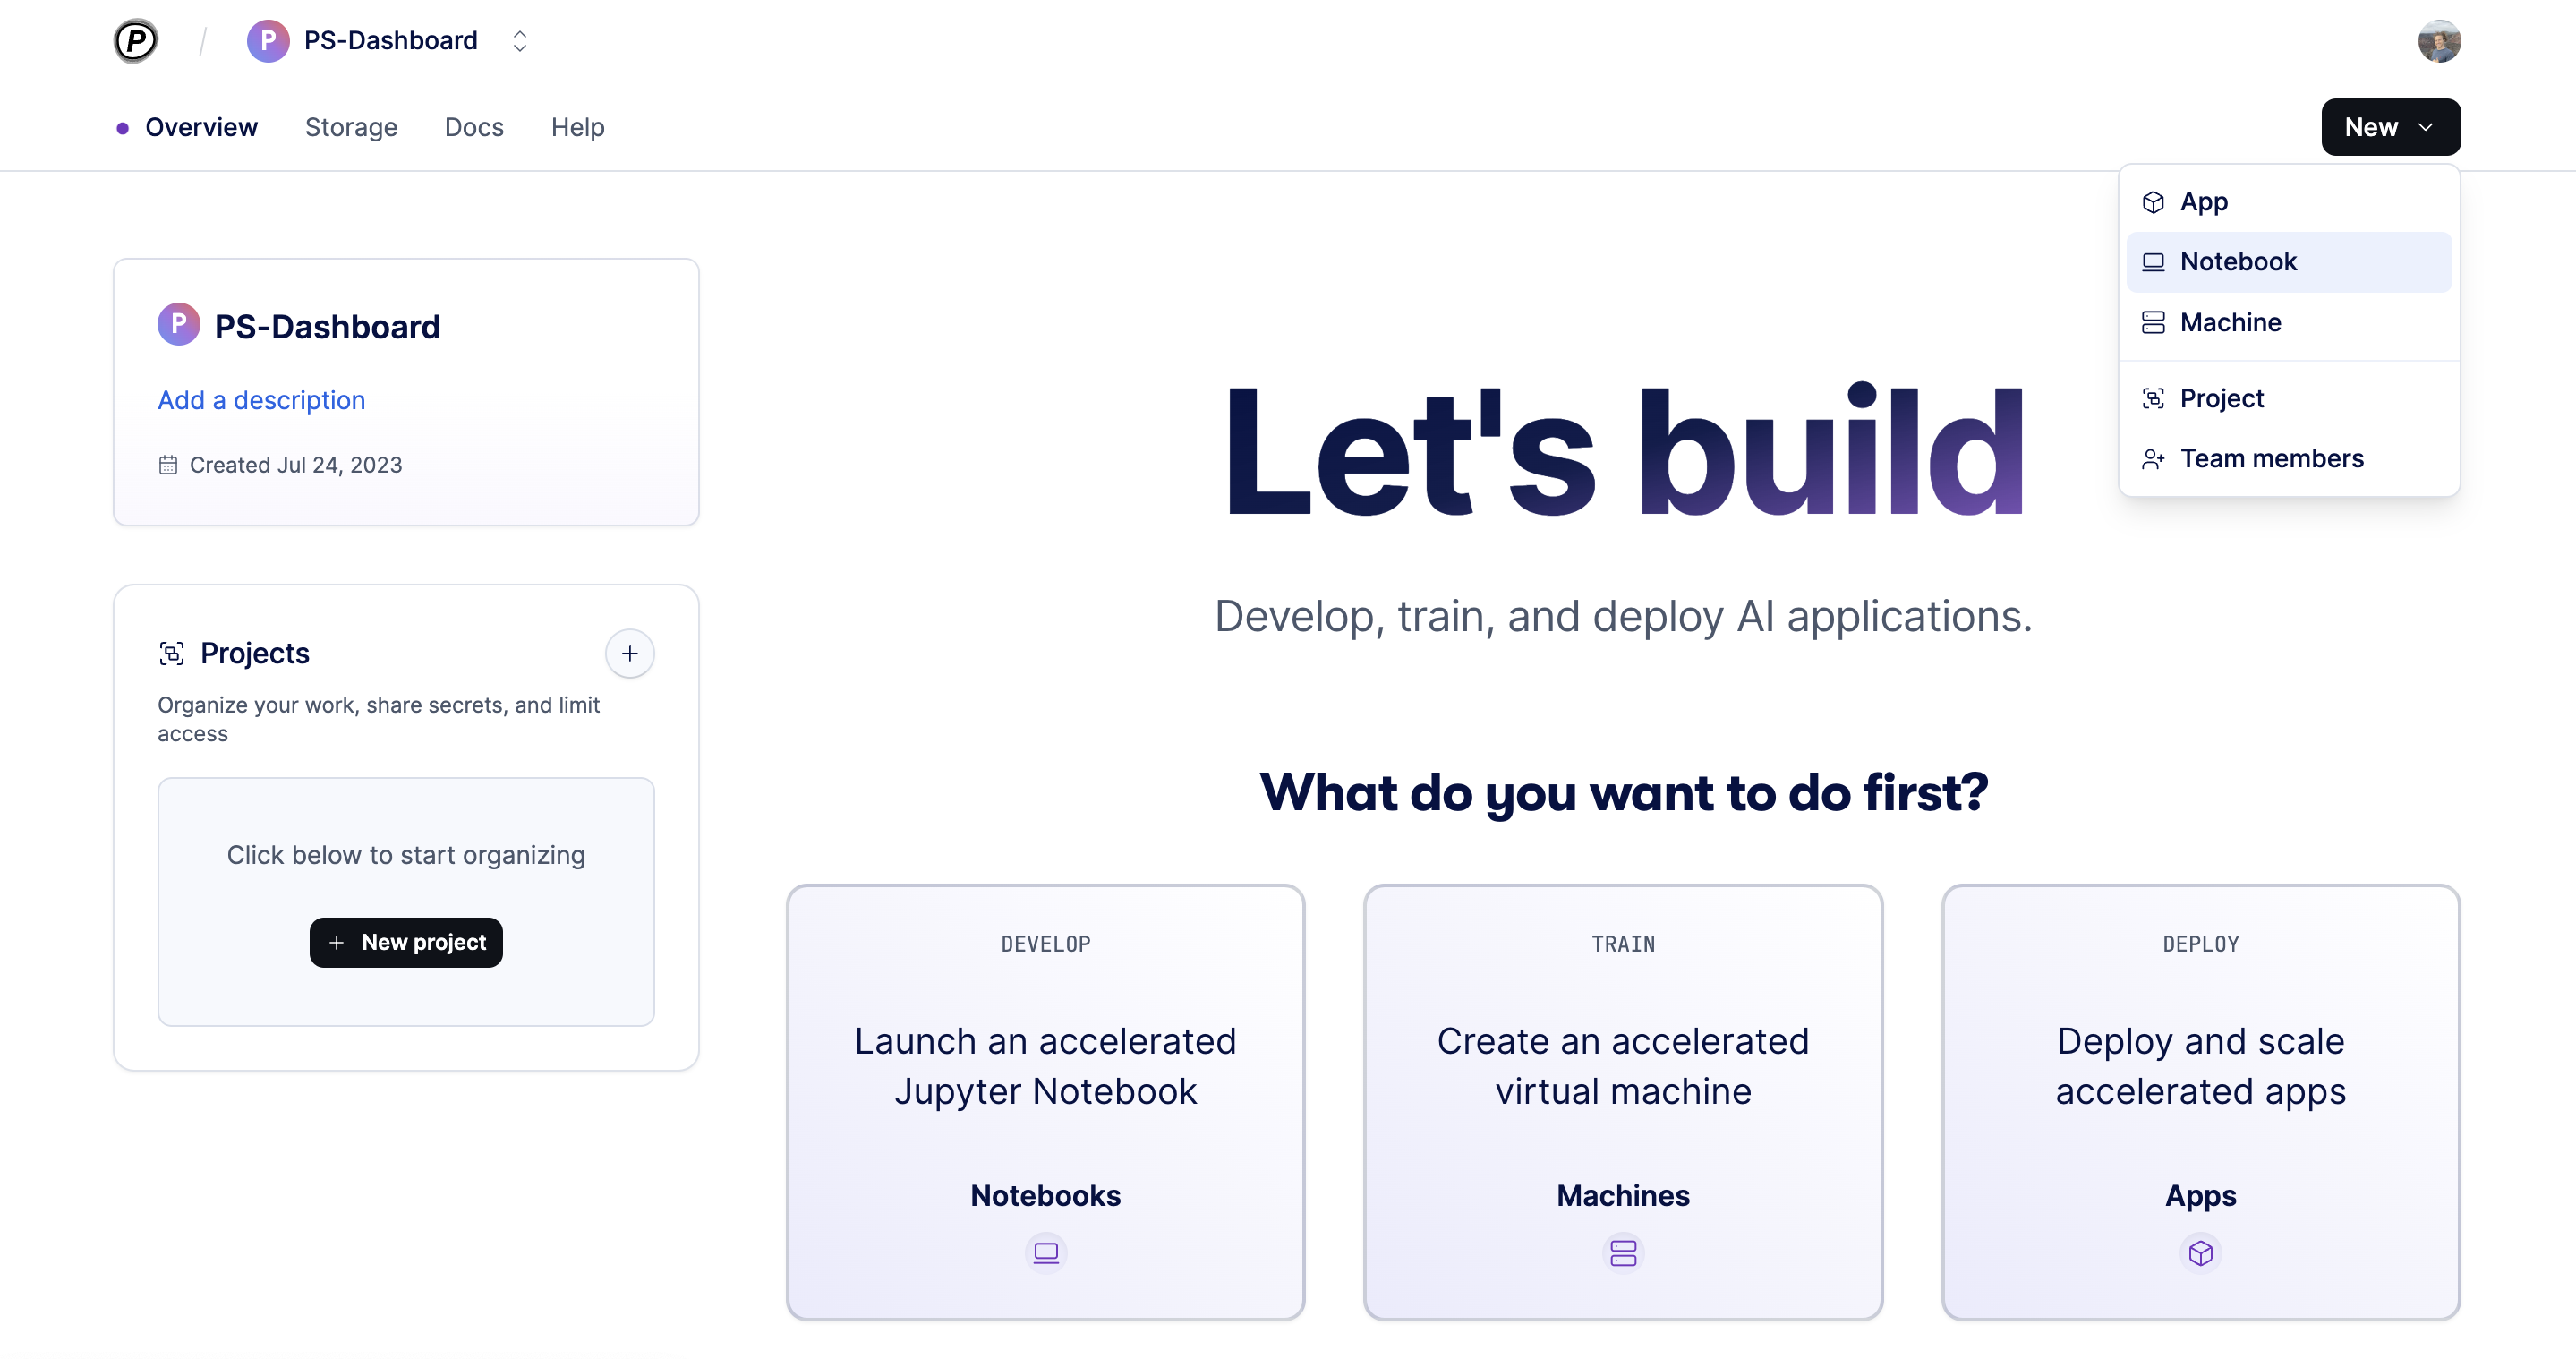
On the dashboard, click New button to begin creating a notebook, then select the template which controls the image and repository the notebook is based on.


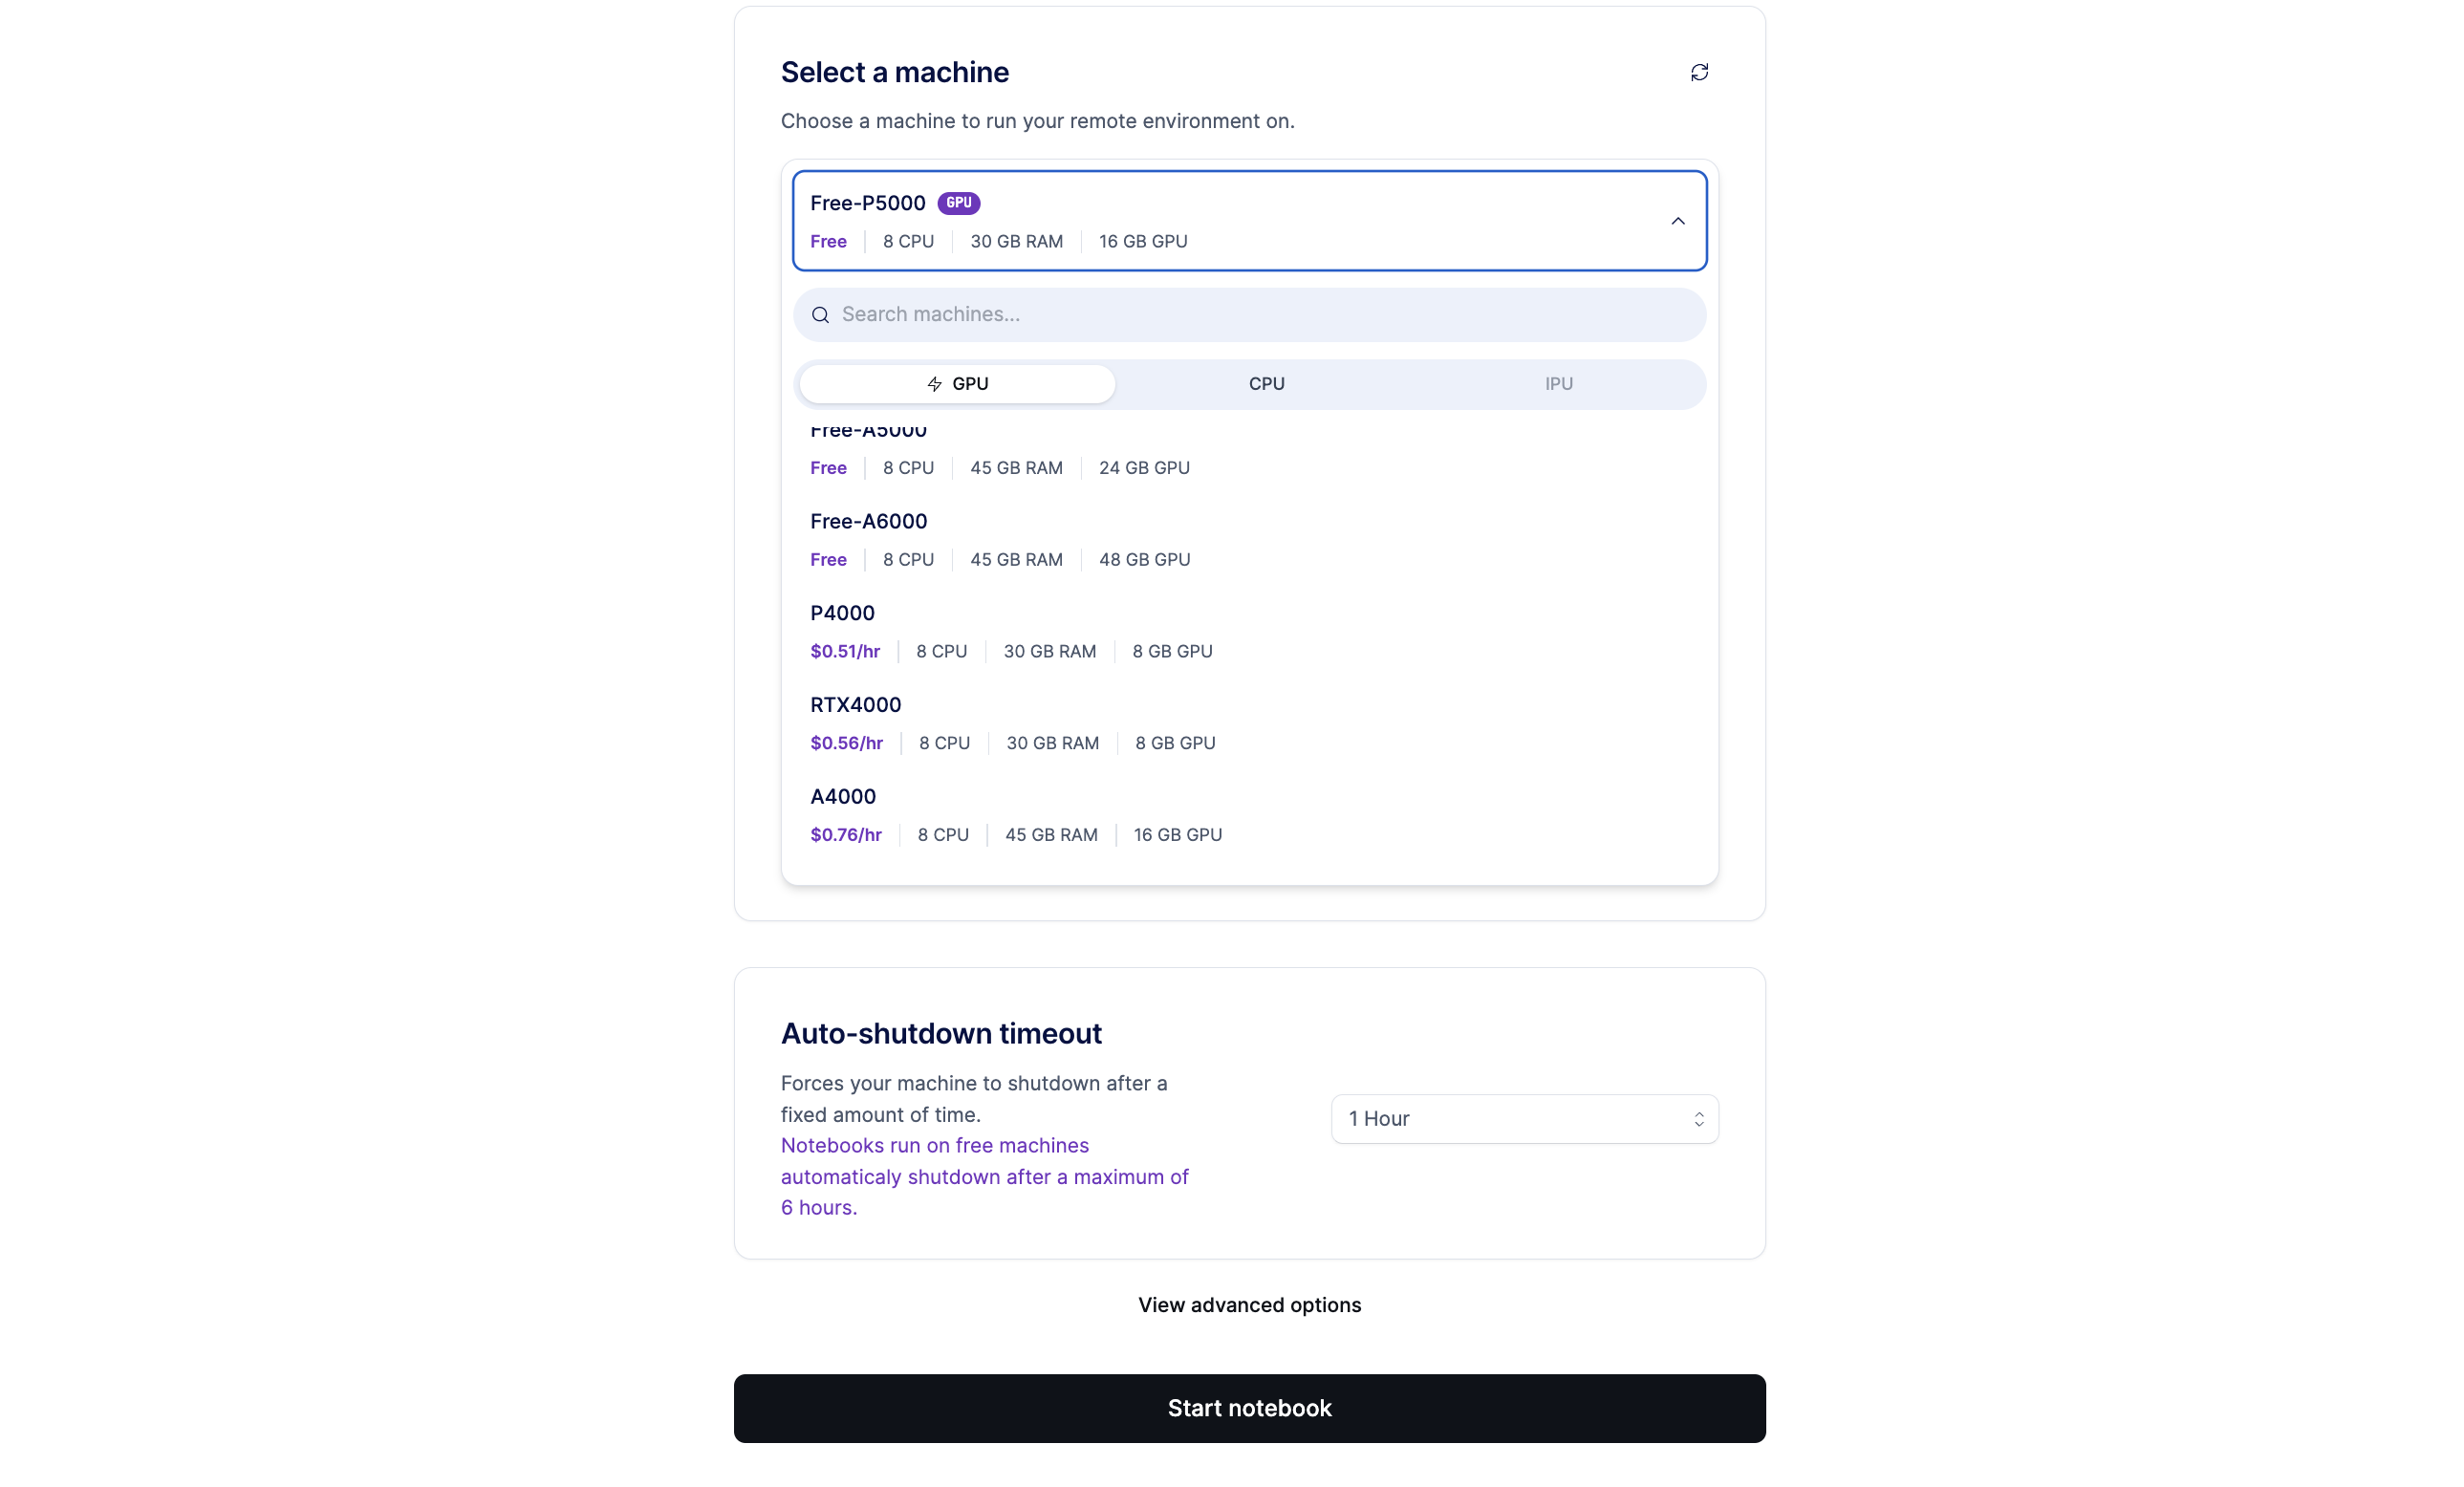
After choosing your template, select the machine type that your notebook is initially starting on. You can change your machine type later by shutting down the notebook then selecting a new machine type and starting it up again. Optionally, you can set an auto-shutdown timeout which automatically shuts down the notebook after a period of inactivity.
After you selecting your notebook specifications, click Start notebook to spin up your environment.

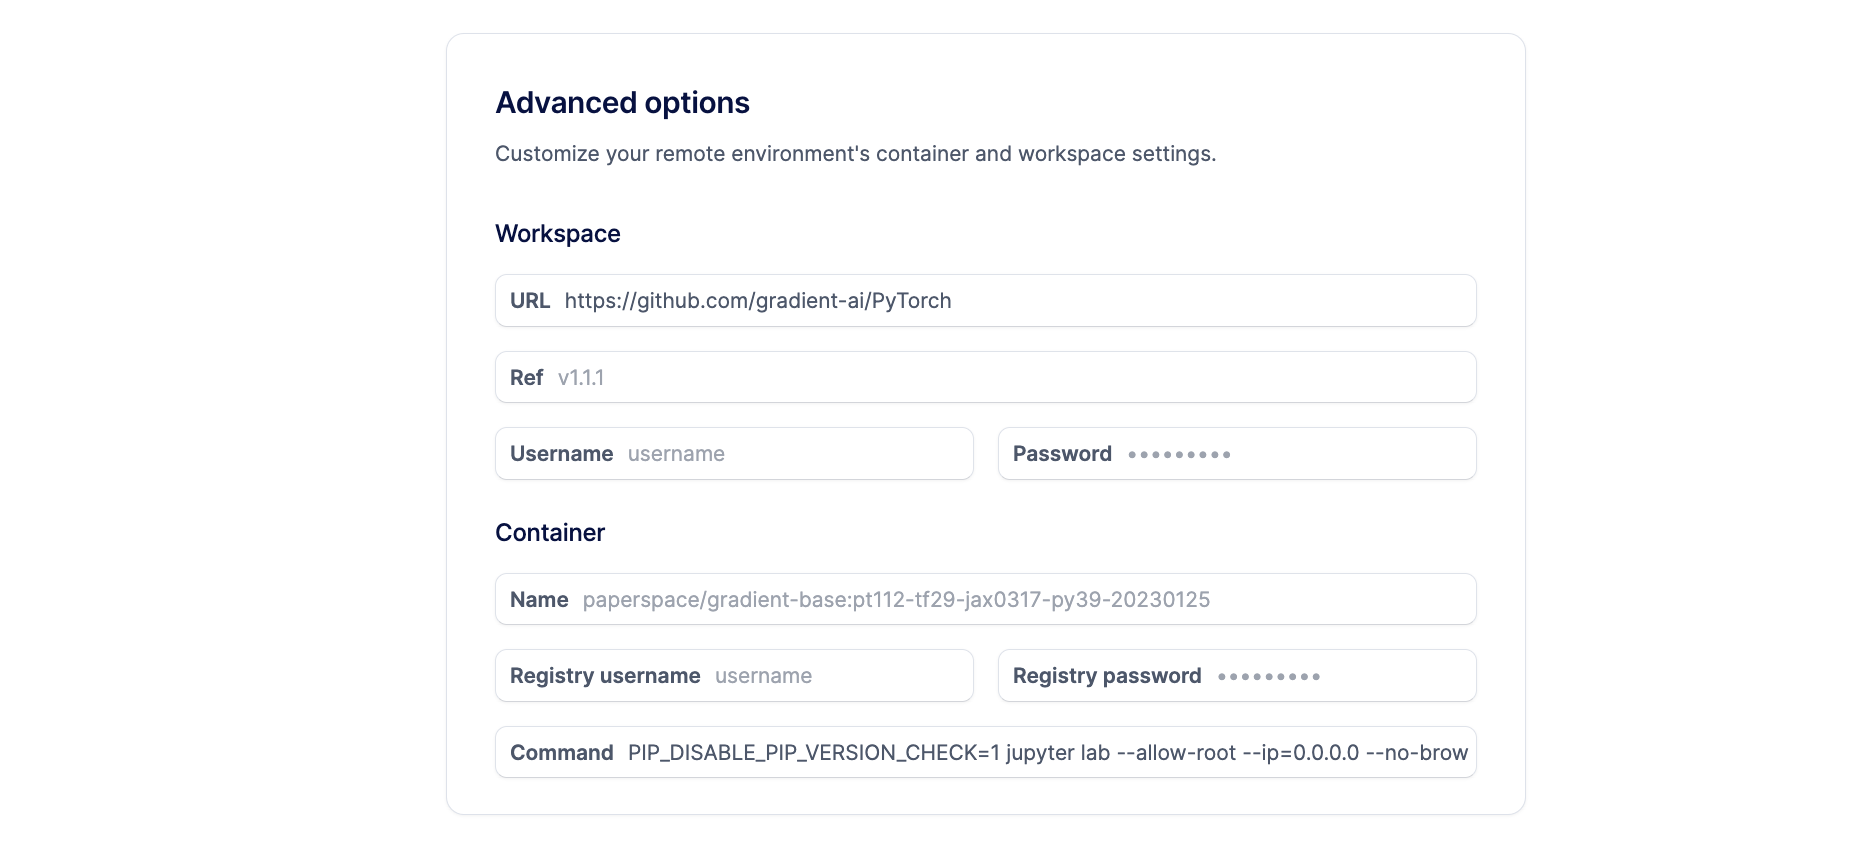
After you choose a template, go to View advanced options to customize your notebook via changing the image and repository assigned to the template. Under the Workspace section, change the repository URL to either a public or private codebase. If it is a private repository, a username and password is required. Under the Container section, change the name to either a public or private image. If it is a private image, a username and password is required.
