I lost the SSH key for my Droplet
SSH keys are our recommended method of authentication for Droplets on DigitalOcean. Password authentication is disabled by default on Droplets created with an SSH key because it increases the Droplet’s overall security. However, it also means that if you lose your SSH key, you need to use the Recovery Console to restore SSH access.
On any version of Ubuntu, Debian, CentOS, or Fedora 27, the overall process to restore access is:
- Reset the Droplet’s root password via the control panel so you can connect using the Recovery Console.
- Log in using the Recovery Console to gain access to the Droplet’s SSH configuration.
- Enable password authentication by editing the SSH config and restarting the SSH service.
After that, you can log in to the Droplet via SSH again by using the new root password. You can also then re-add new SSH keys.
On Ubuntu 22.04+ and Debian 12+, you must also set the PasswordAuthentication setting to yes in both /etc/ssh/sshd_config.d/50-cloud-init.conf and /etc/ssh/sshd_config.
Reset the Droplet’s Root Password
First, you need to reset the Droplet’s root password.
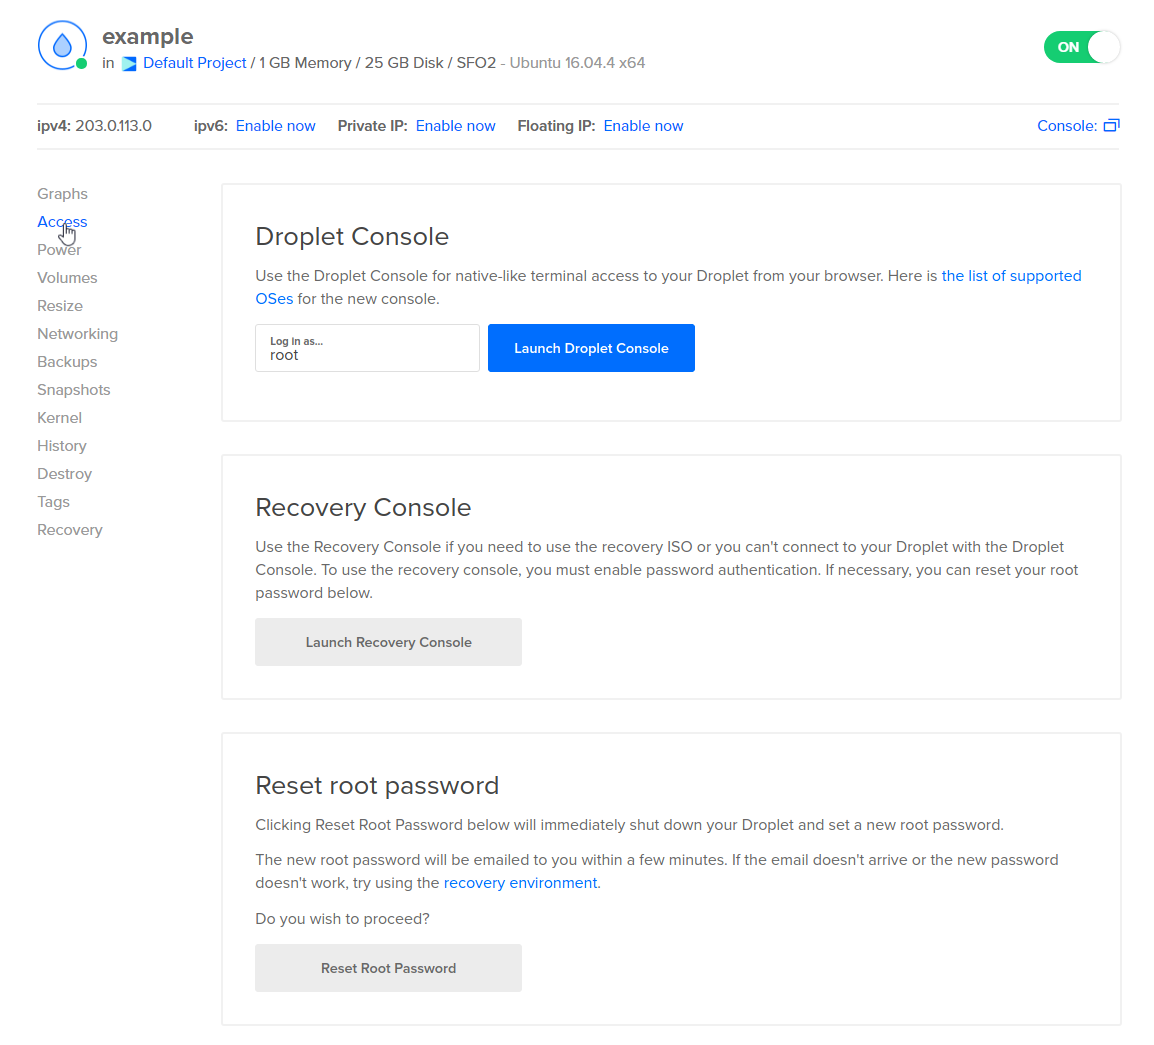
Navigate to the control panel. From the project the Droplet is in, or from the main navigation’s Droplets page, locate the Droplet. Click the Droplet’s name to open its detail page, then select Access in the left navigation.

Click Reset Root Password to reset the Droplet’s password. You will receive an email containing the Droplet’s temporary password.
Log in to the Droplet via the Recovery Console
Even though you have a root password for the Droplet, if you try to log in via SSH using that password immediately, you receive a Permission denied (publickey) error. This is because password authentication is still disabled on the Droplet. To fix this, you need to log in via the Recovery Console and update its SSH configuration.
There are detailed instructions on how to connect to Droplets with the Recovery Console for a more explicit walk-through, but here’s a brief summary:
-
On the Droplet’s detail page, in the same Access tab, click the Launch Console button.
-
At the login prompt, enter
rootas the username. -
At the subsequent password prompt, enter the root password you were sent via email. Most distributions prompt you to enter the password twice, but some (like Fedora 27) do not.
-
Enter a new root password to replace the one that was emailed to you, then enter that same new password again.
You are now logged in as root in the Recovery Console, which gives you access to the Droplet’s SSH configuration.
Enable Password Authentication
To enable password authentication on your Droplet, you need to modify a line in its SSH config file, which is /etc/ssh/sshd_config.
Open /etc/ssh/sshd_config using your preferred text editor, like nano or vim. Find the line that reads PasswordAuthentication no line and change it to PasswordAuthentication yes, then save and exit the file.
Because the SSH daemon only reads its configuration files when it’s first starting, you need to restart it for these changes to take effect. The command to do this depends on your operating system:
| Operating System | SSH Restart Command |
|---|---|
| Ubuntu 14.x | service ssh restart |
| Ubuntu 15.4 and up | systemctl restart ssh |
| Debian | systemctl restart ssh |
| CentOS 6 | service sshd restart |
| CentOS 7 | systemctl restart sshd |
| Fedora | systemctl restart sshd |
After you restart the SSH daemon, you can connect to the Droplet via SSH as root with the newly-created root password. You can also then create a new SSH key pair and add it to the Droplet. If you use the root user to append a new SSH key to another user’s authorized_keys file, ensure the file maintains the proper ownership. How to Upload an SSH Public Key to an Existing Droplet provides detailed guidance.
After you have created a new SSH key pair, we recommend revoking password access to the Droplet to maintain as few ways to access the Droplet as possible. To do this, reopen the /etc/ssh/sshd_config file and change the PasswordAuthentication yes line to PasswordAuthentication no.